October 30, 2023 - RV-10 Build Update
|
|
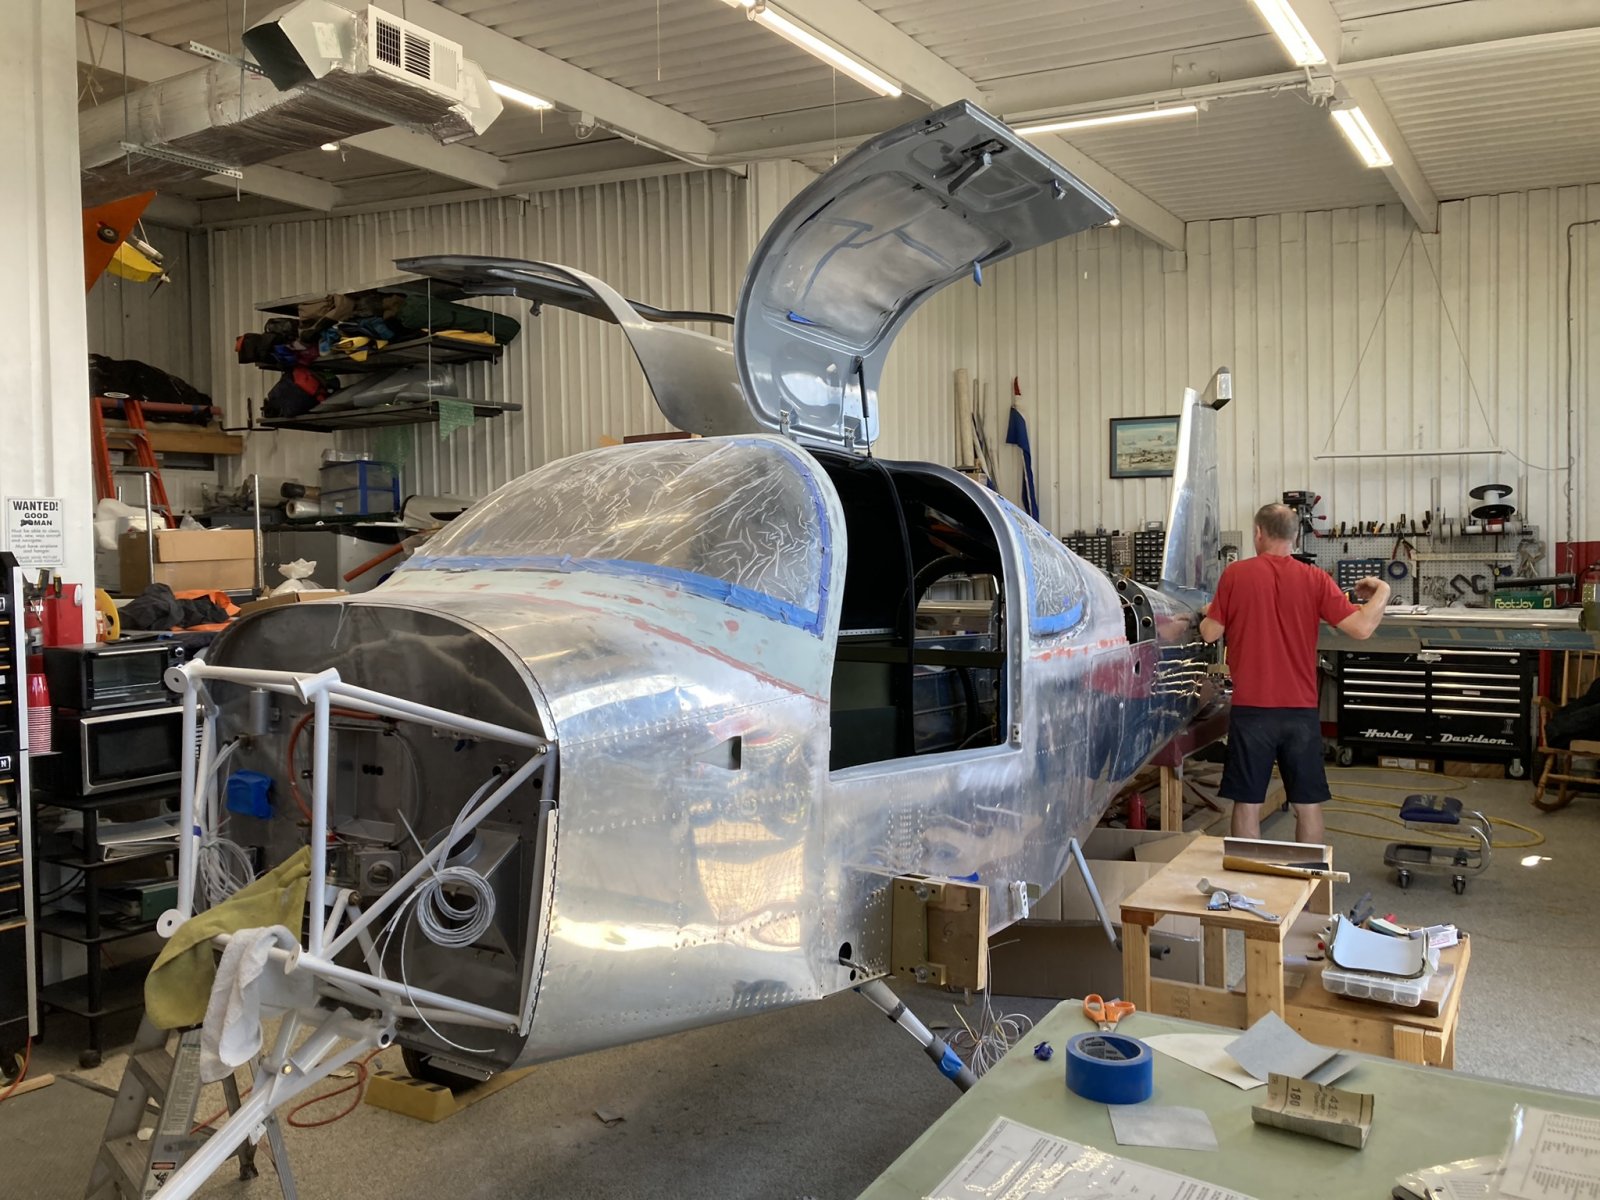
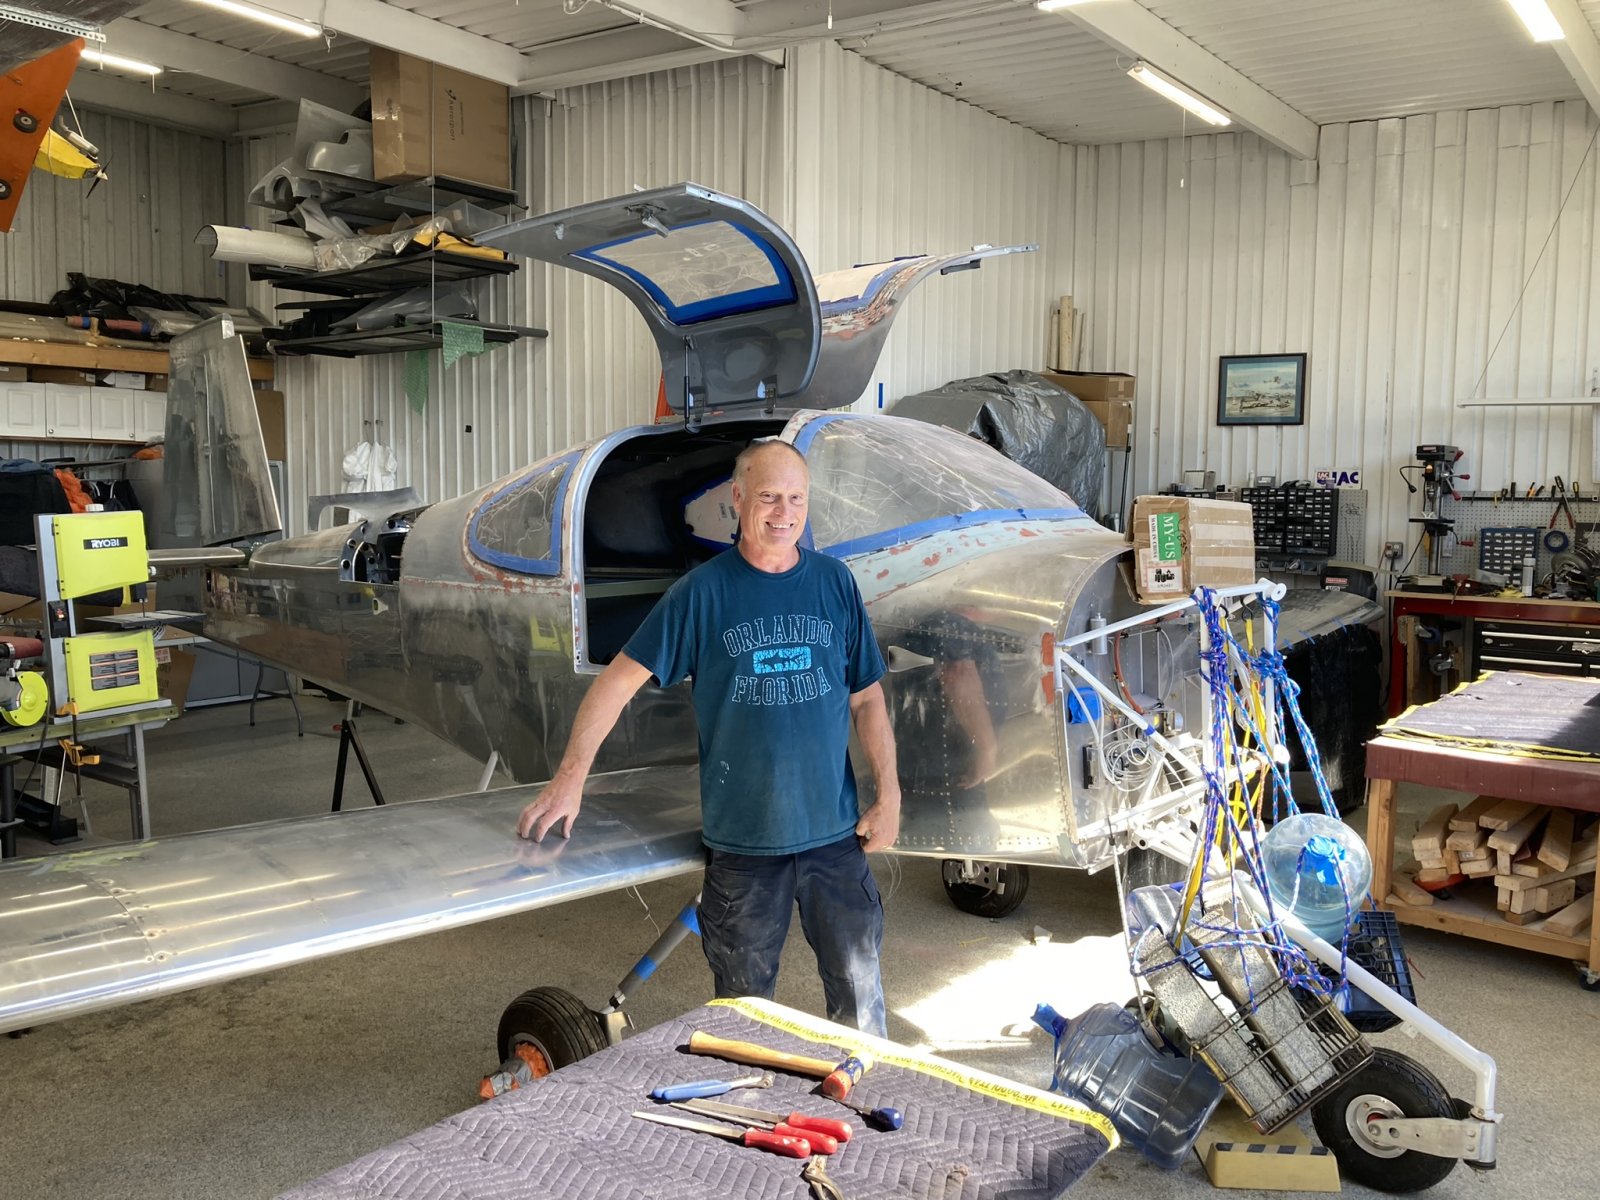
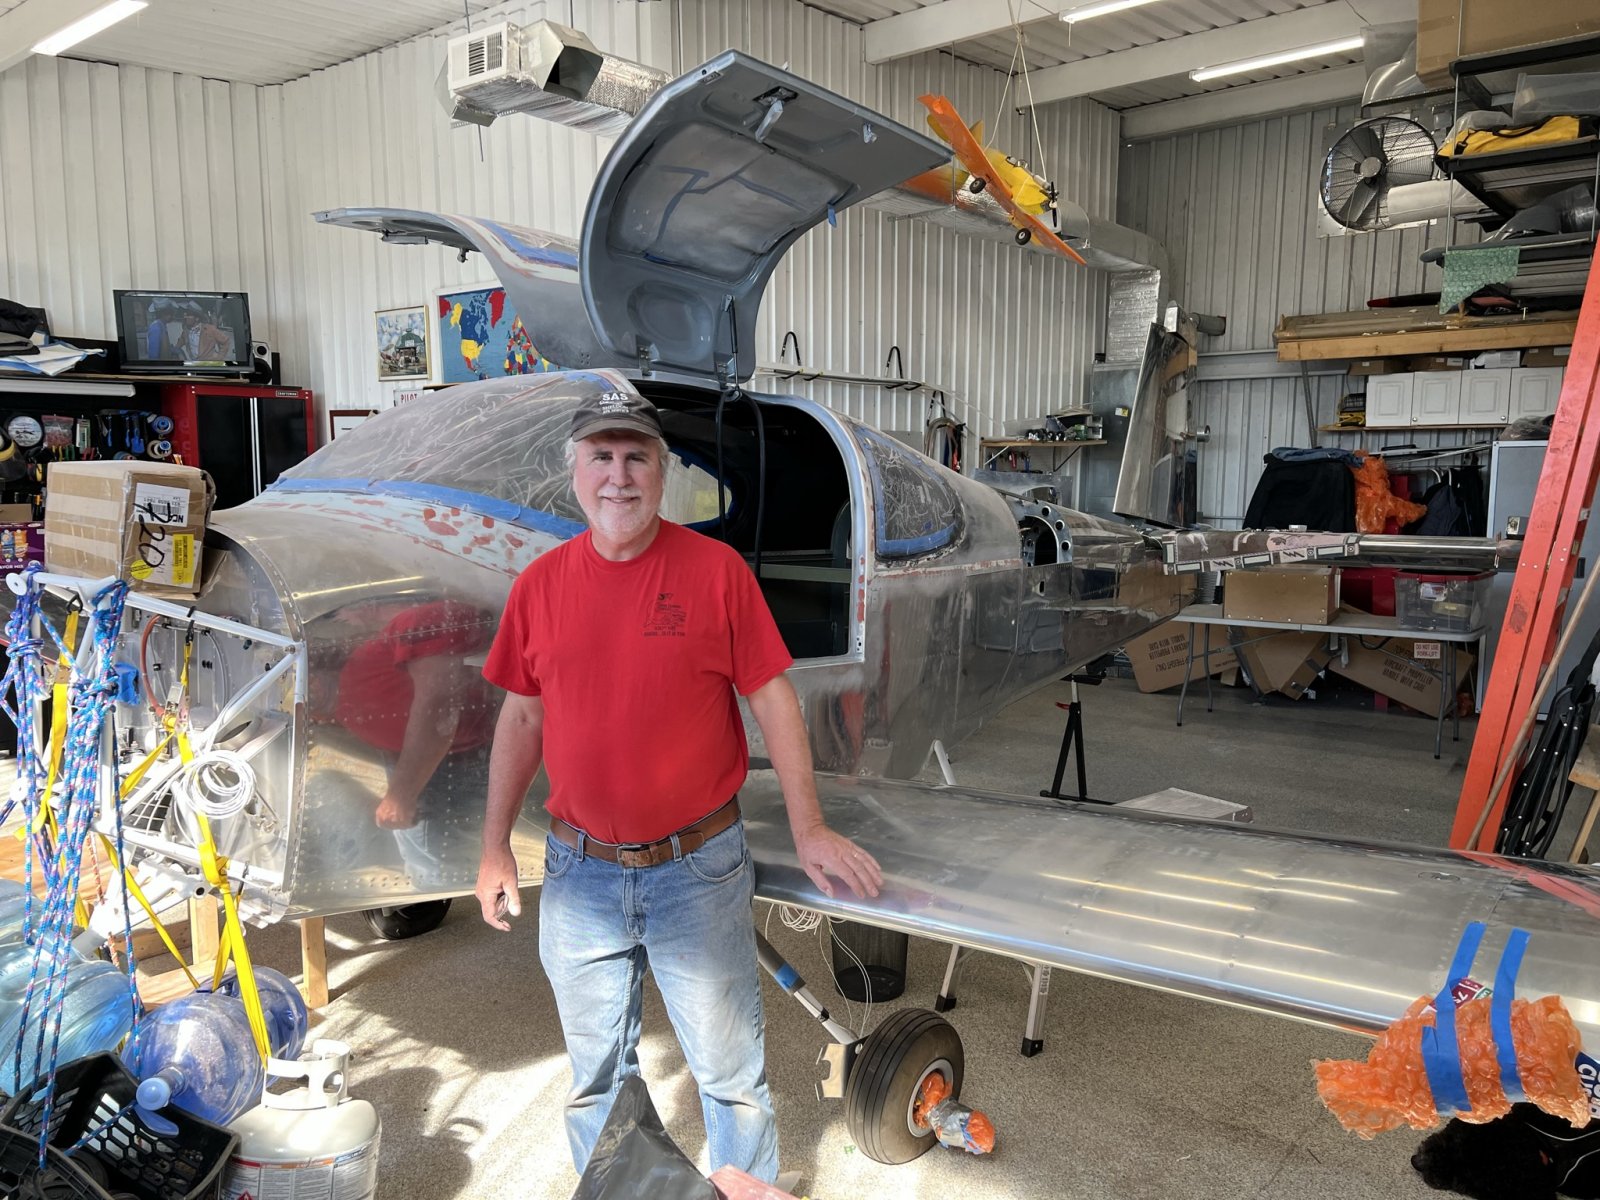
I haven't posted anything on the RV-10 project in five months, so here's an update. The good news is that Rich, Nhu-An and I have been putting in some serious hours on the project and have got quite a lot done.
June 3
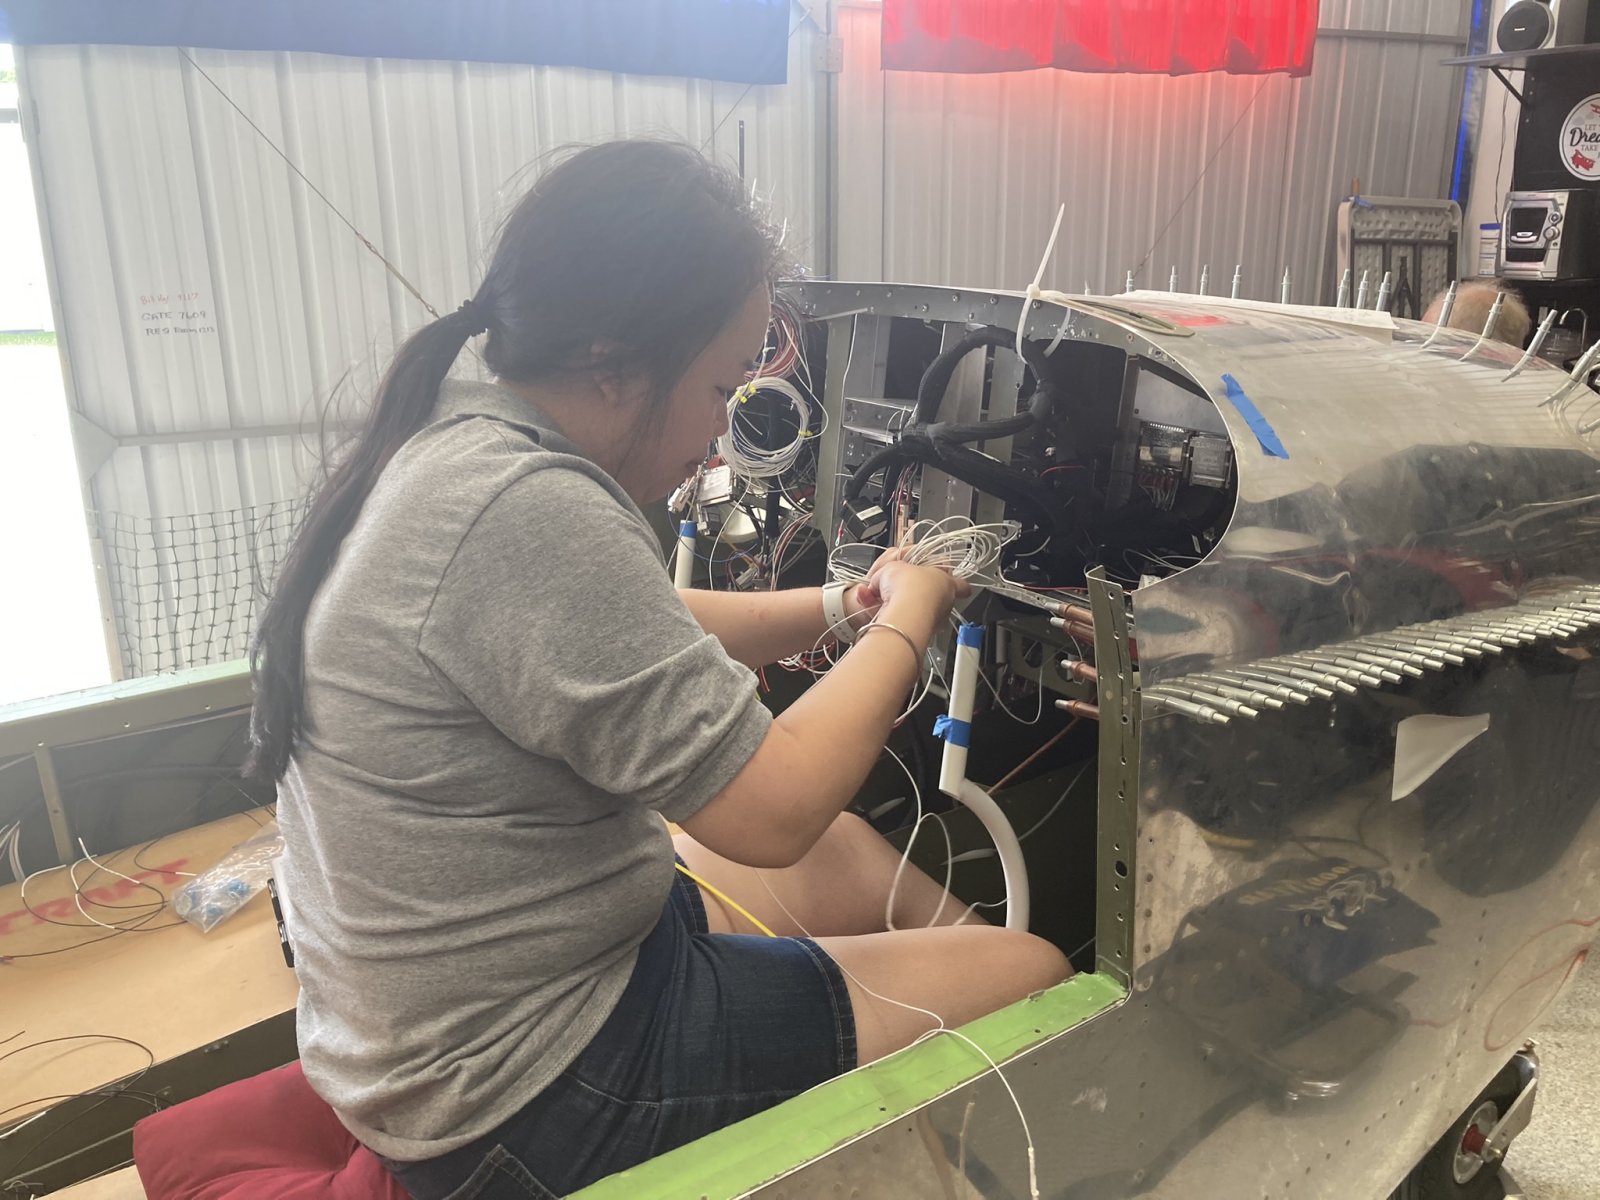
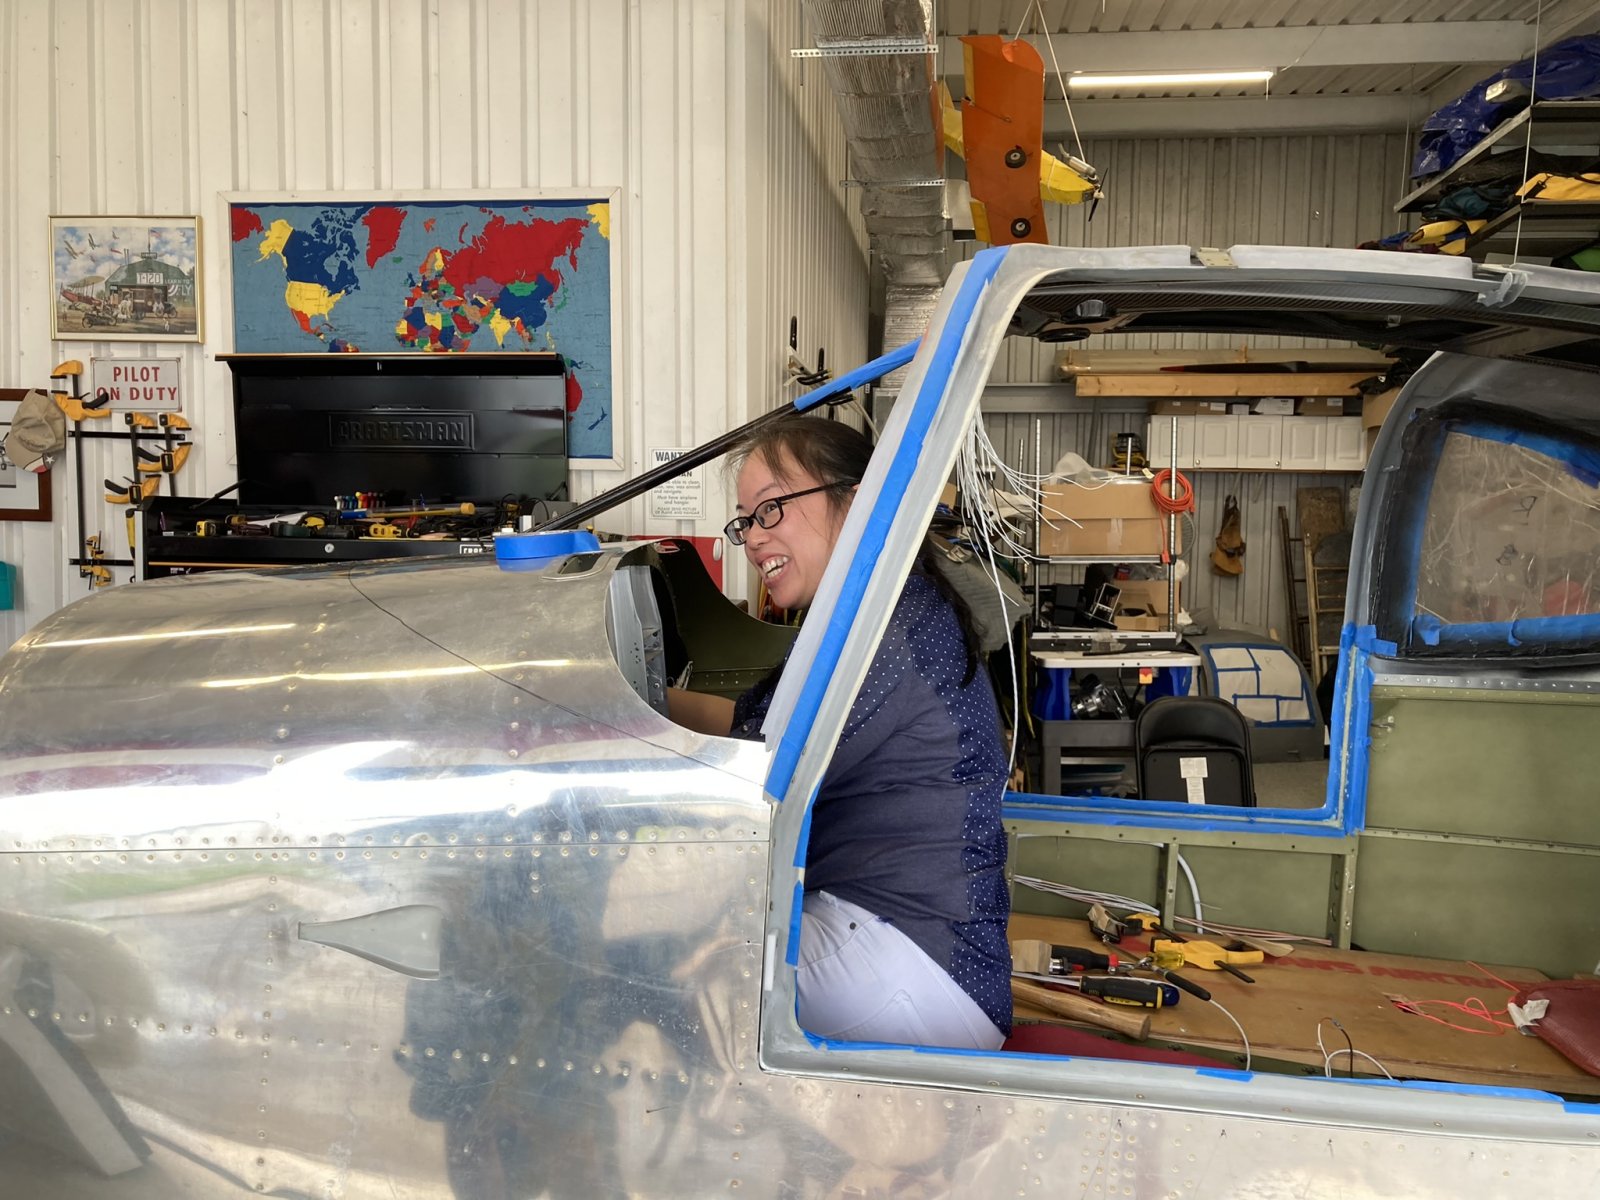
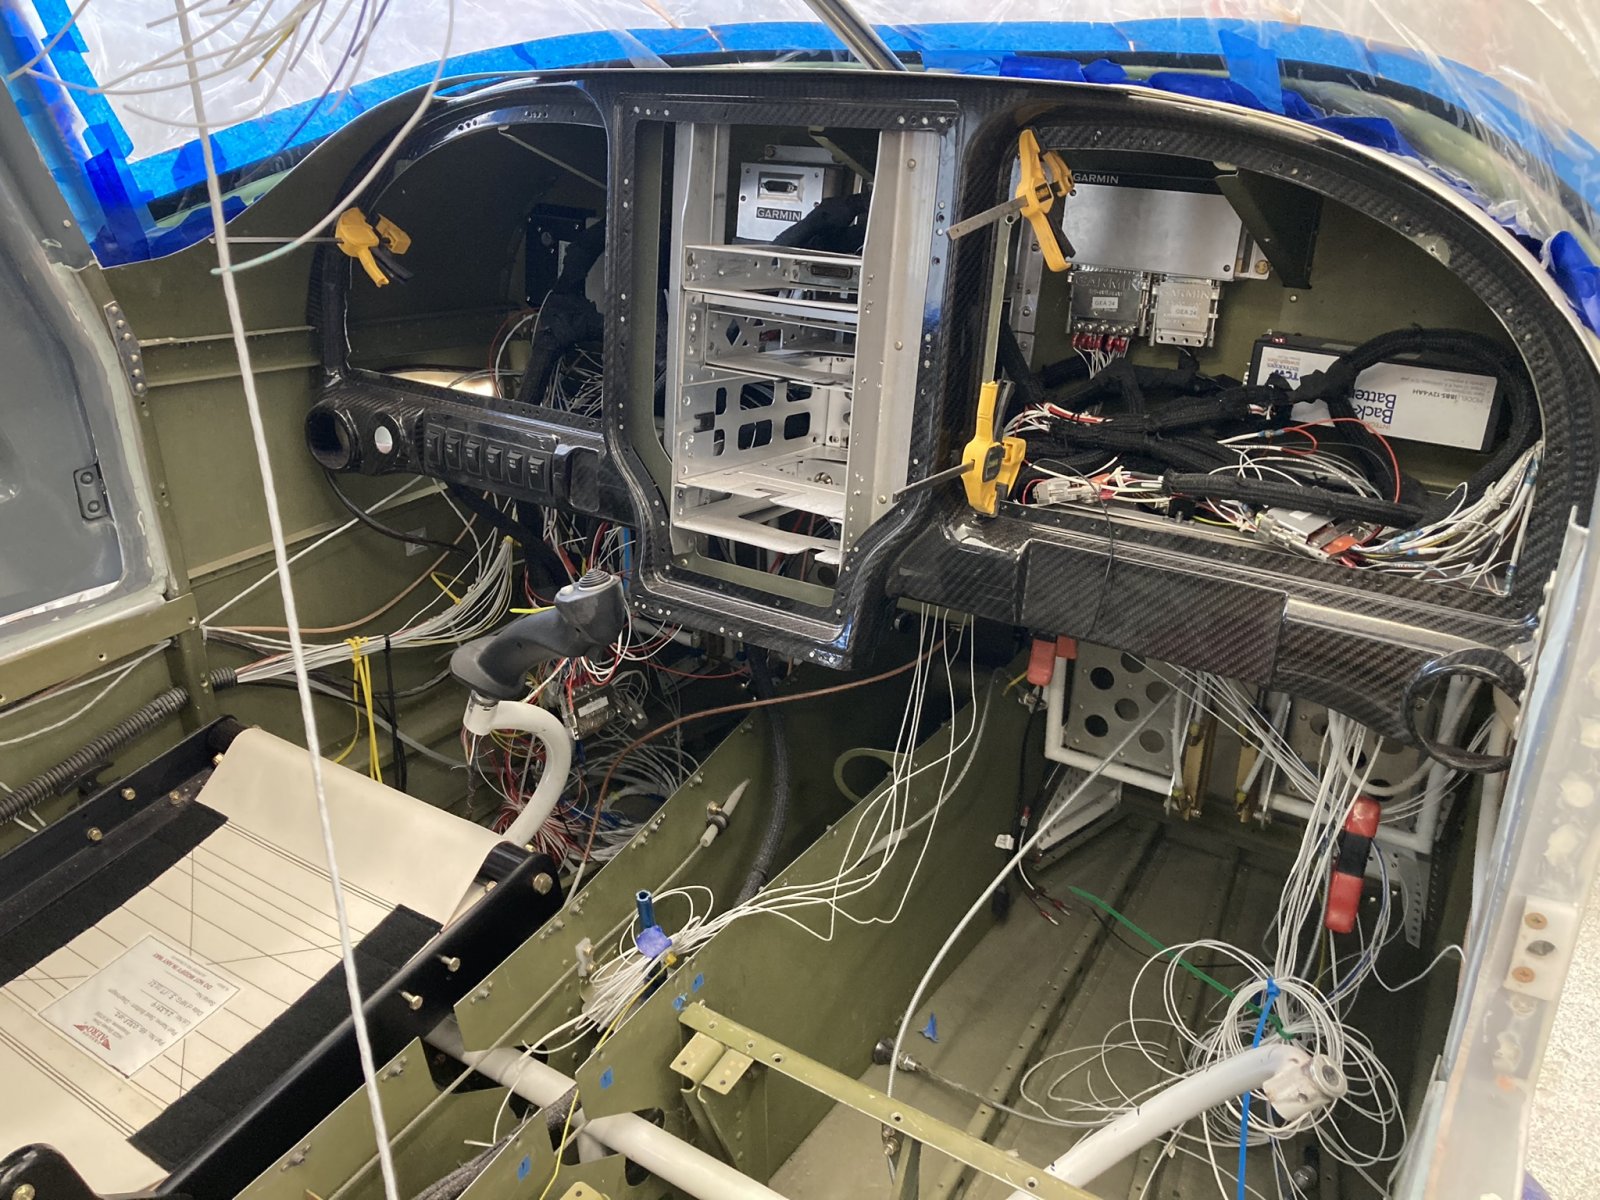
Nhu-An, who is the lead on the electrical system, organizing some wires behind the panel.
|
| |
 |
|
|
July 16
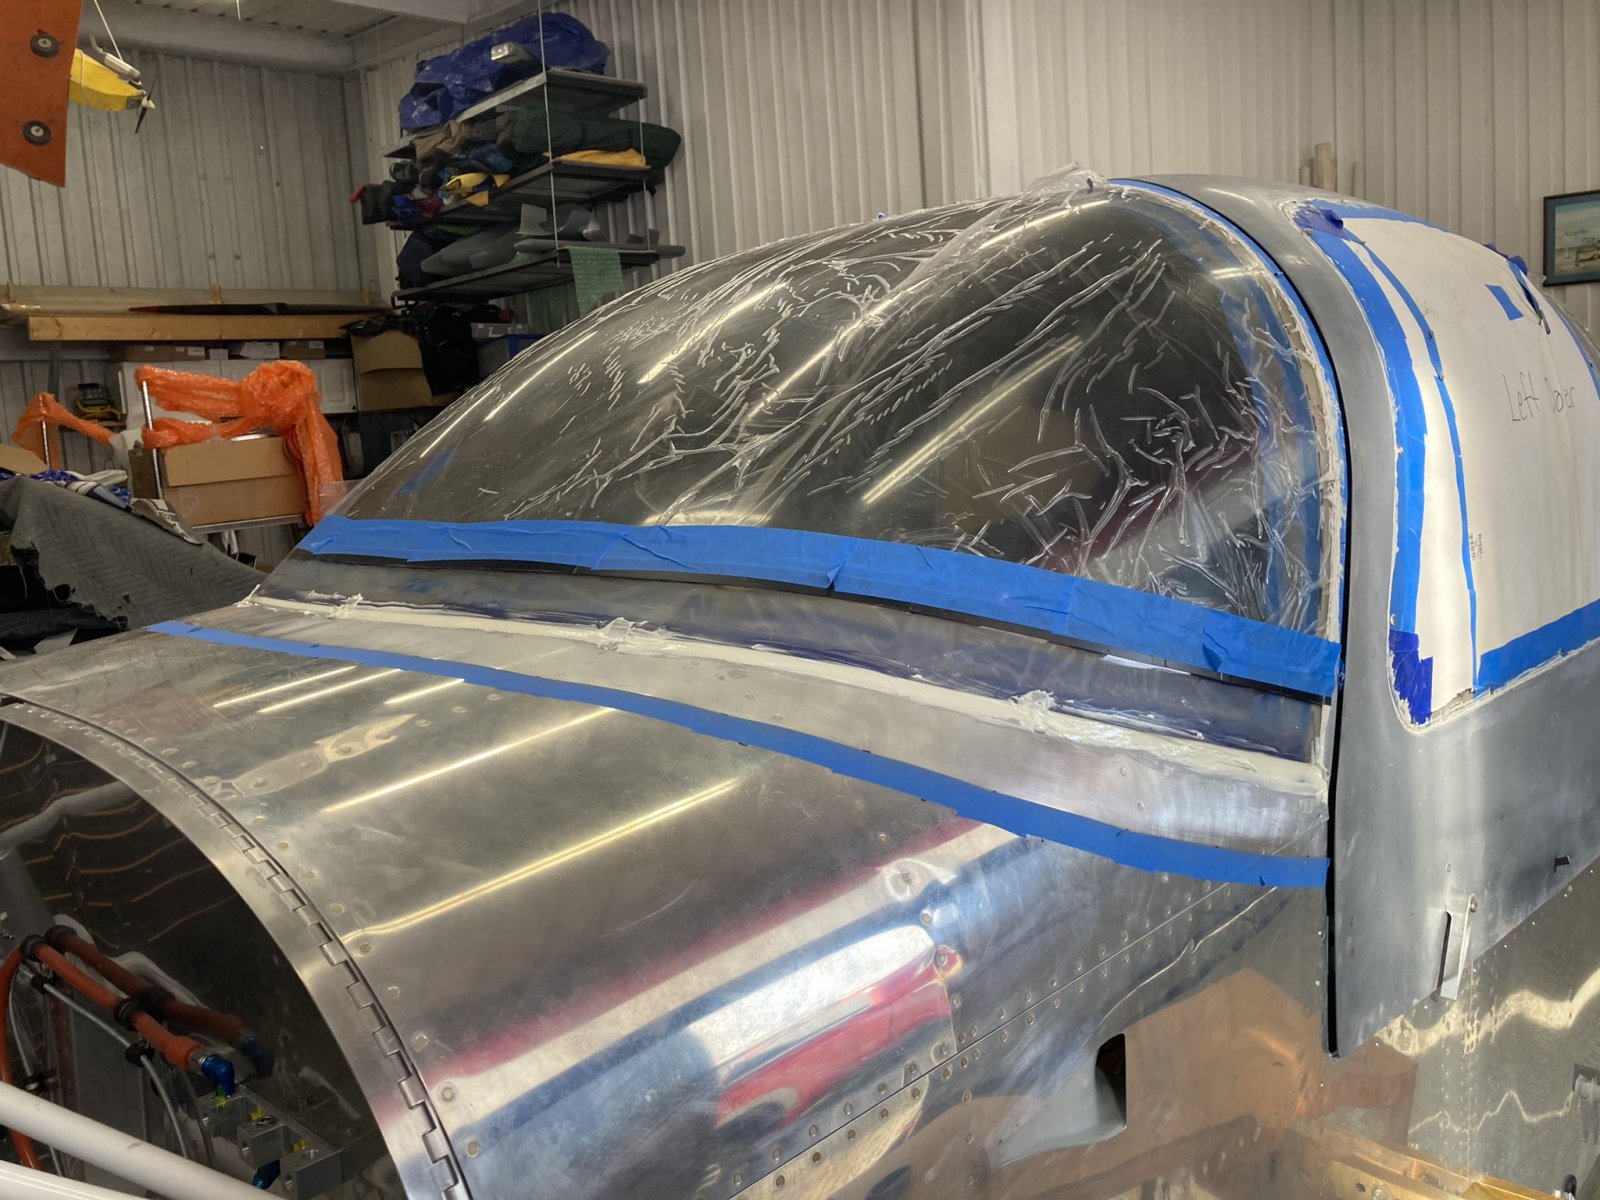
In the last month, Rich and Nhu-An permanently bolted down the big cabin cover, a major milestone in the project.
Today I applied epoxy mixed with cotton flox (for strength) into the gap between the lower cabin cover and fuselage.
|
| |
 |
|
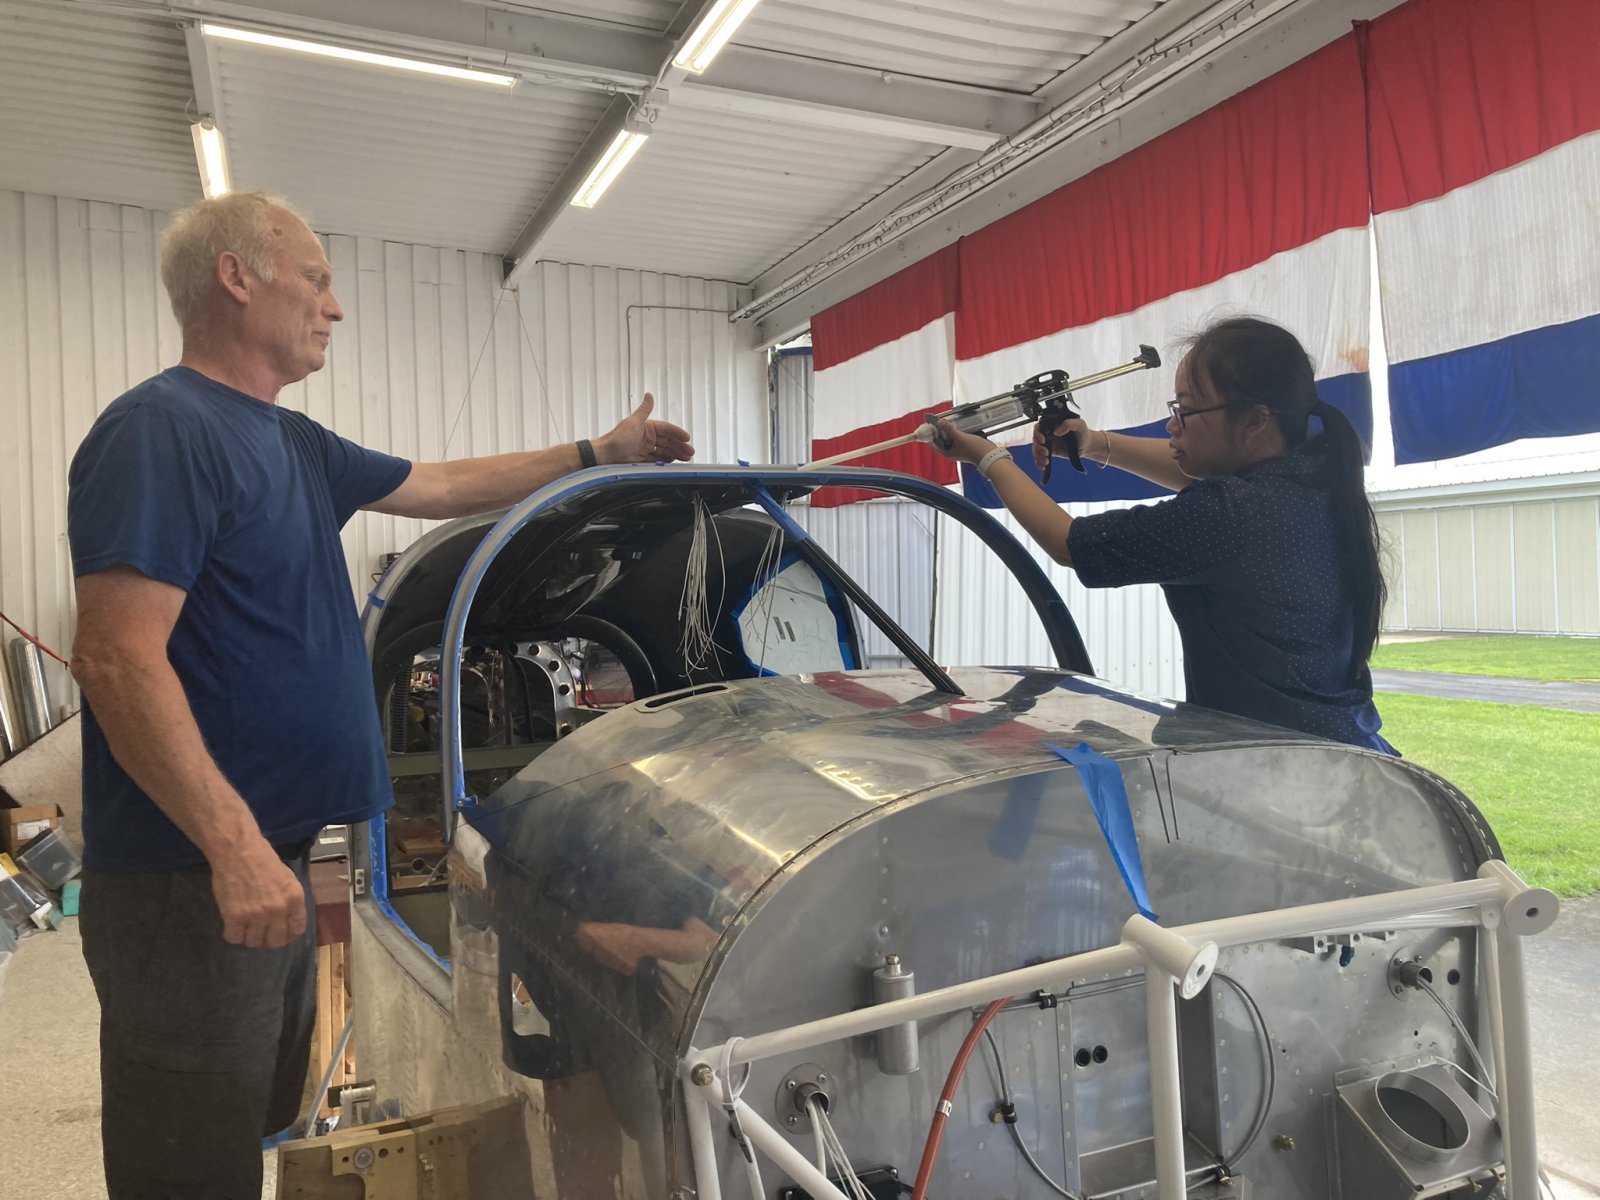
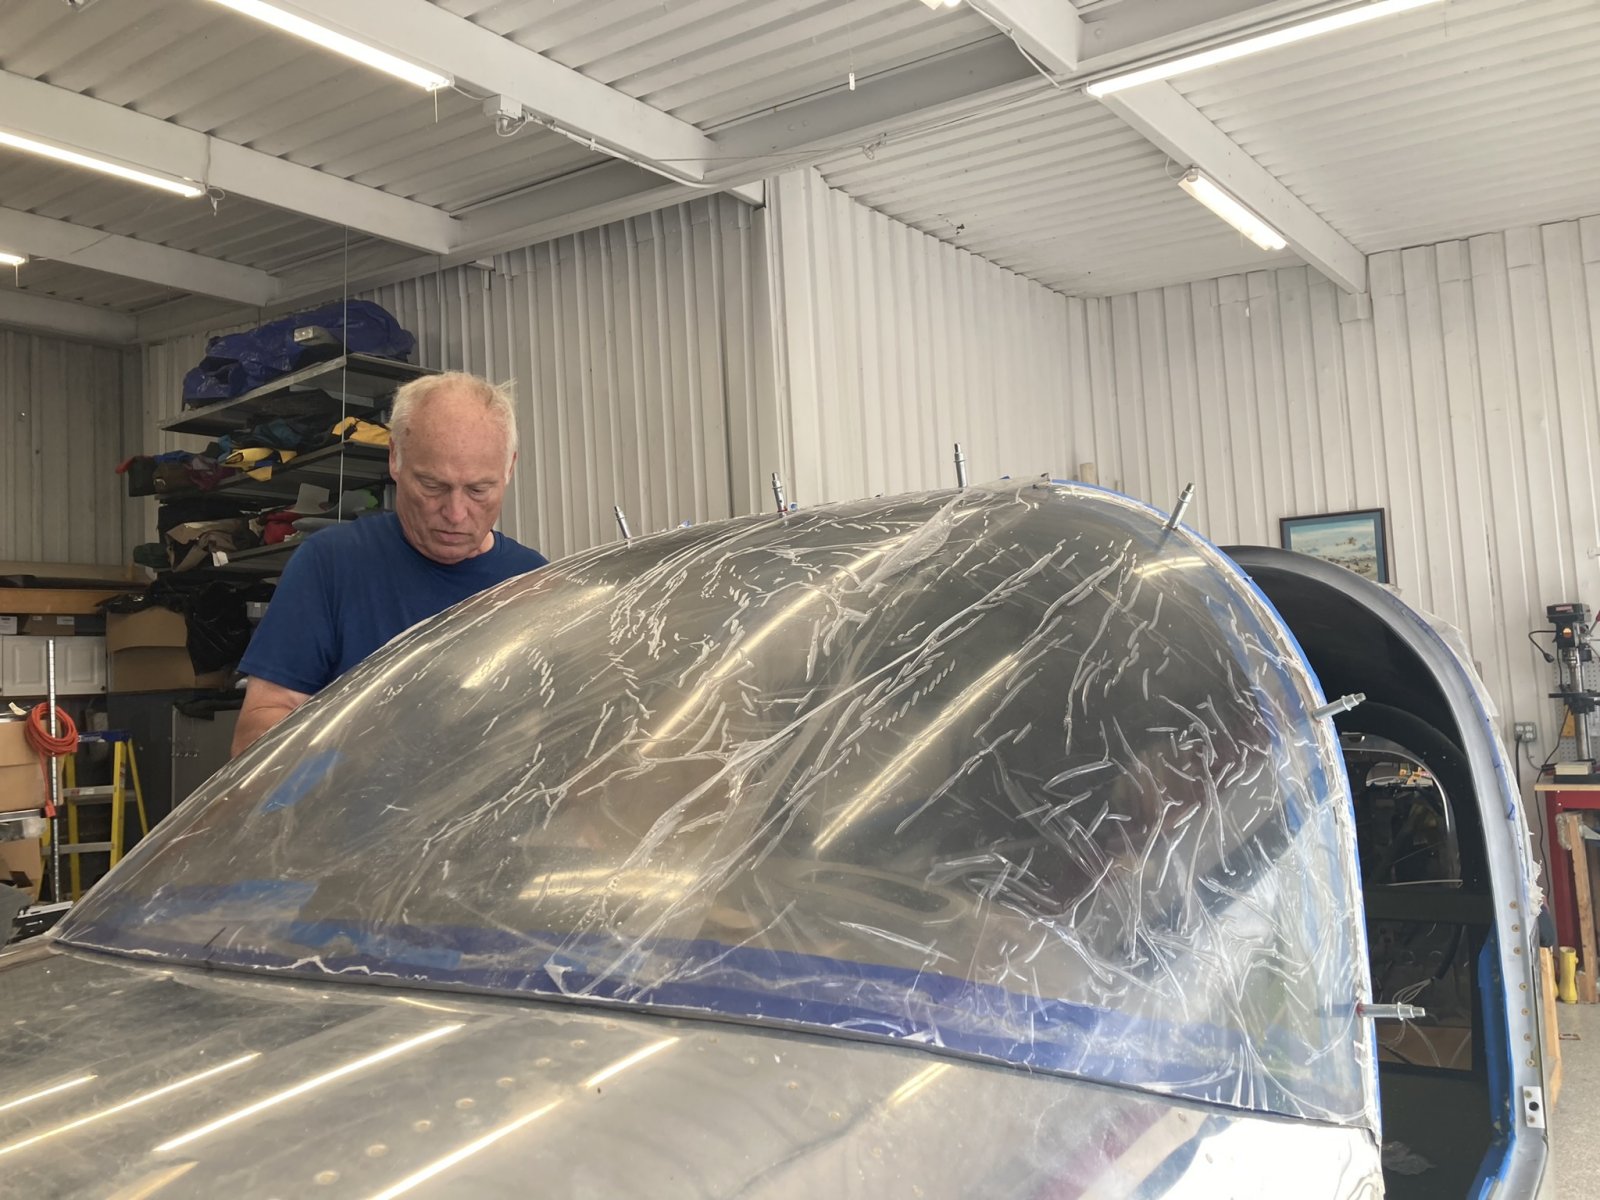
| The windshield had been fitted previously but today was the day we glue it in. |
| |
 |
|
|
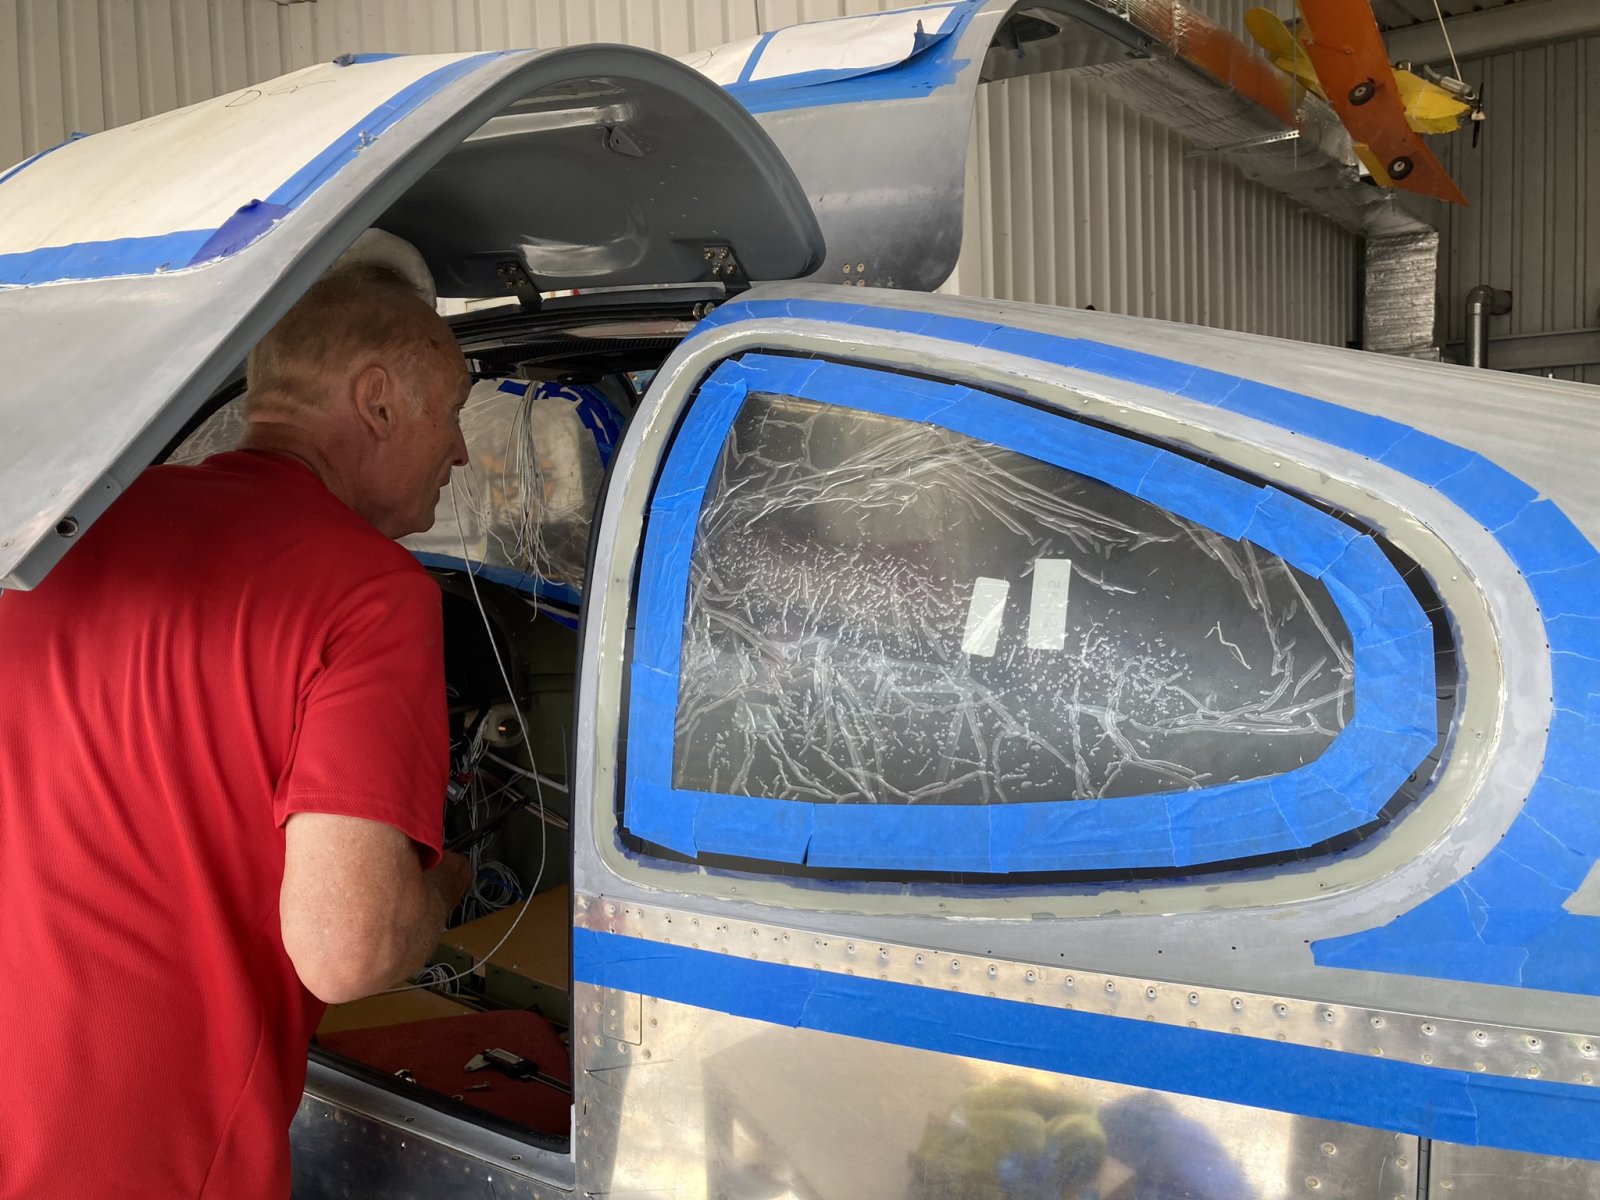
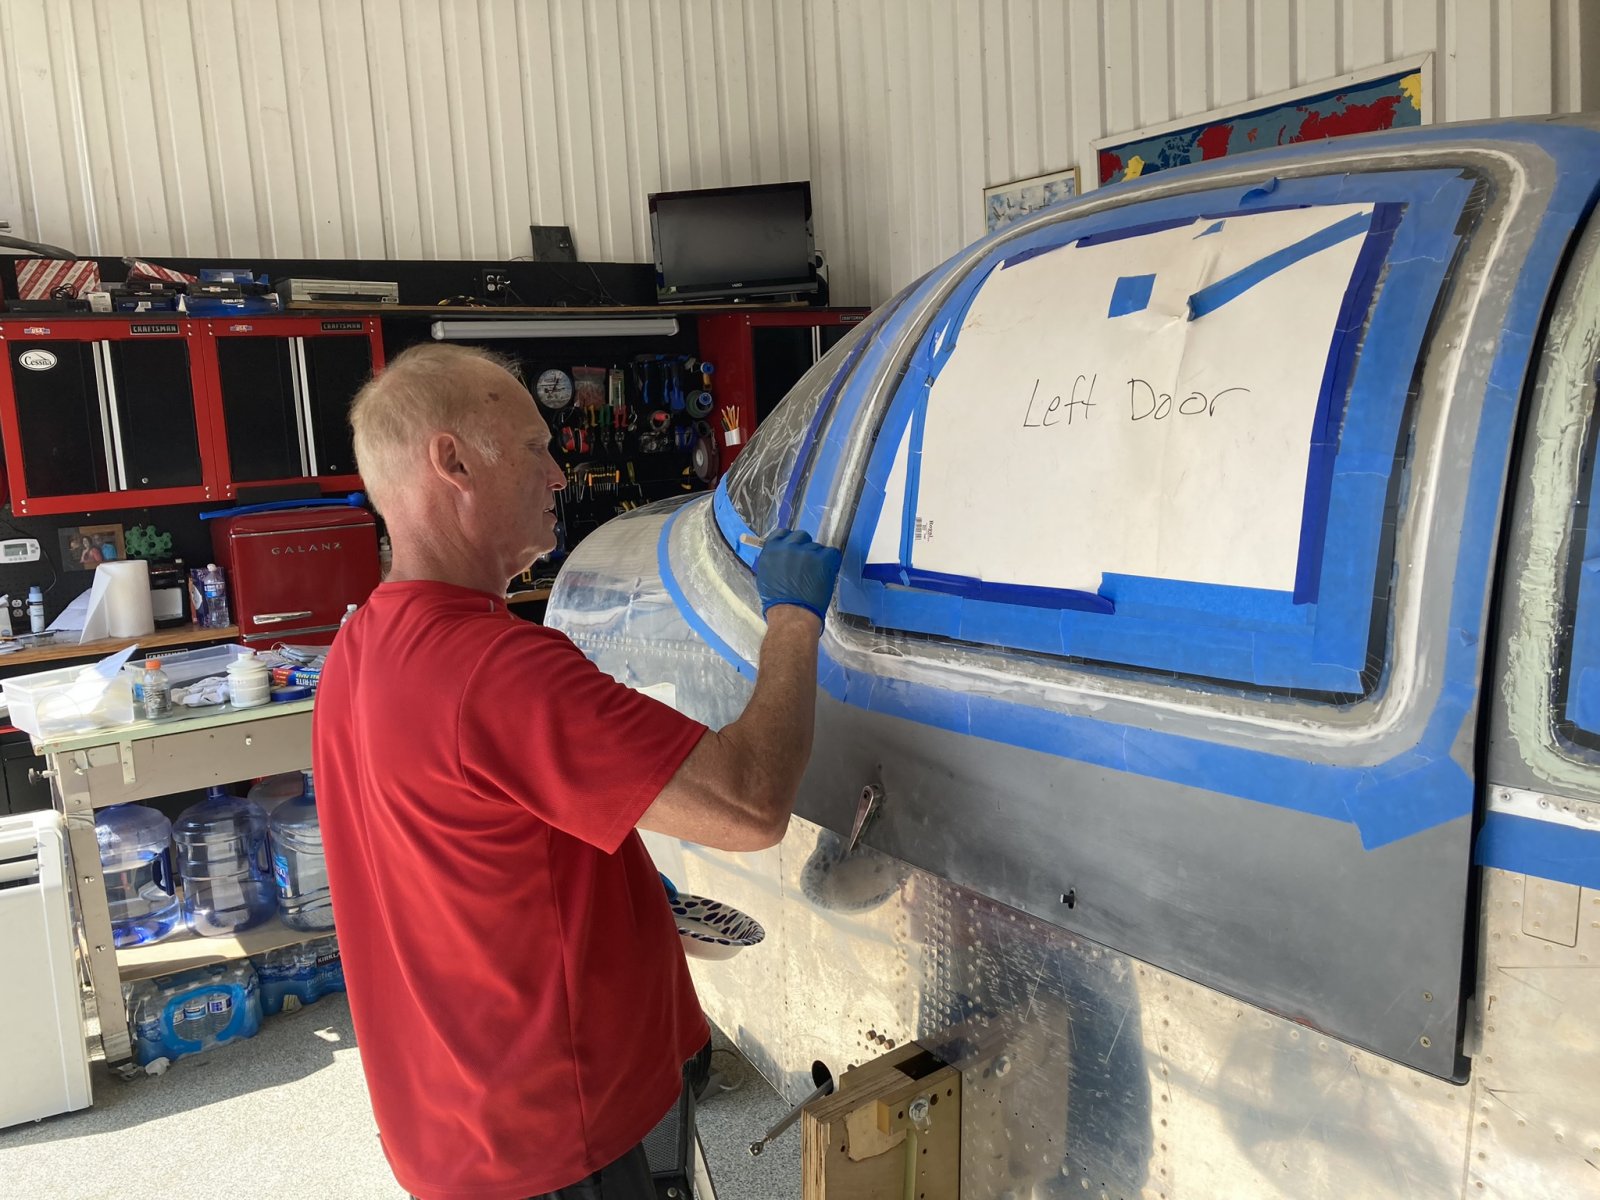
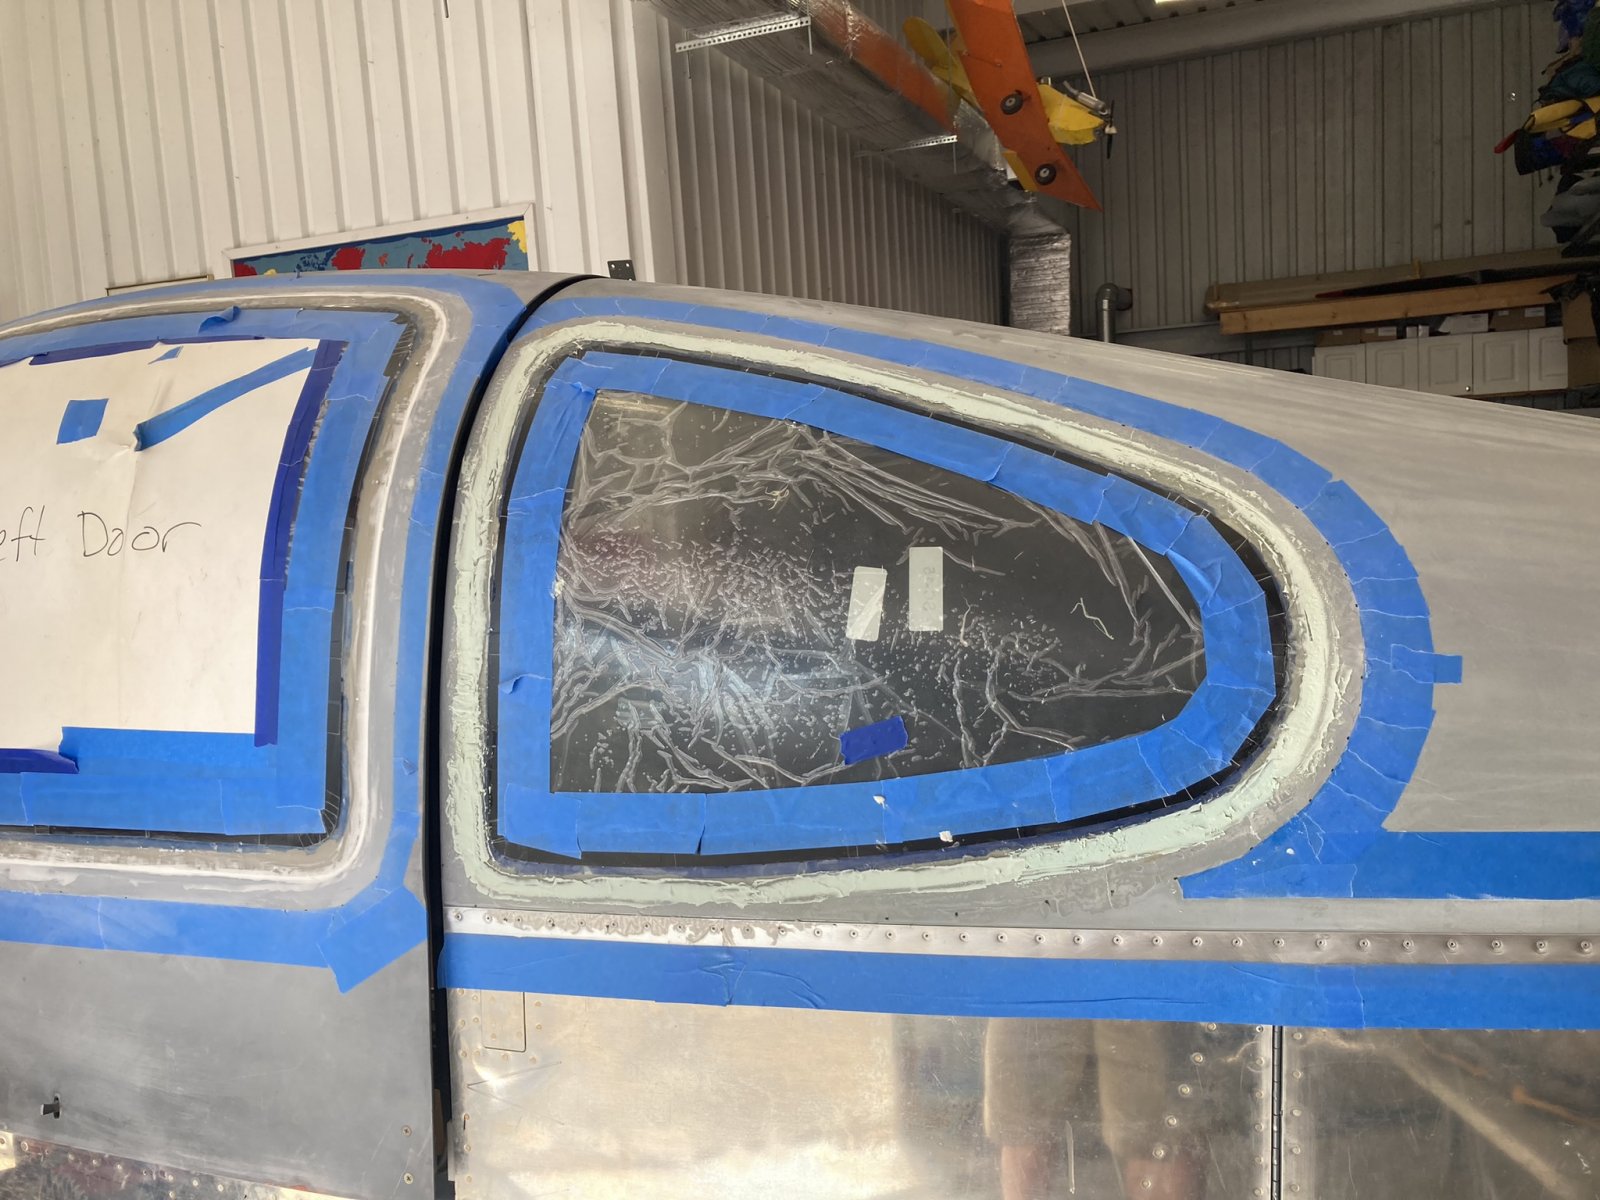
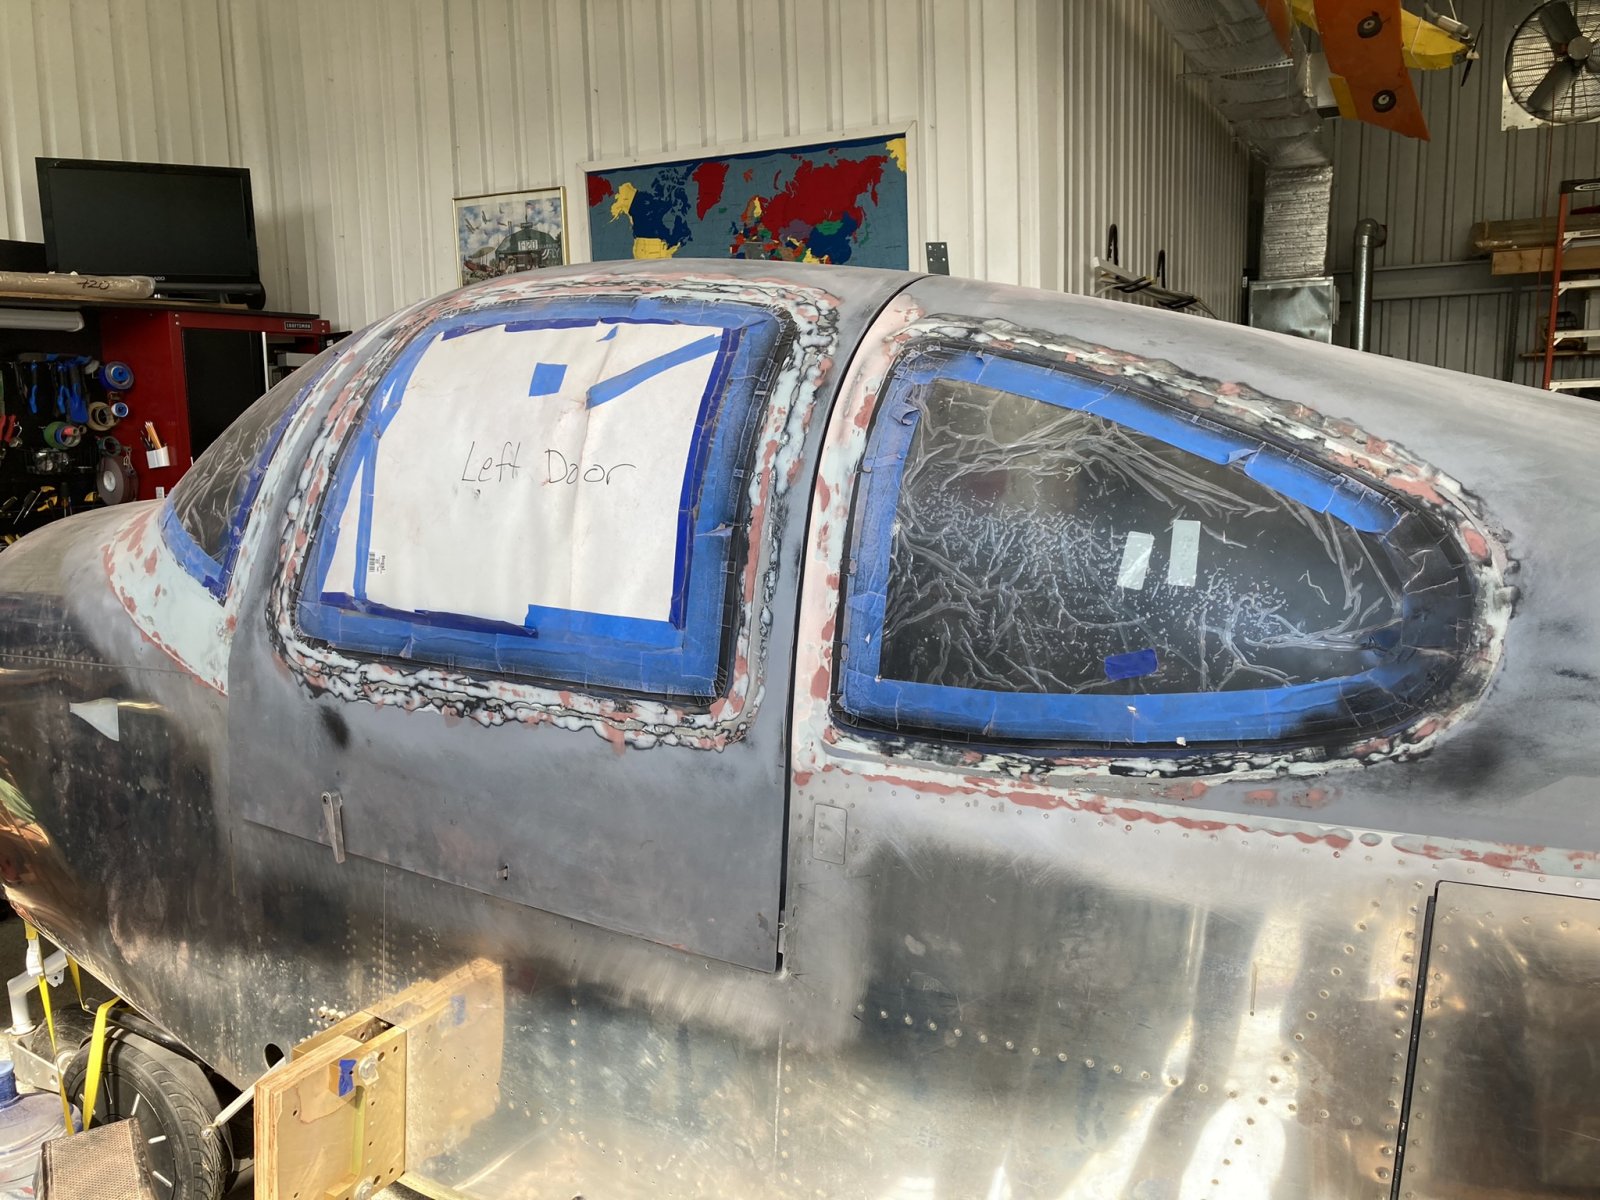
The side and door windows have been an ongoing process. We installed them using the glue recommend in the plans. But that didn't work out very well. You could practically push them out with your hands. We had visions of them popping out in flight. So we removed all four. Two broke and we had to order replacements. We ended up going with a different glue that worked very well. Additionally, we drilled 3/32 holes around the windows and used cleco to hold the windows tight against the fiberglass. We are confident now about the windows; they ain't coming out.
|
| |
 |
|
| Nhu-An doing some work on the electrical system. |
| |
 |
|
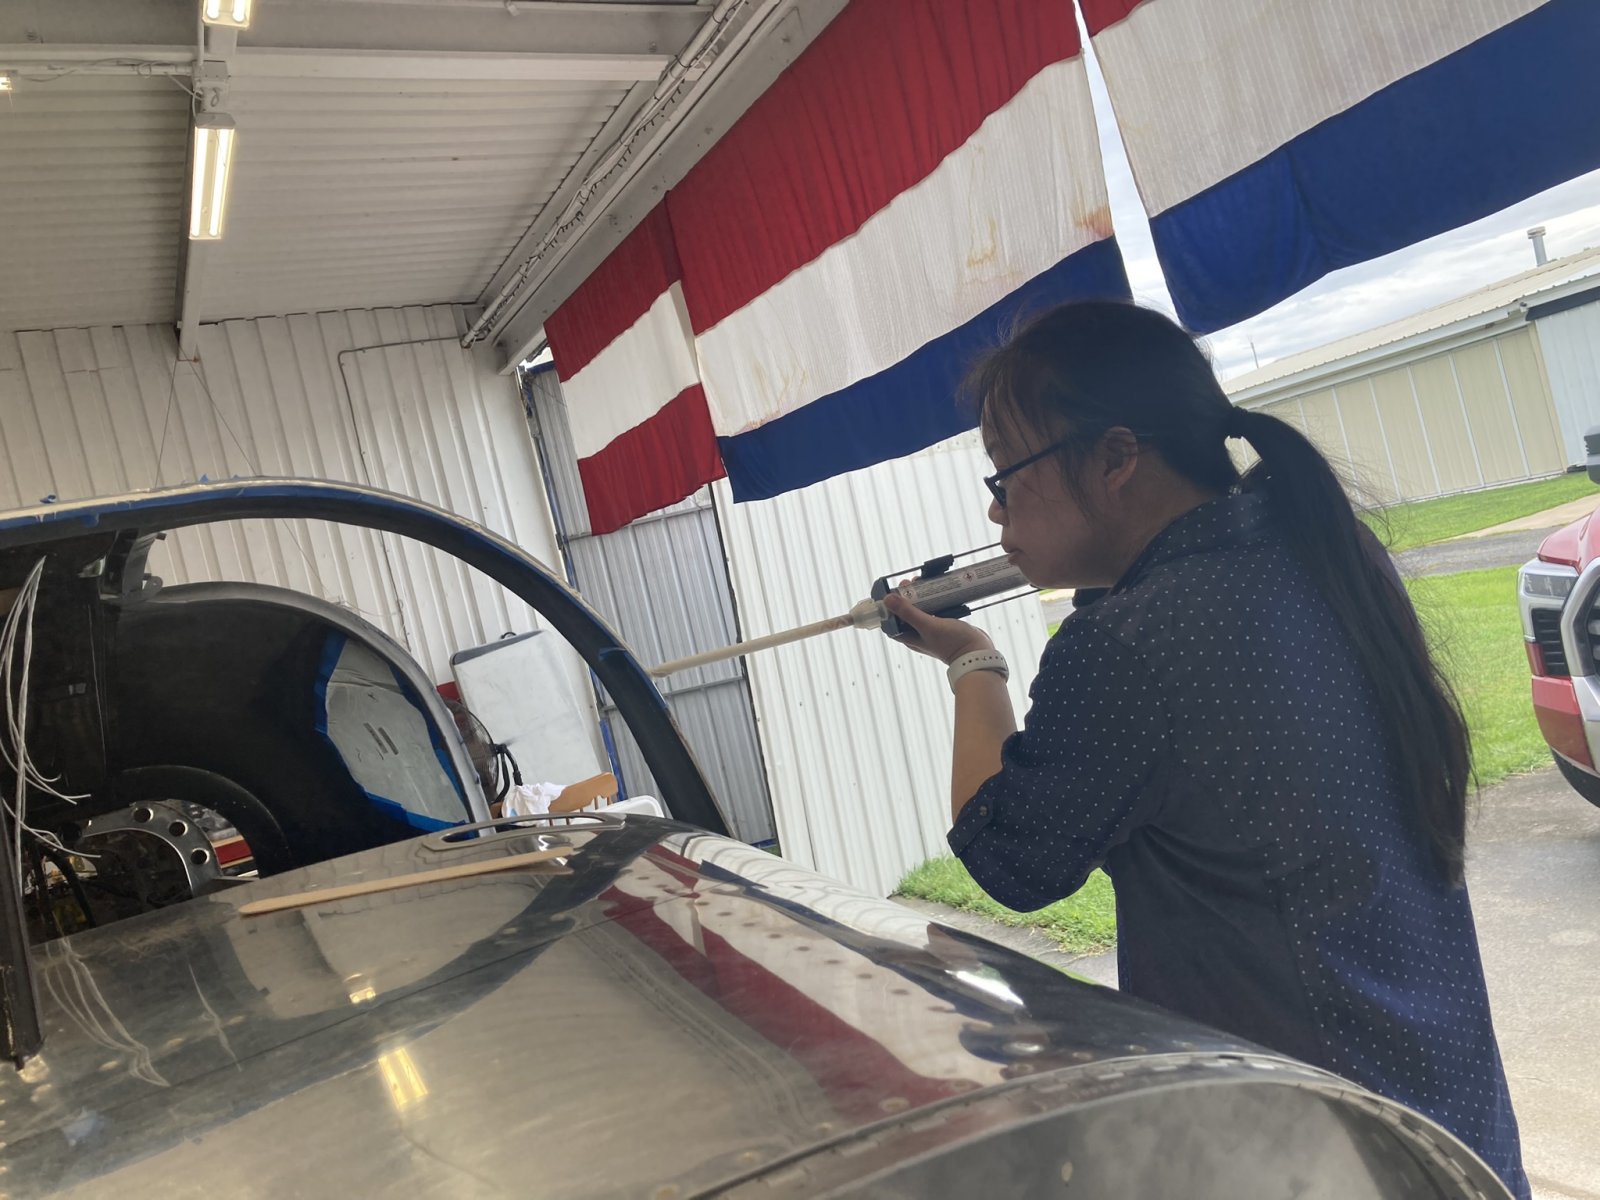
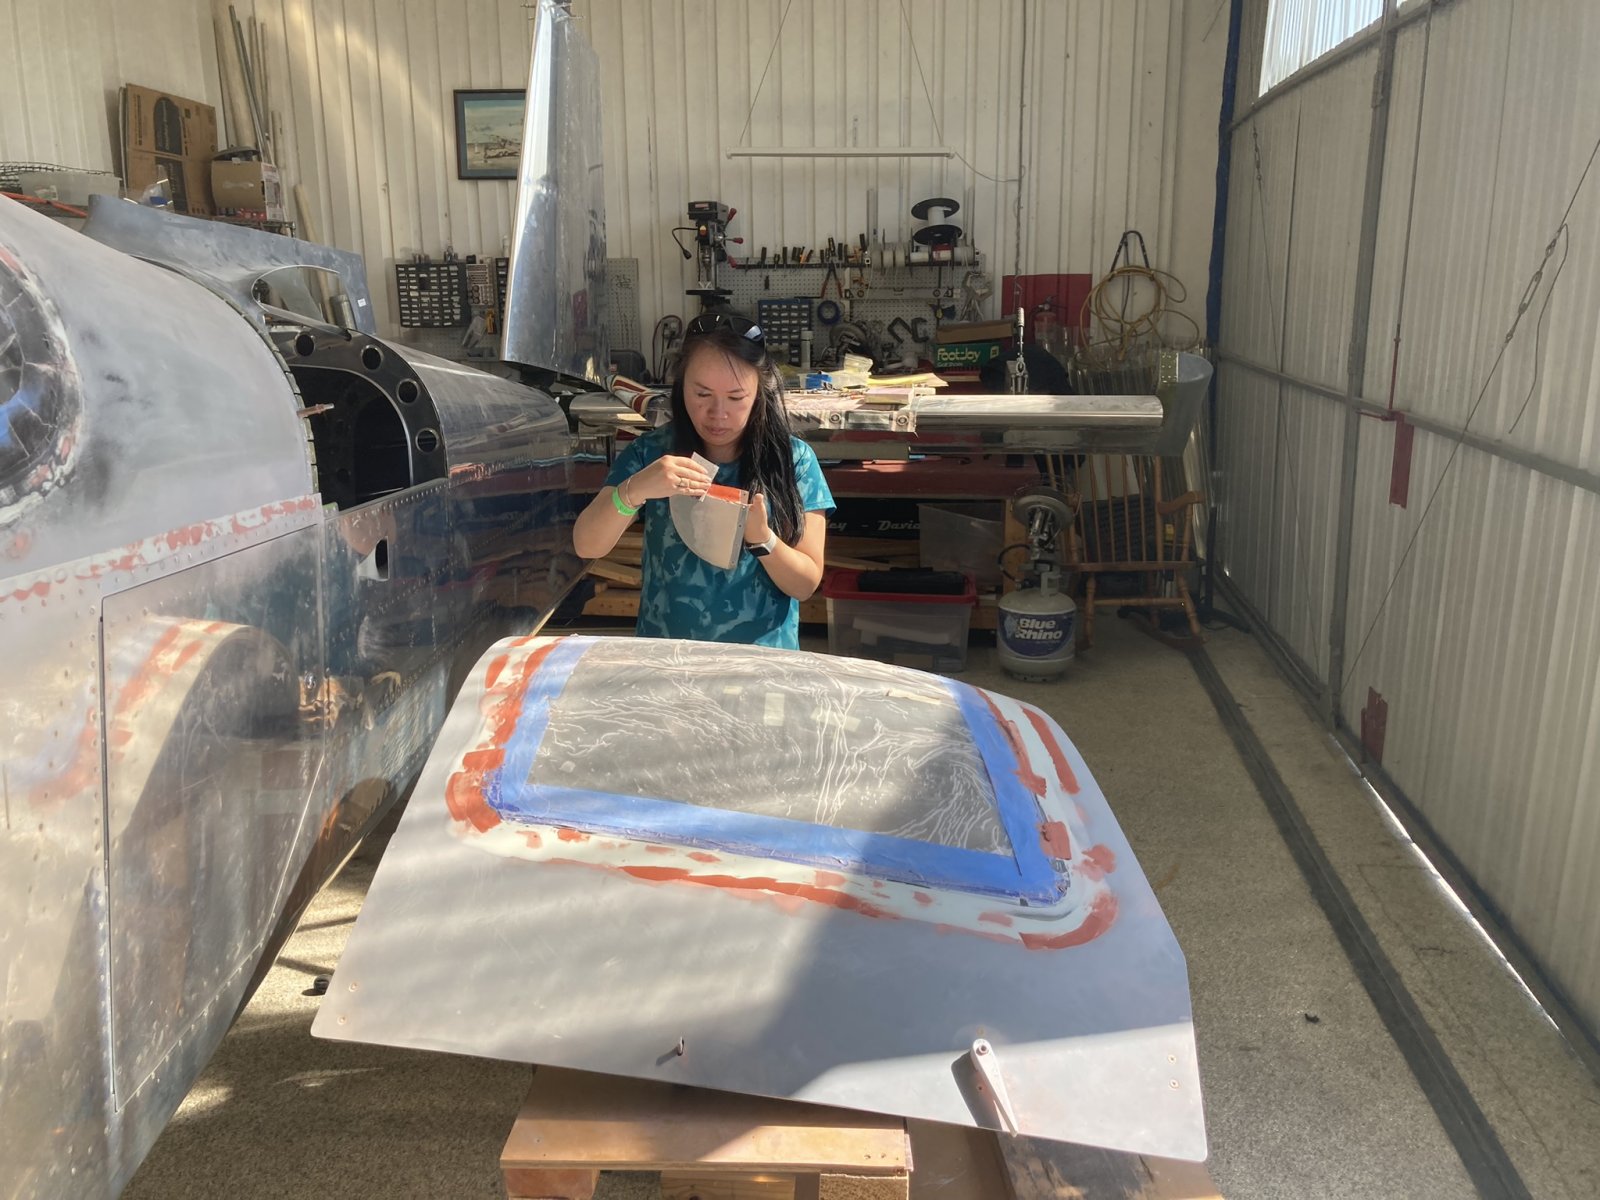
| Nhu-An applying the glue to hold down the windshield. |
| |
 |
|
|
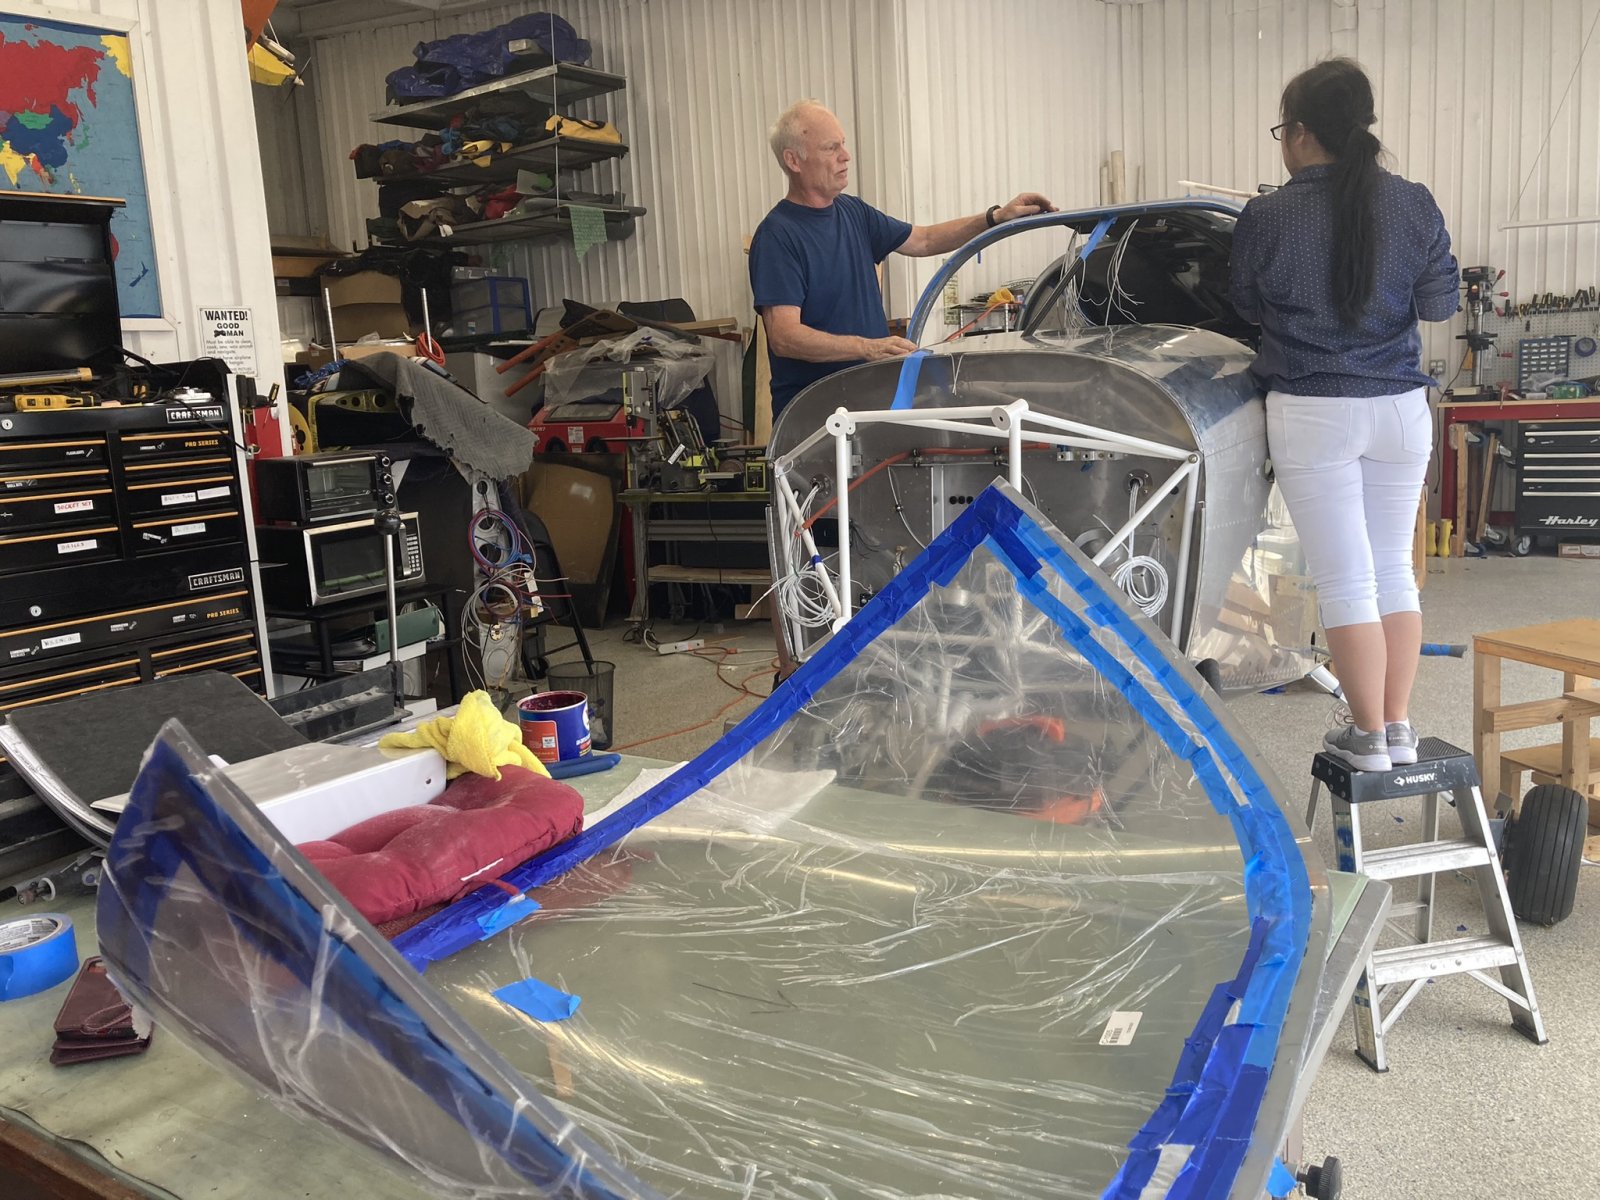
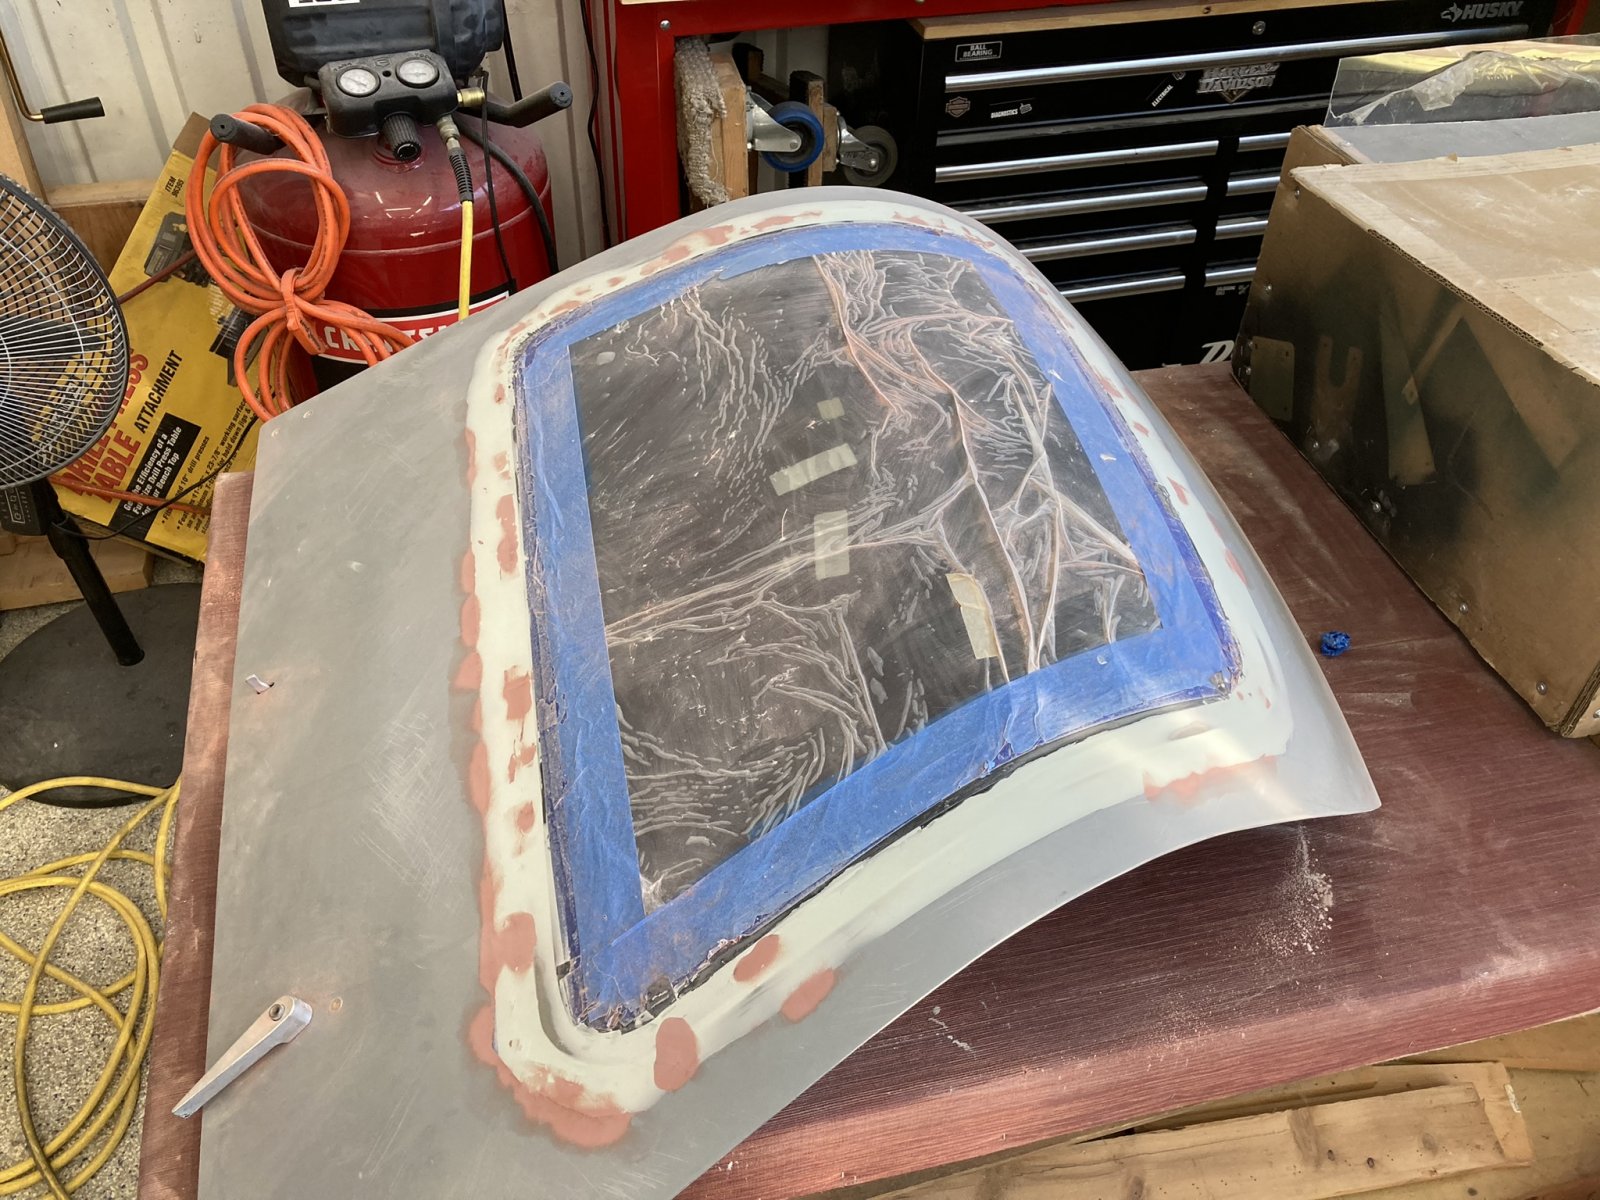
The windshield lies on the table, all prepped and ready for installation.
|
| |
 |
|
| The glue is almost ready. |
| |
 |
|
|
|
| |
 |
|
| The windshield is one. We use cleco's -- lubed with some grease so they won't get stuck -- to hold down the windshield while the glue dries. |
| |
 |
|
|
August 5
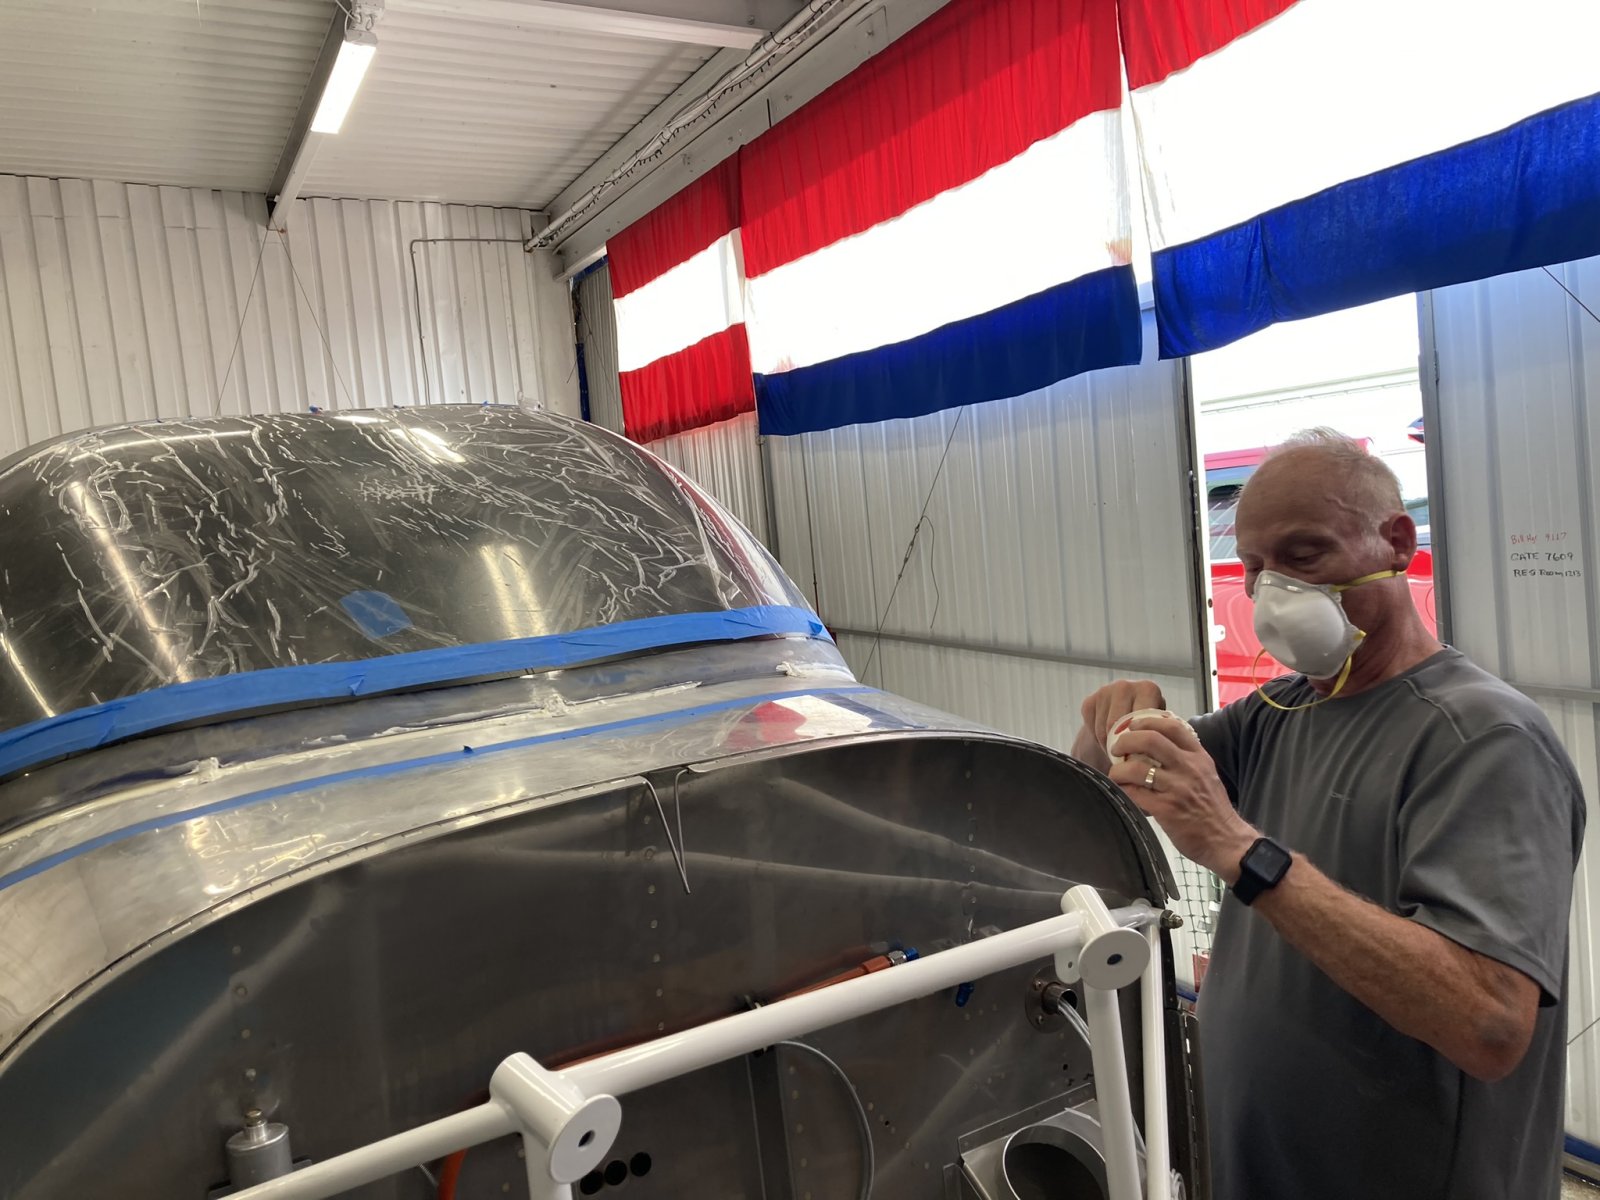
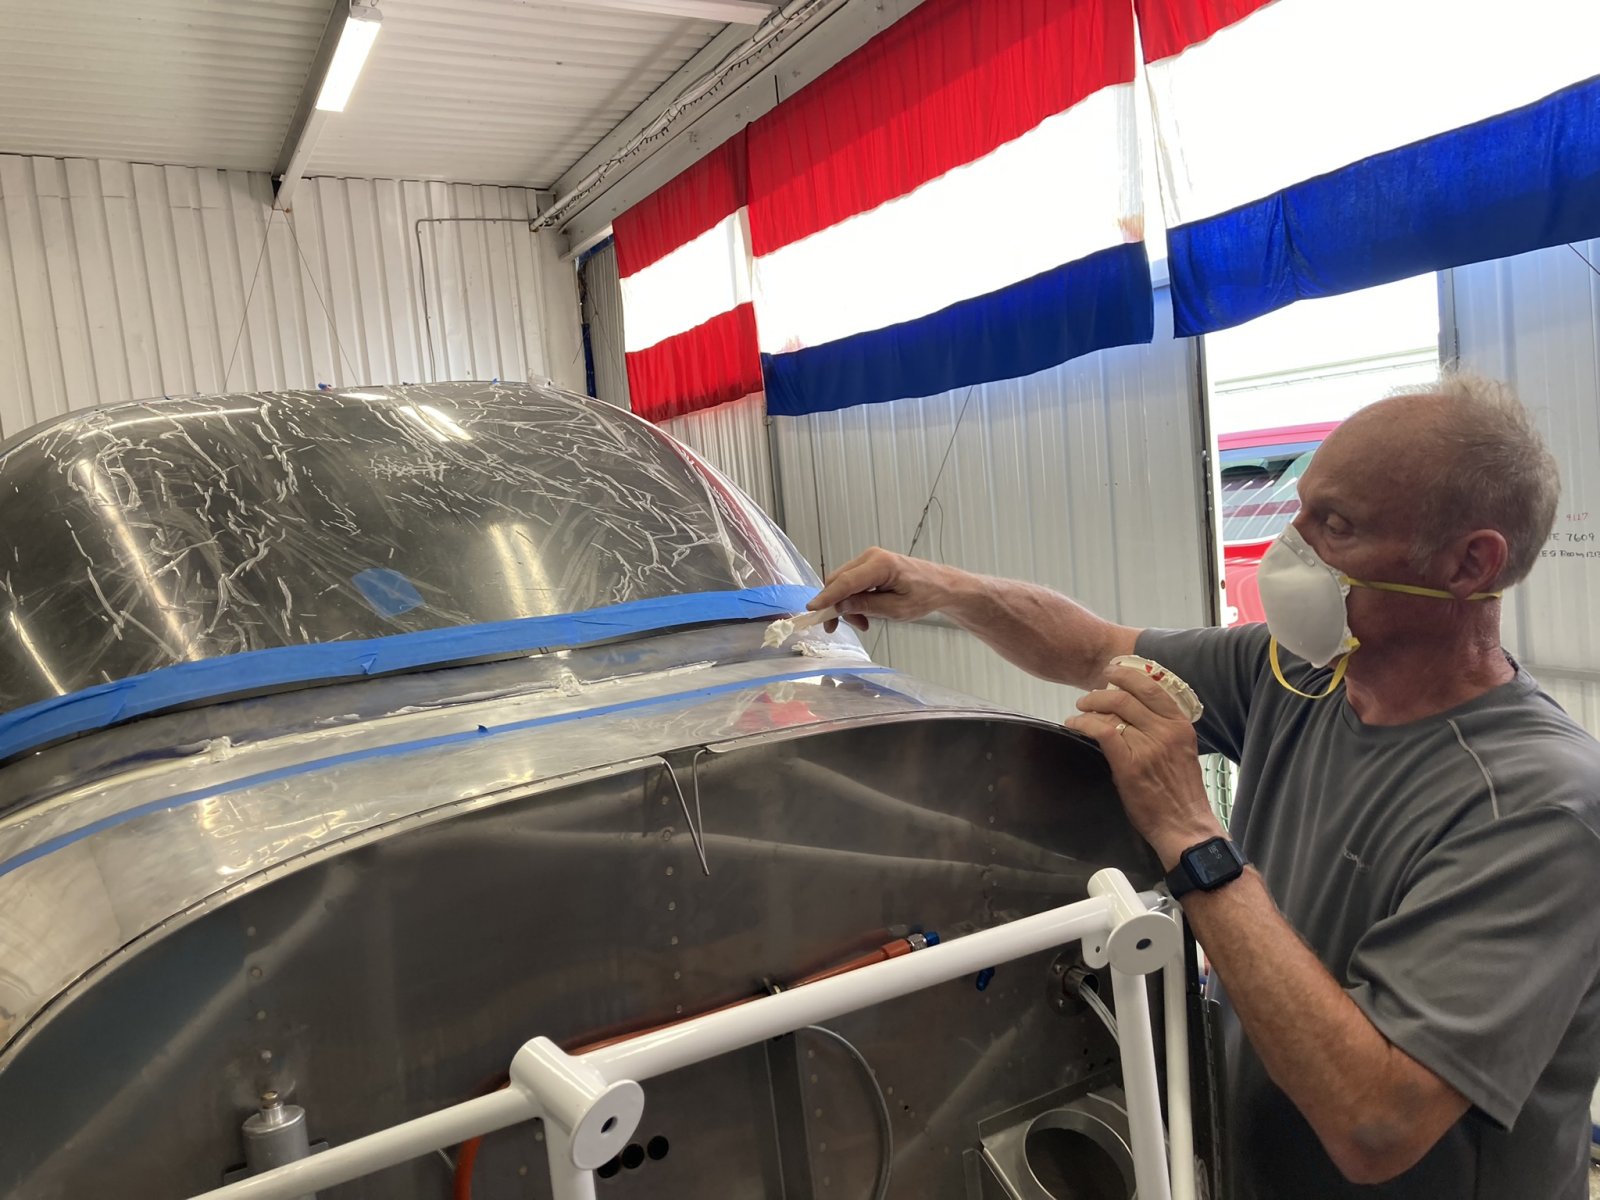
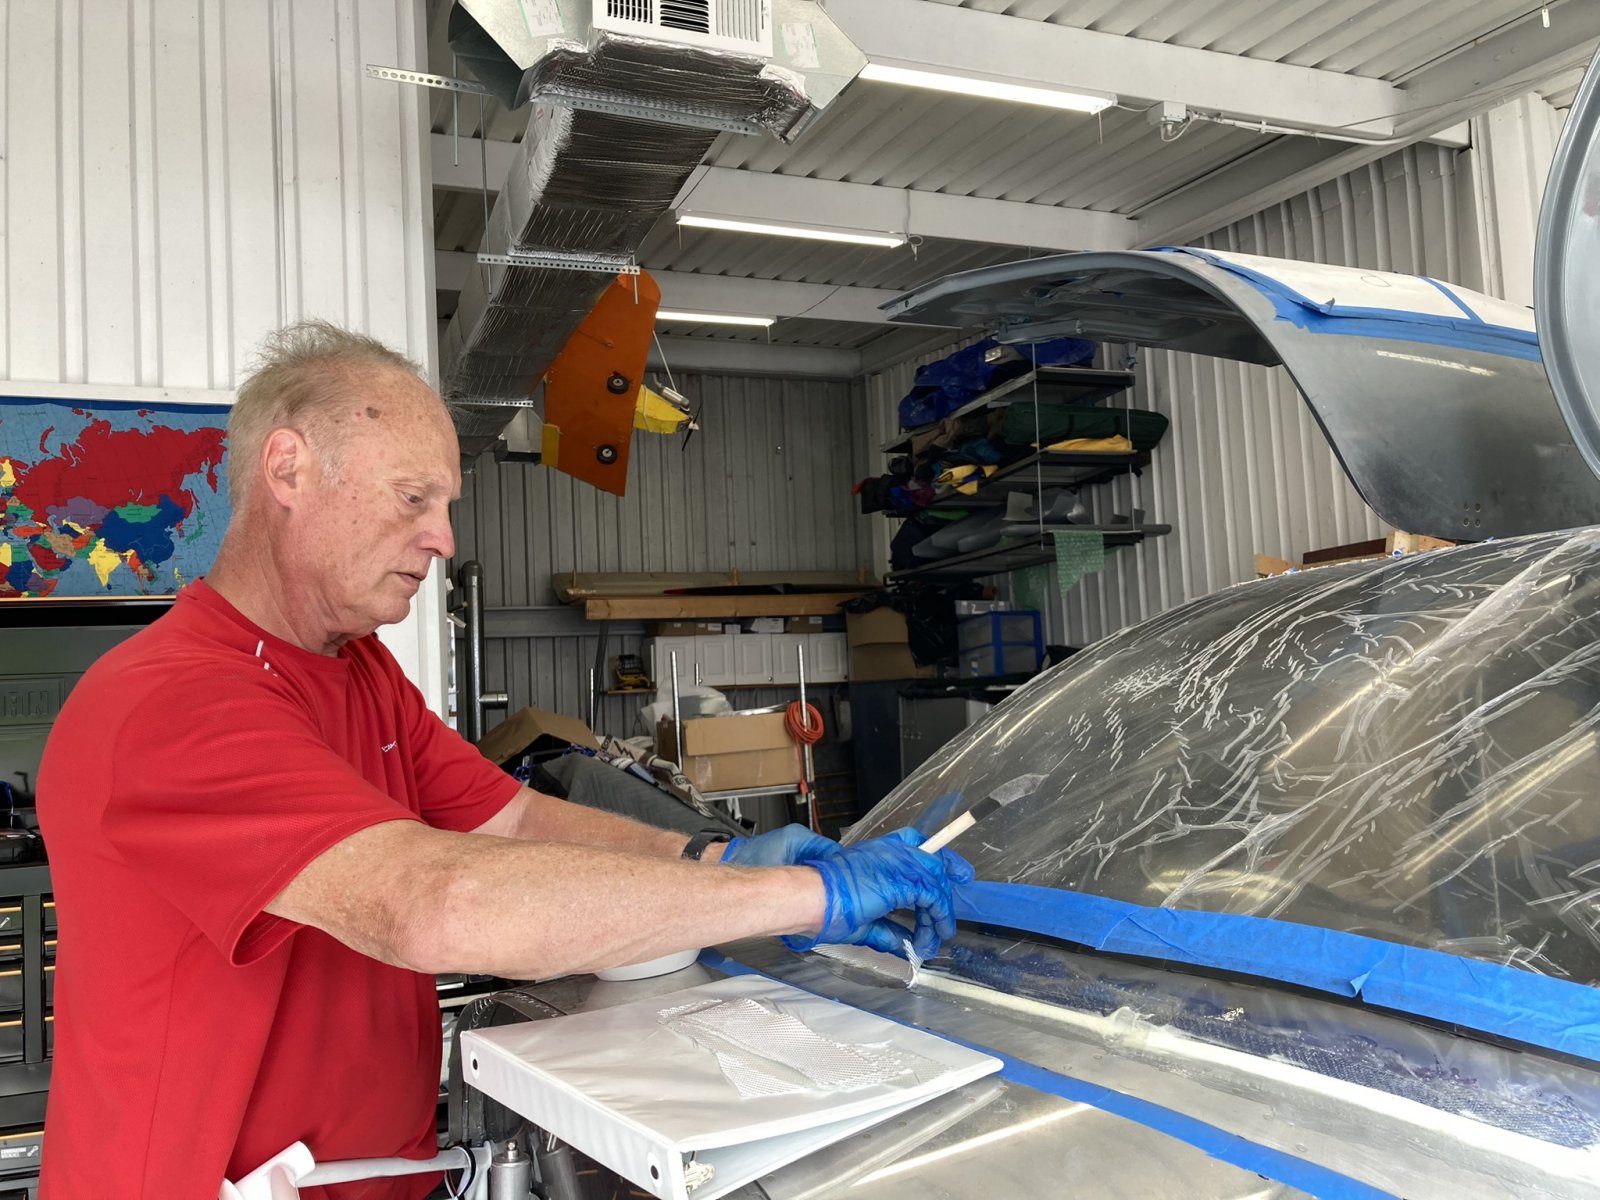
The windshield has been glued on. Now it is time to fill where the windshield bottom meets the aluminum skin with some epoxy-microballoon flux.
|
| |
 |
|
|
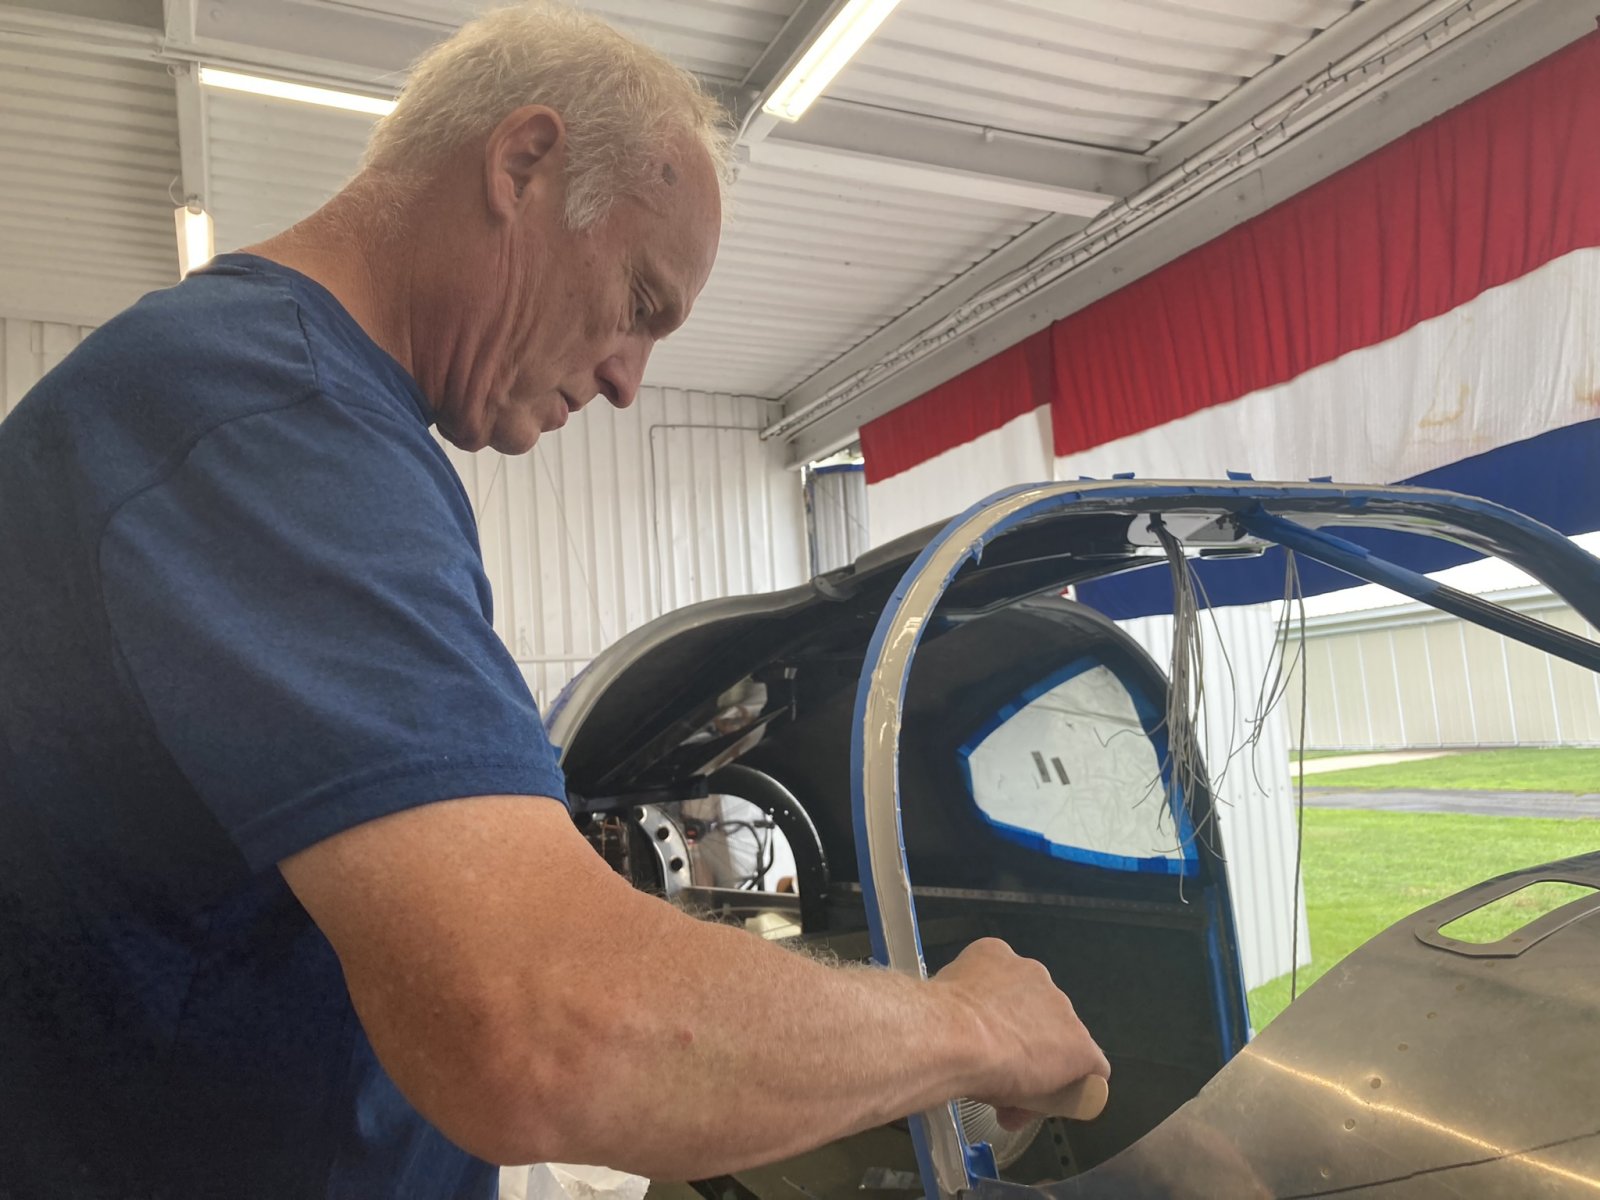
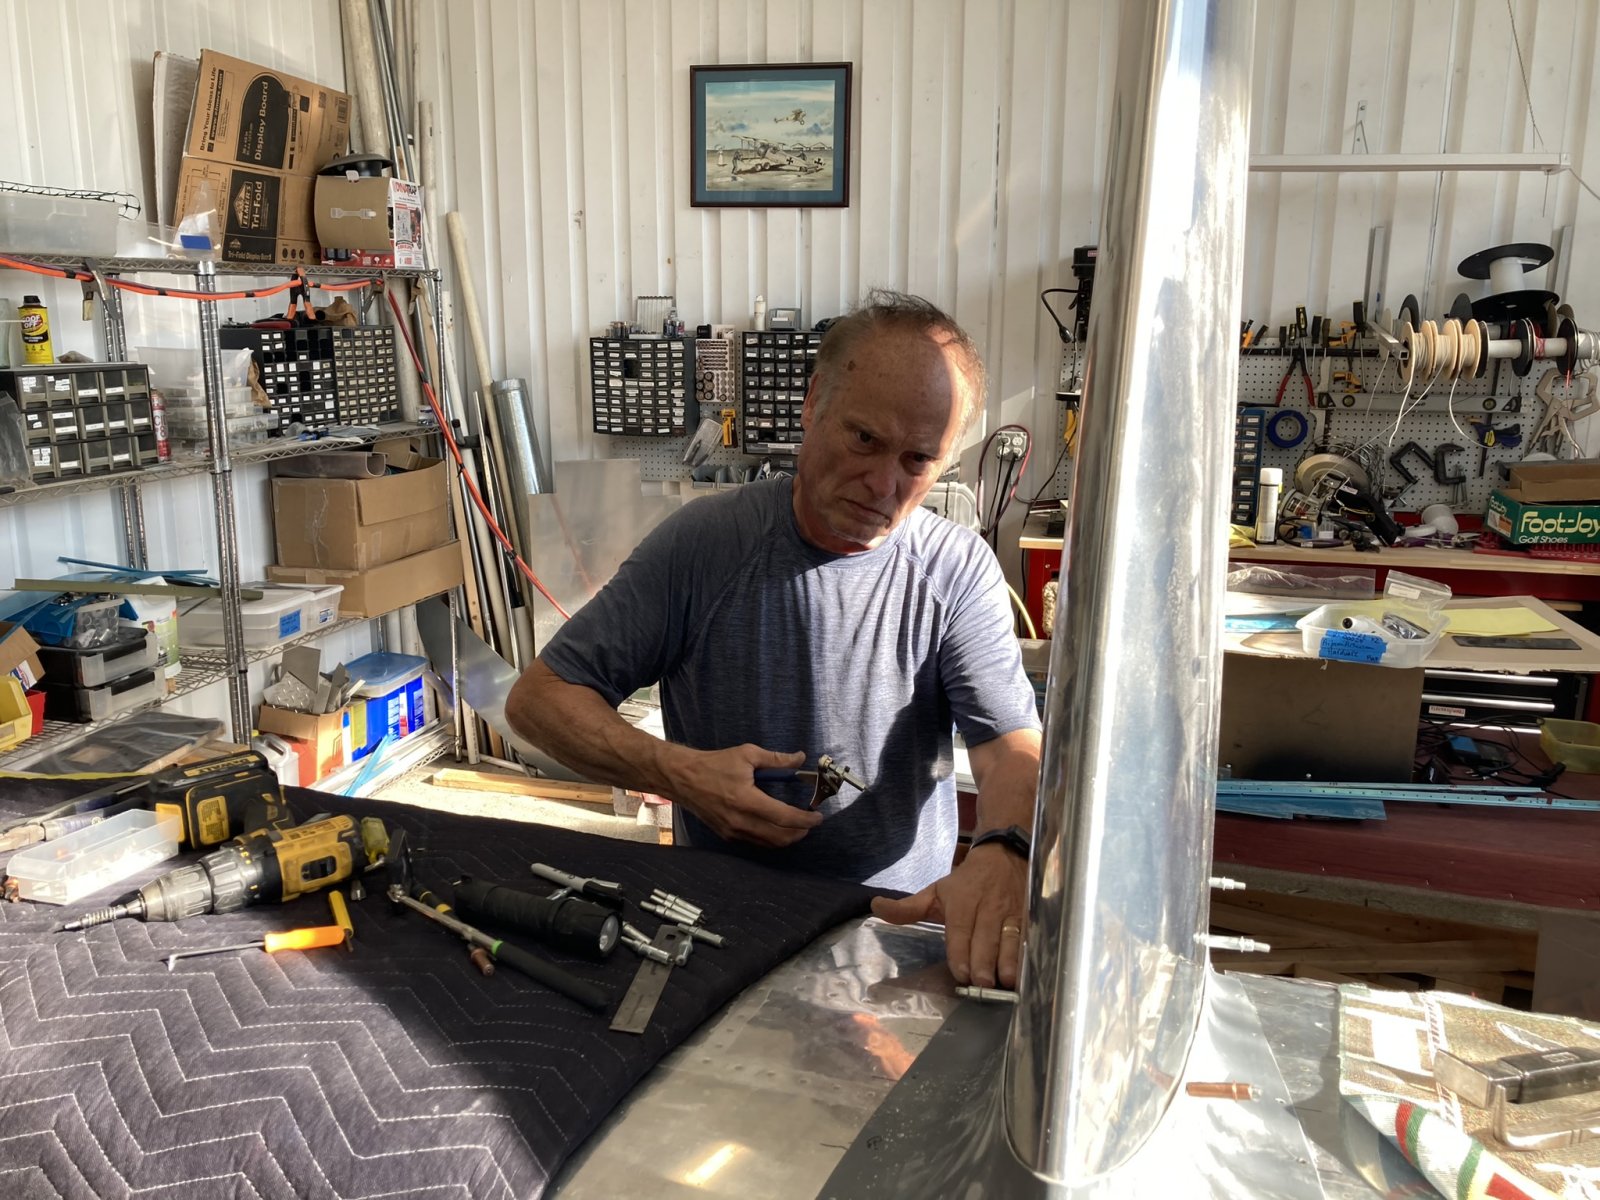
Rich is applying the flux.
|
| |
 |
|
|
Looking good!
|
| |
 |
|
|
Aug 6
The next day, we prep the rear window.
|
| |
 |
|
|
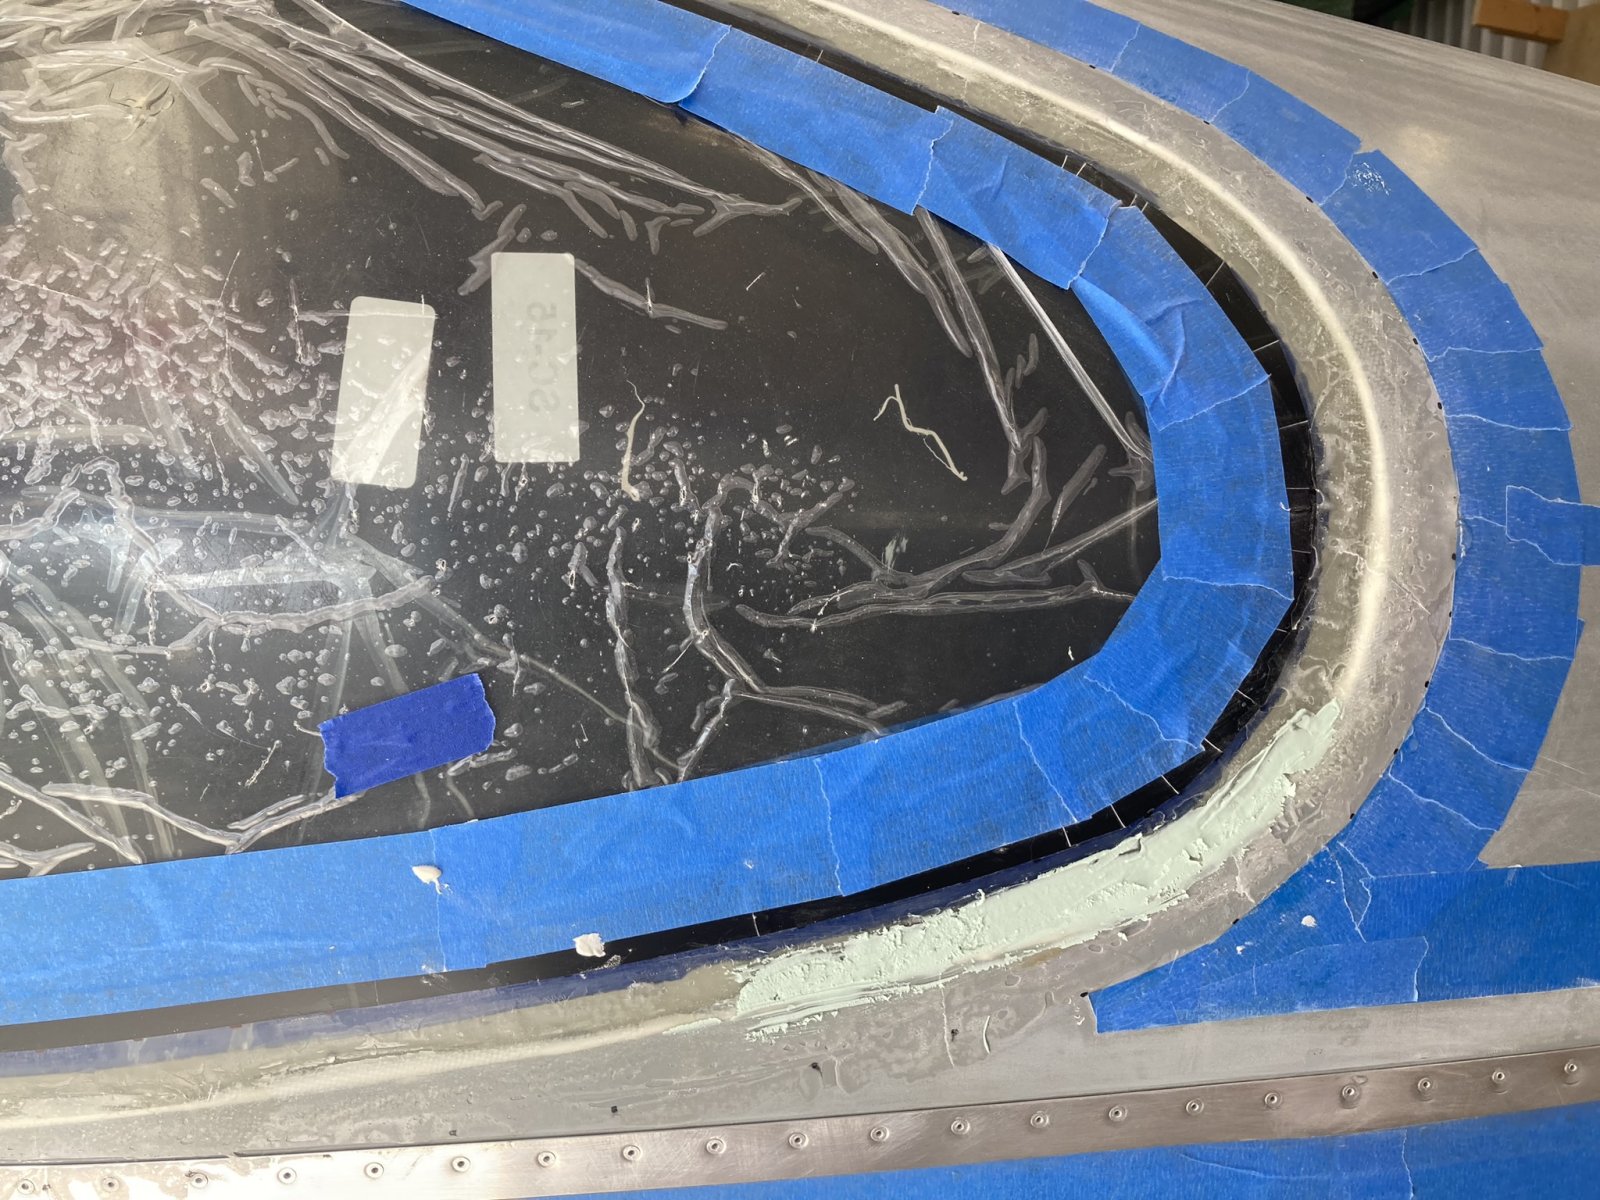
Applying a two-part green glaze to the rear window seam.
|
| |
 |
|
|
Aug 9
The next step on the windshield is to lay down epoxy-coated fiberglass strips on the front edge.
|
| |
 |
|
| Laying down strips of glass. |
| |
 |
|
| The rear window has been glazed. |
| |
 |
|
|
Sep 17
Rich finished laying up the fiberglass strips to form the windshield fairing. Then he spread on the green glaze. The glaze works well but it has a very short pot life
|
| |
 |
|
|
Sep 20
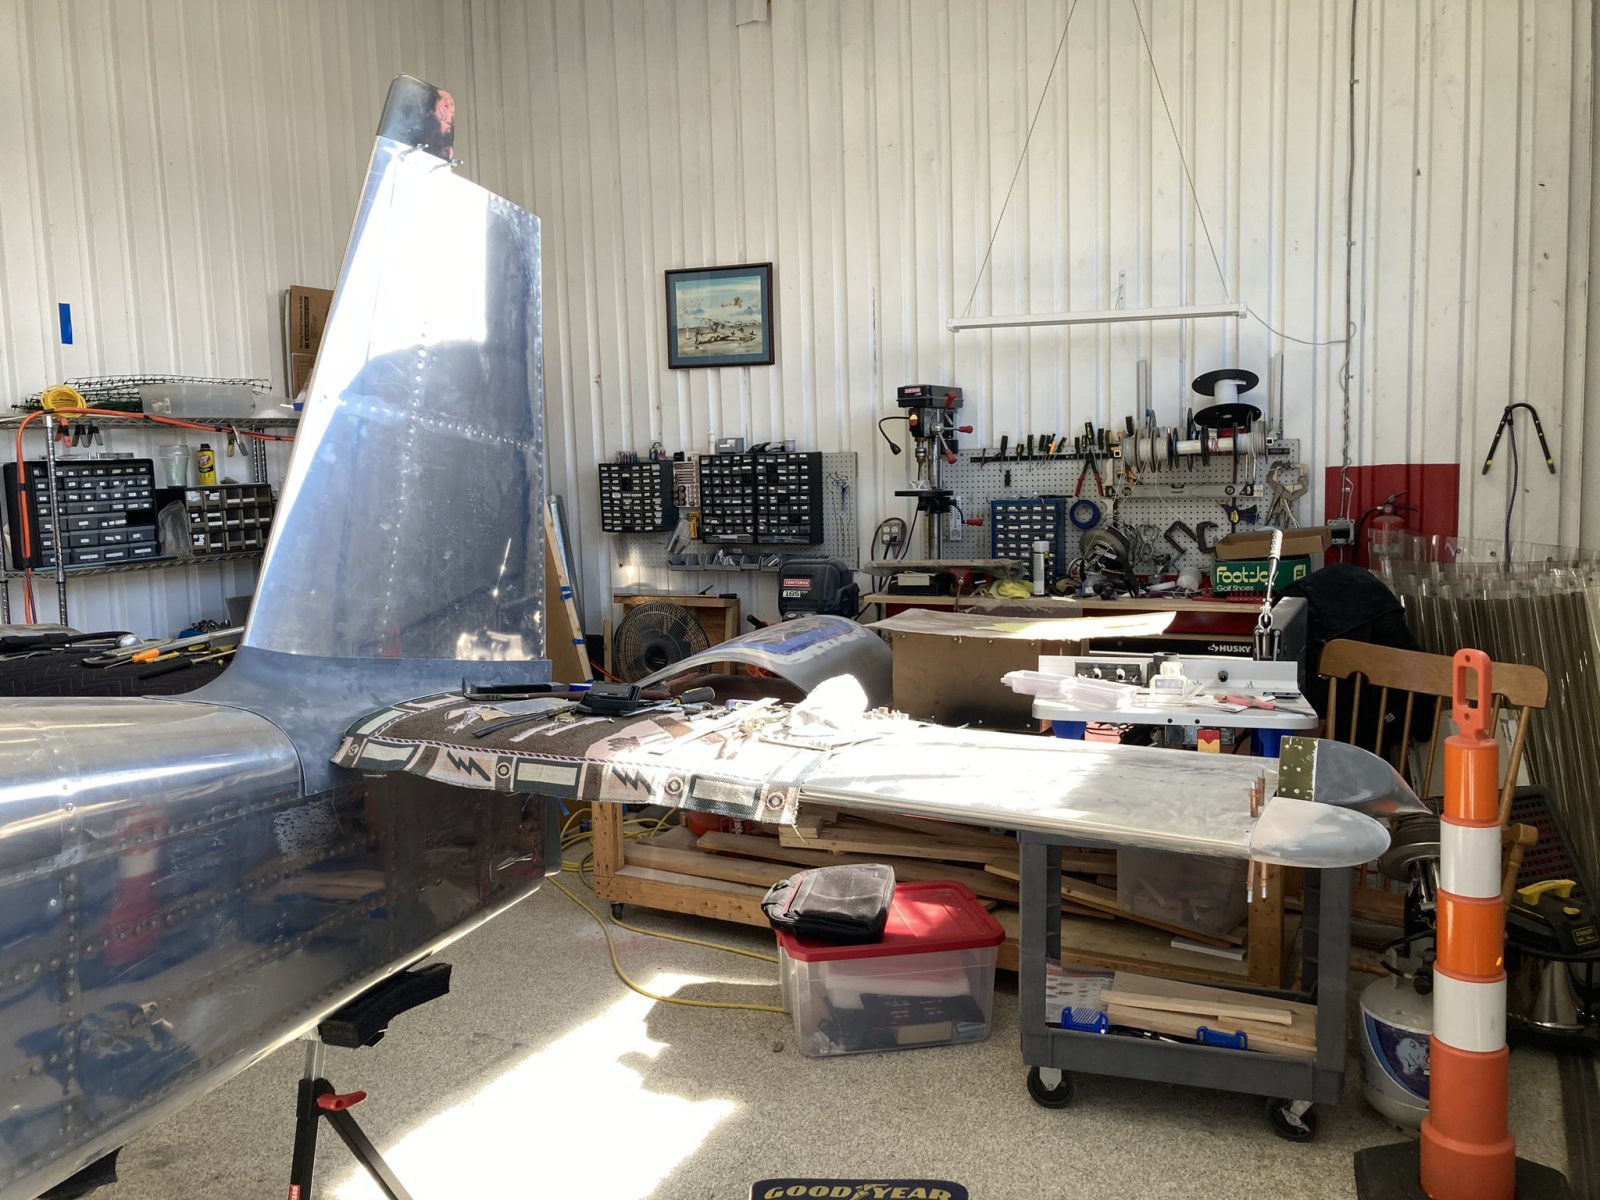
The empennage has been attached. For good. Now Rich is working on the empennage fairing.
|
| |
 |
|
|
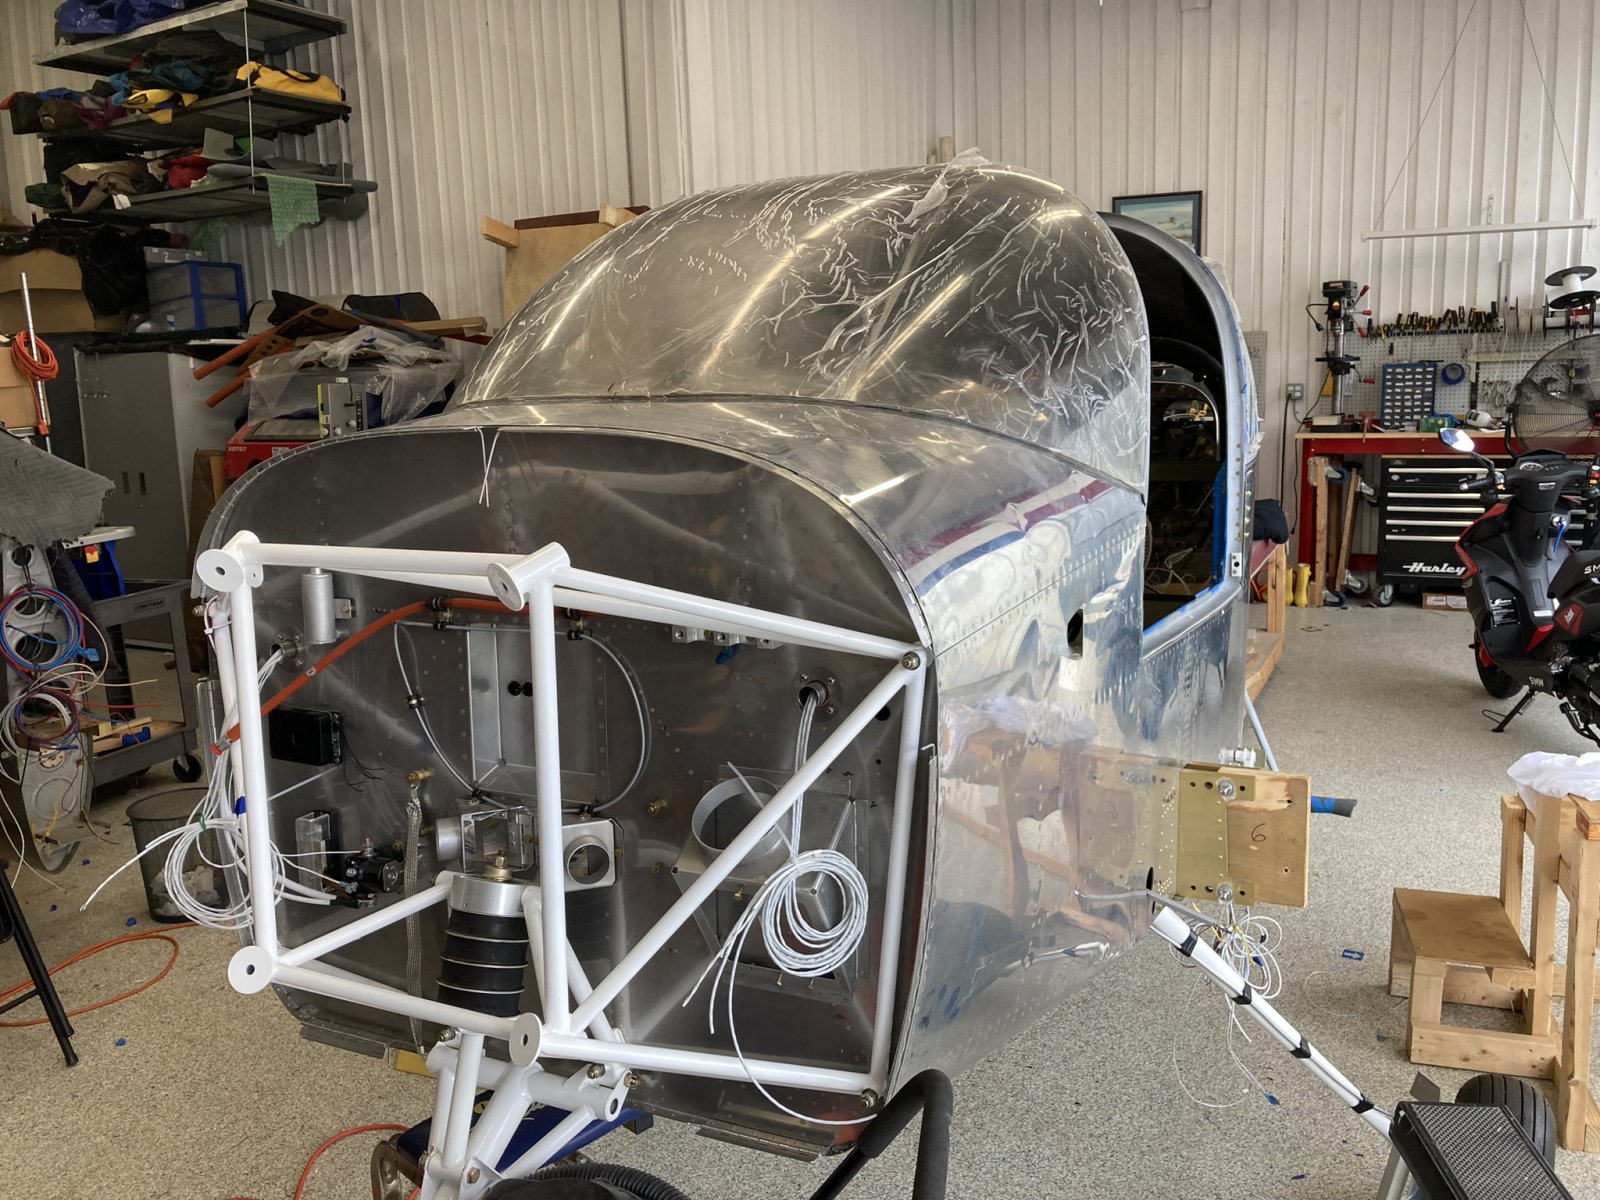
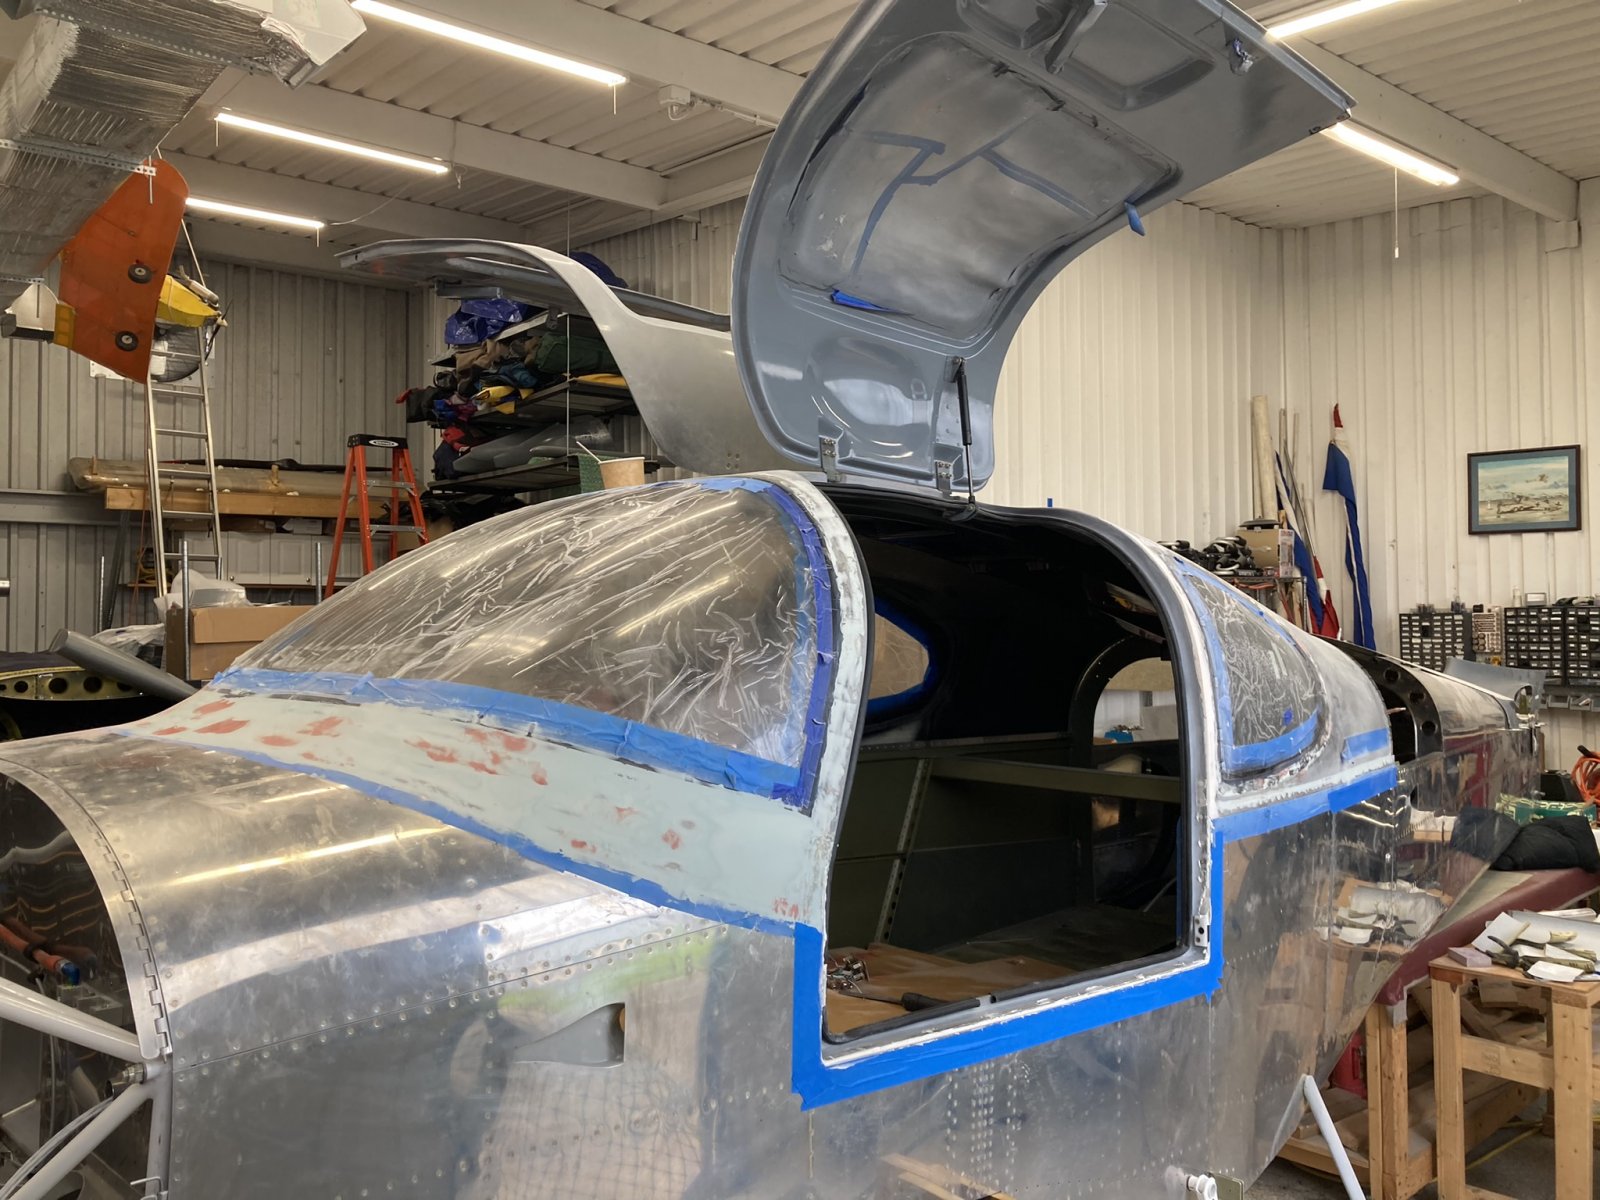
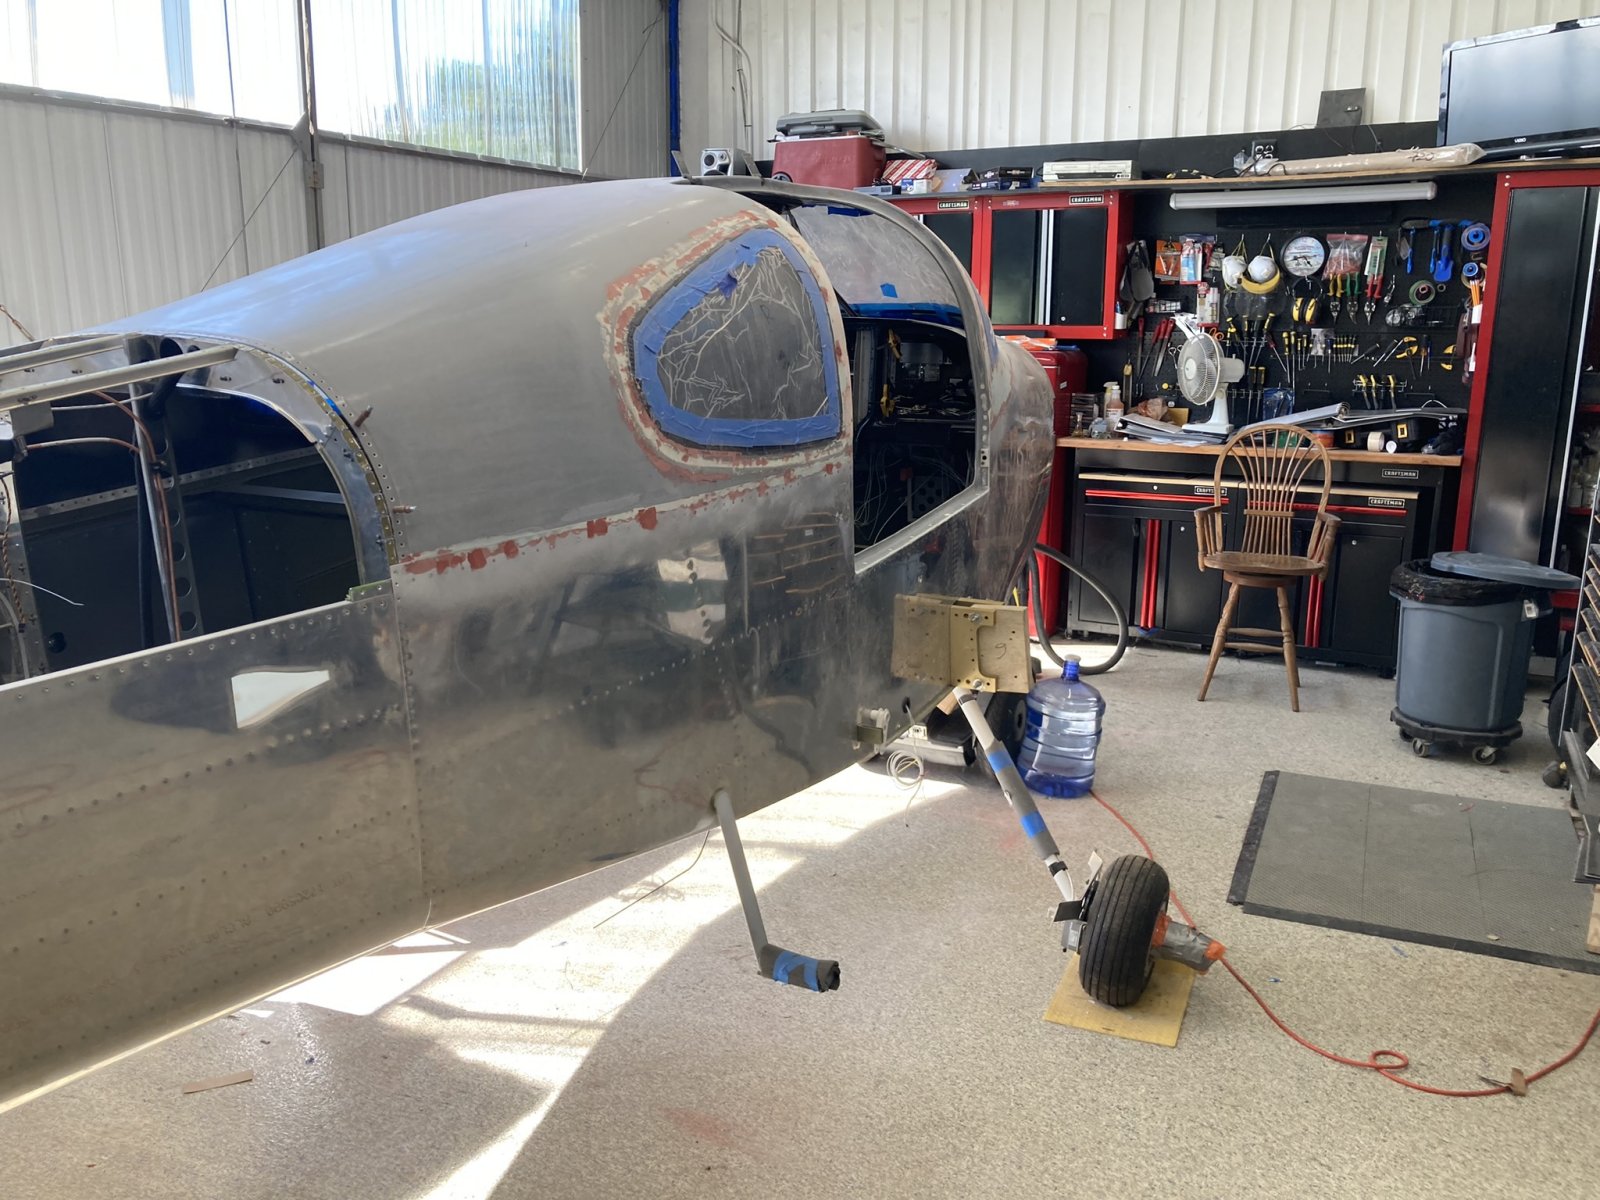
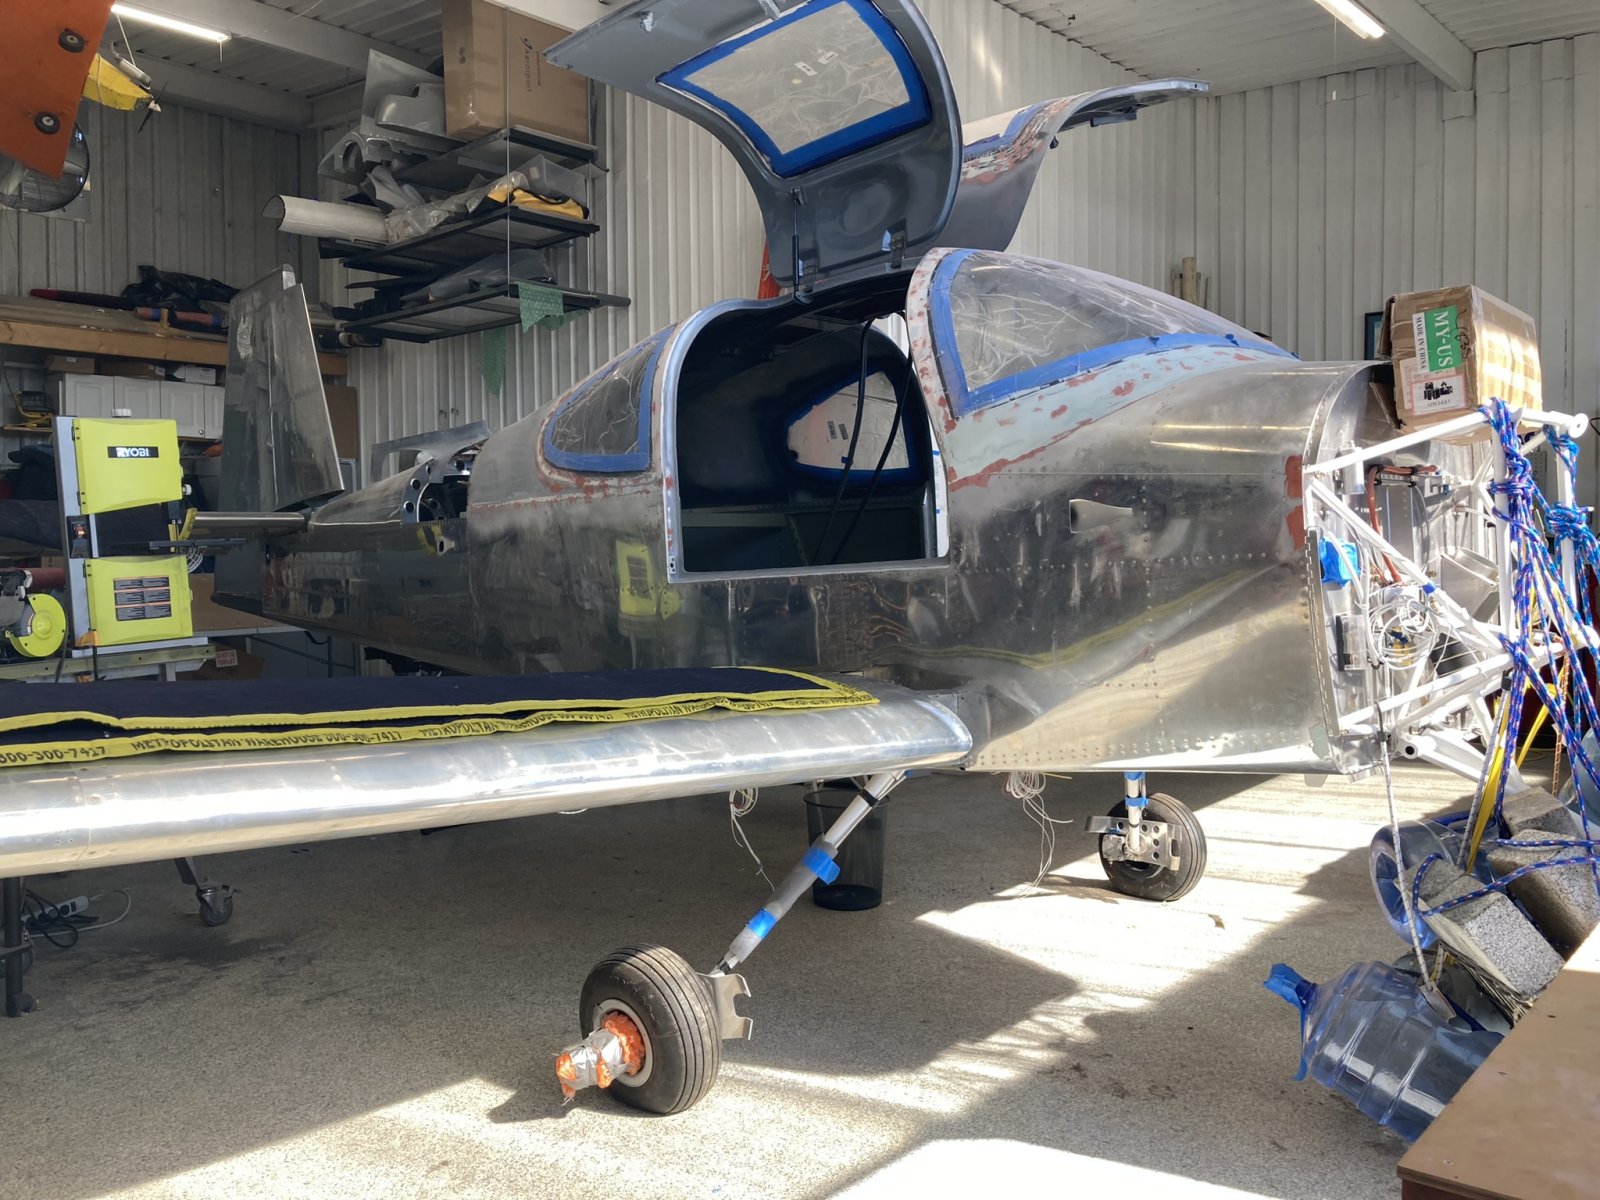
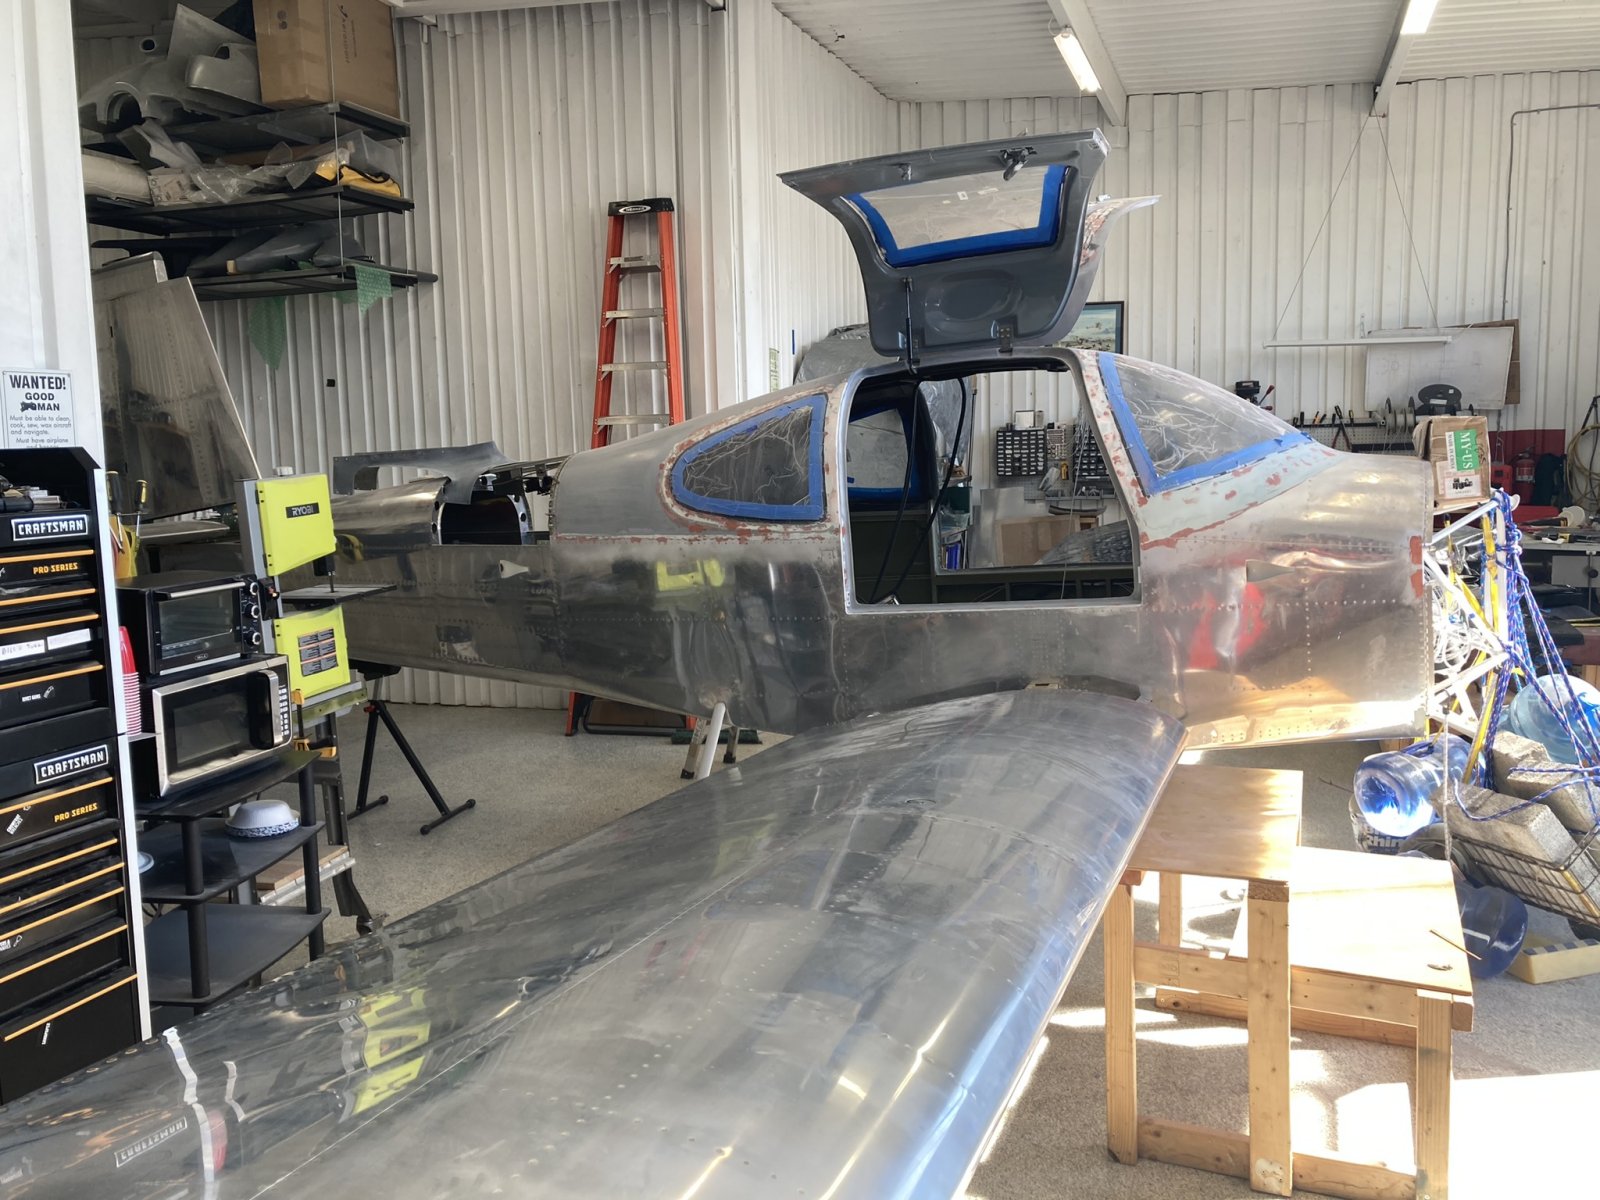
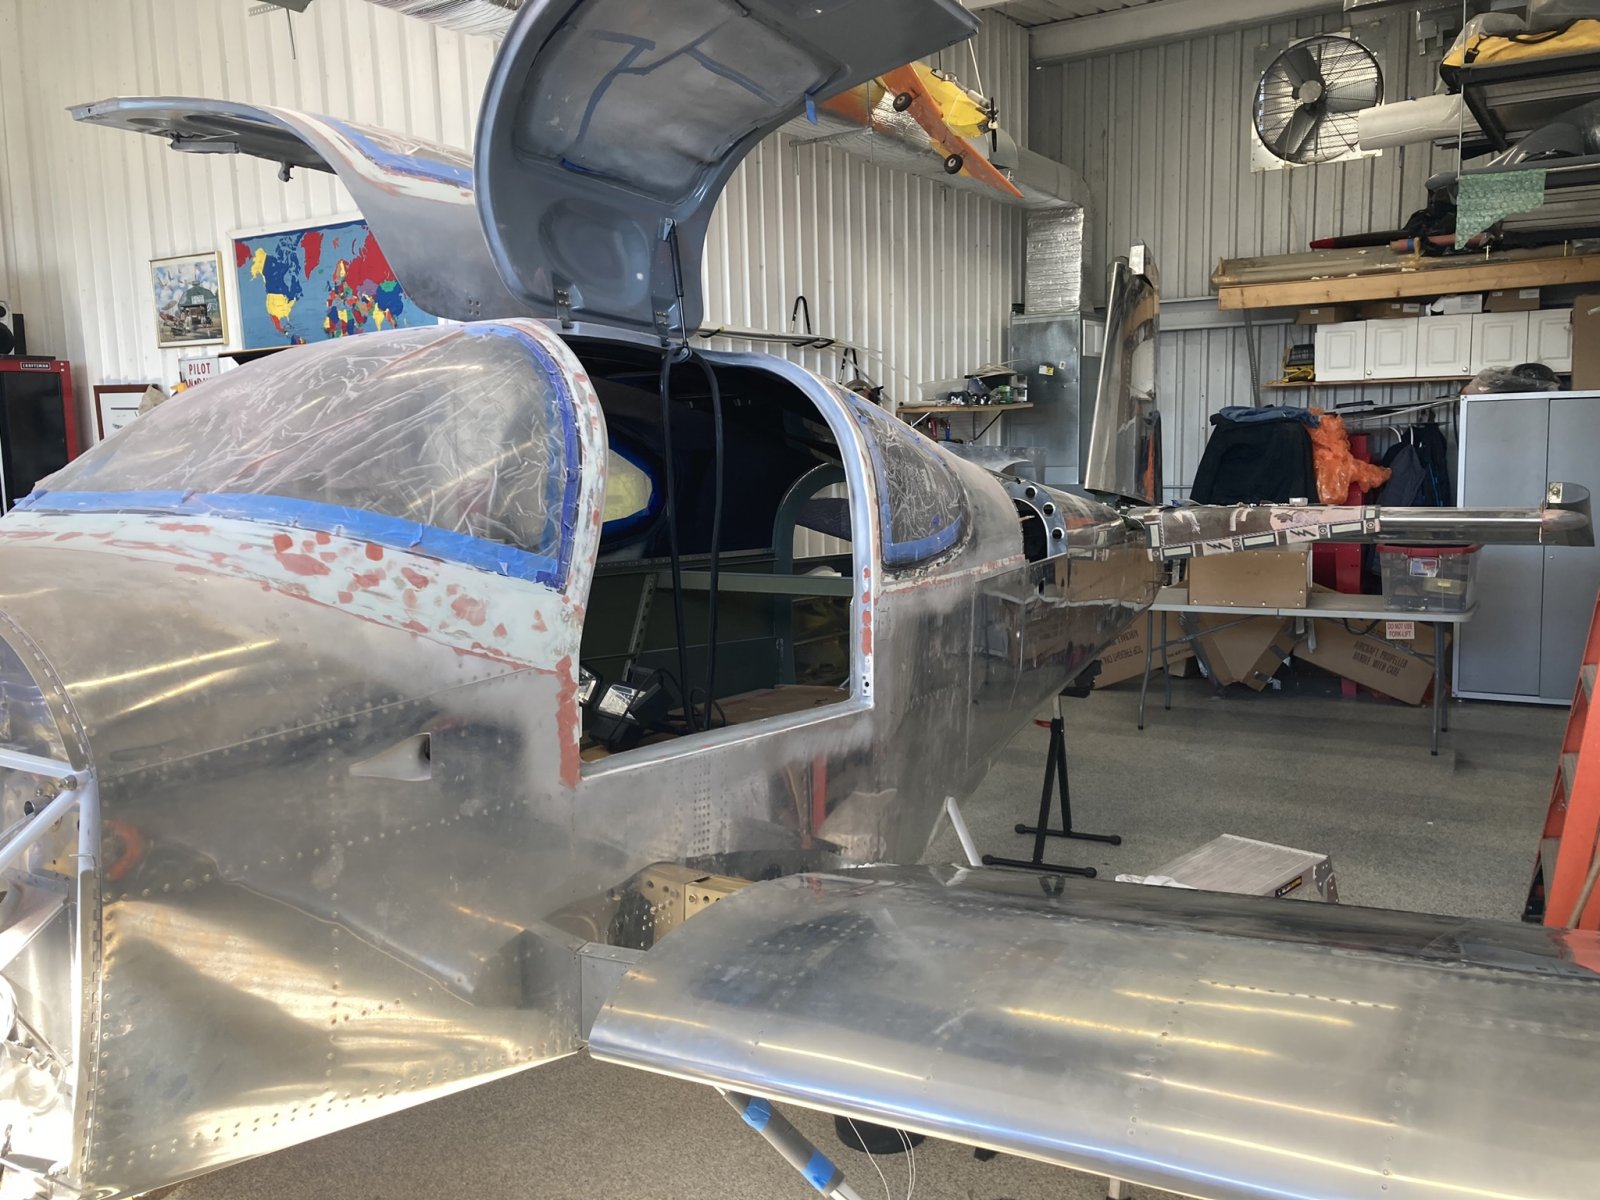
Really starting to look like a plane with the cabin cover, windshield, door and rear windows and empennage all installed.
|
| |
 |
|
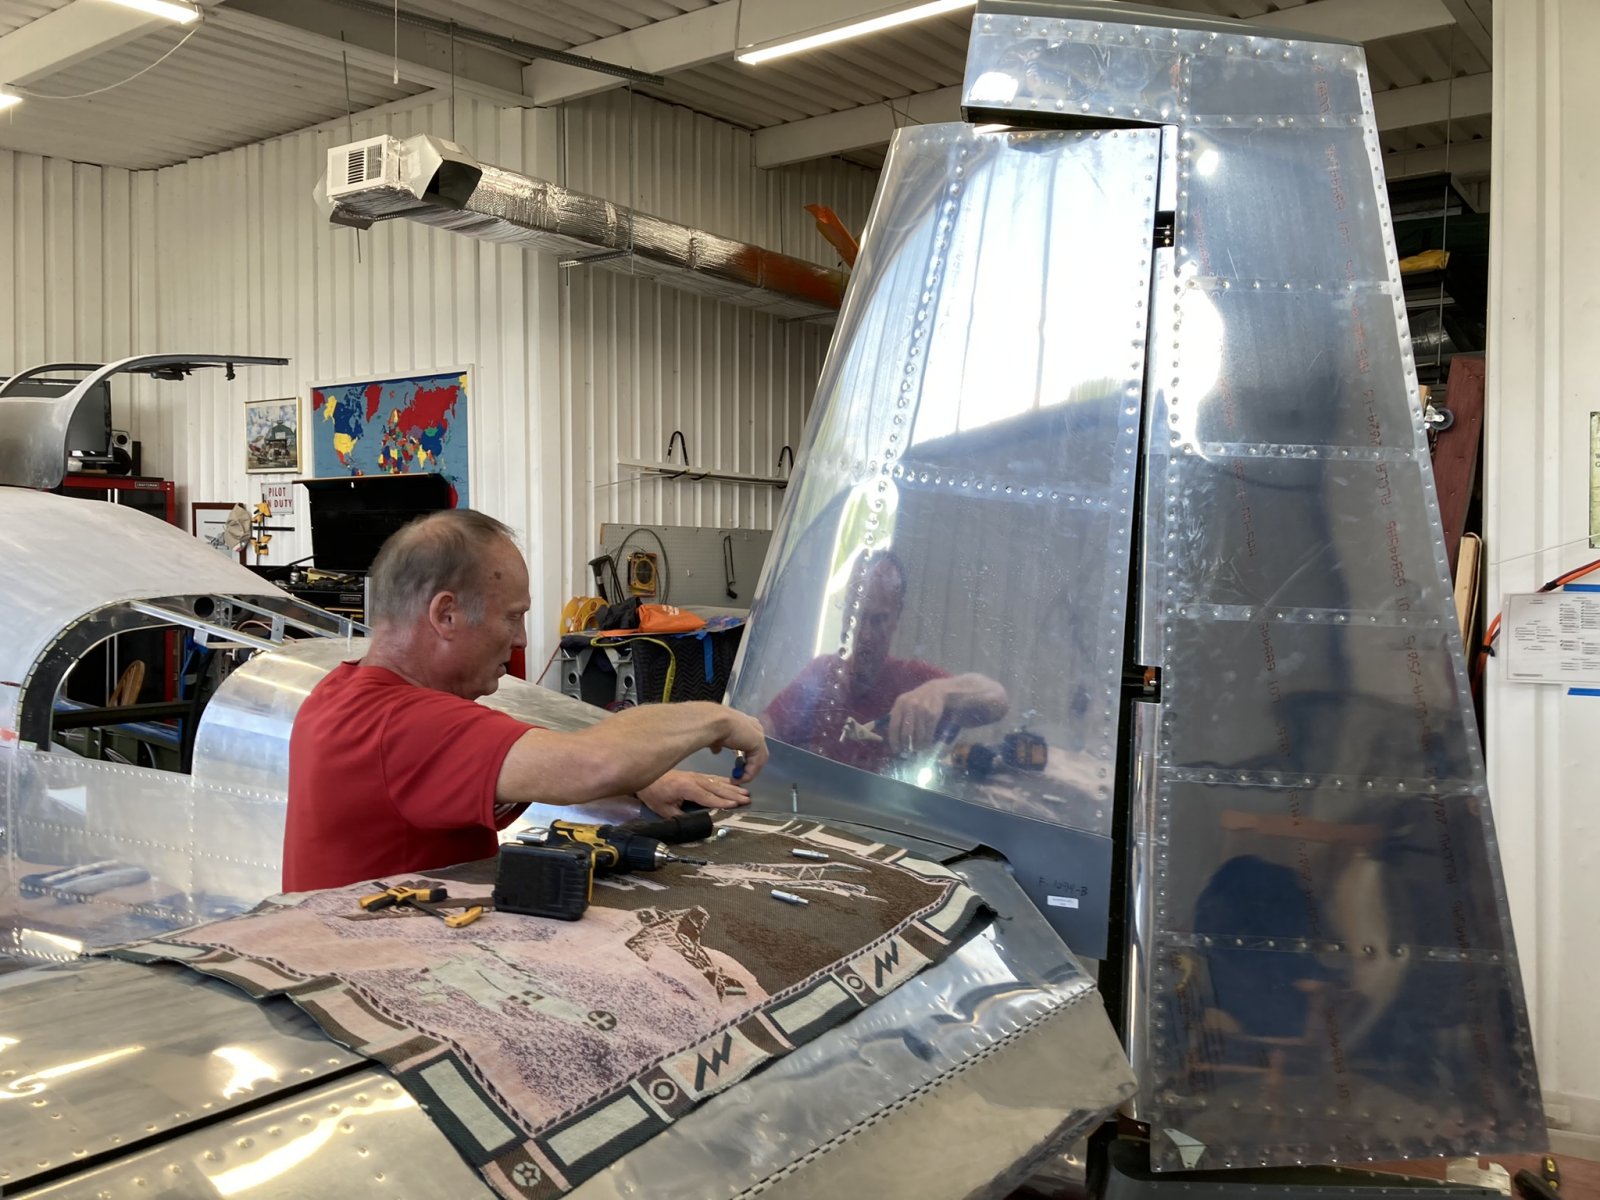
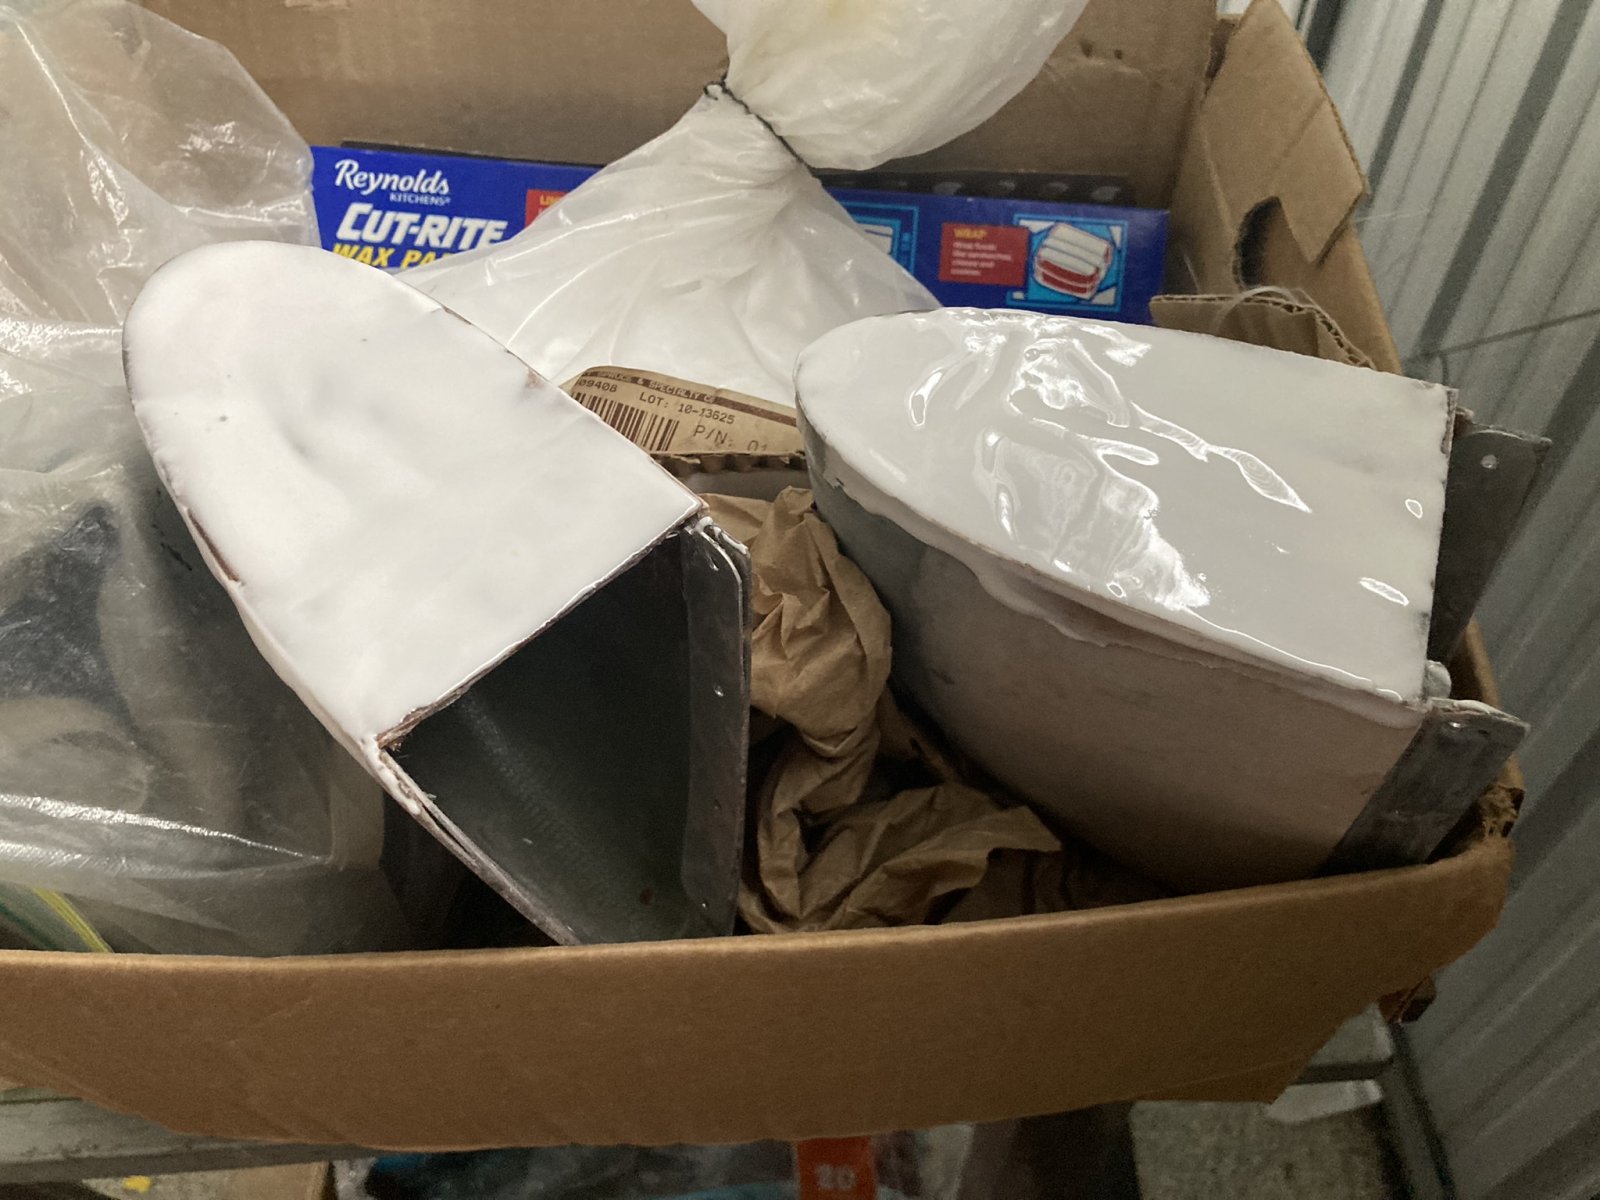
| The horizontal and vertical stab tips have been sitting around forever. It's finally time to finish them up. |
| |
 |
|
|
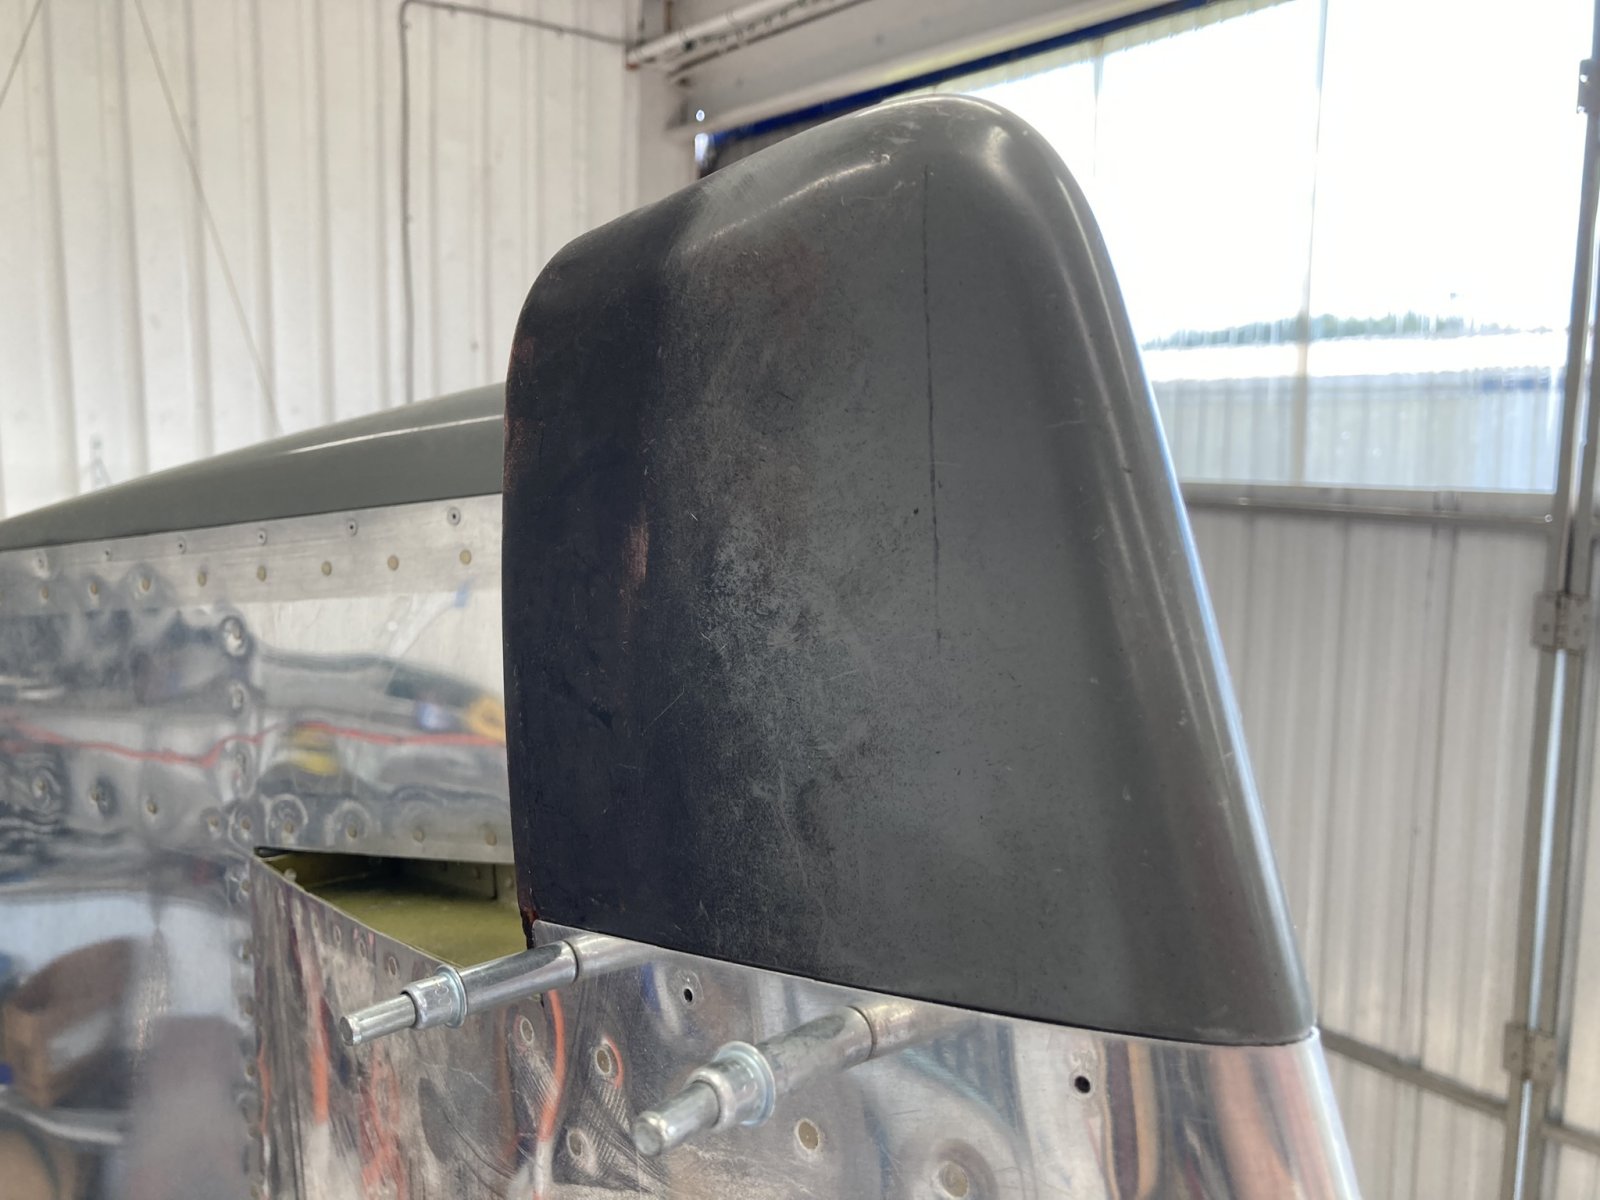
Sep 20
Vertical stab tip.
|
| |
 |
|
|
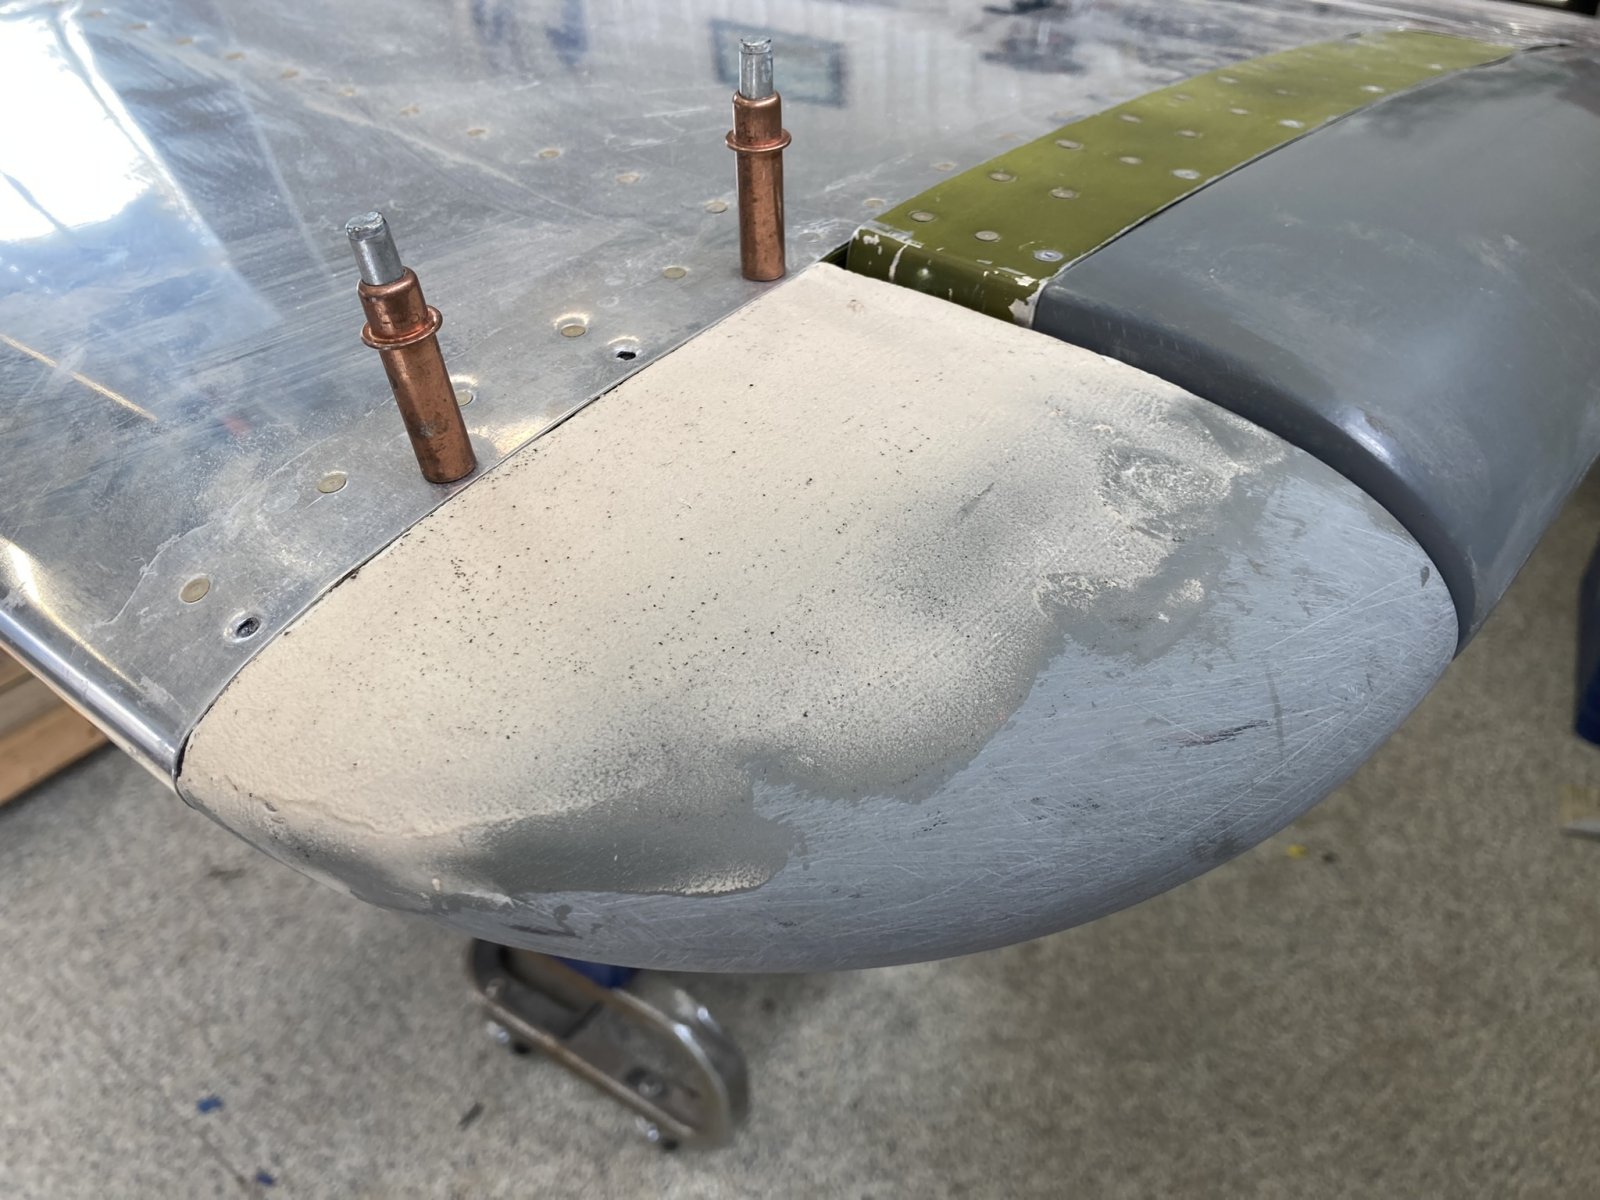
Sep 28
Building up the horizontal stab tips with lightweight epoxy and microballoons so the gap between HS and Elevator won't be so much.
|
| |
 |
|
|
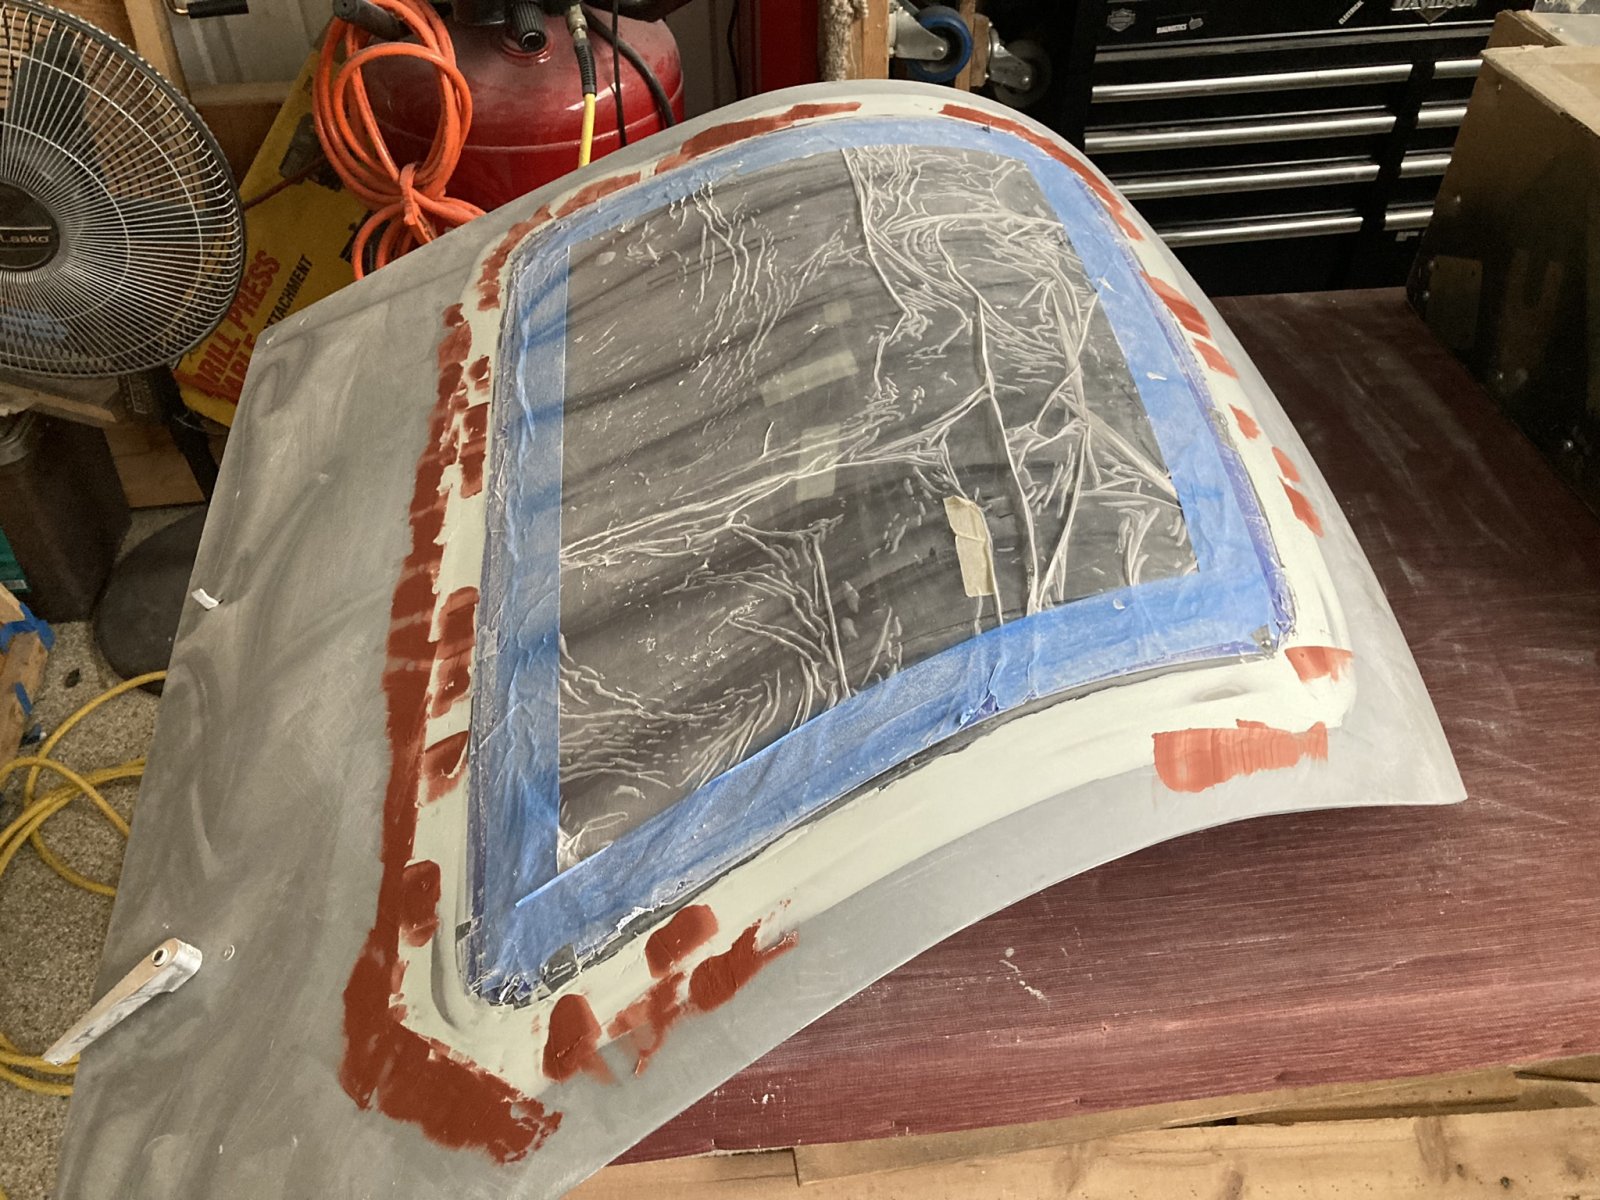
The replacement right door window finally arrived. Soon it was glued in and glazed. I use bondo to take care of the final finishing.
|
| |
 |
|
|
Sep 30
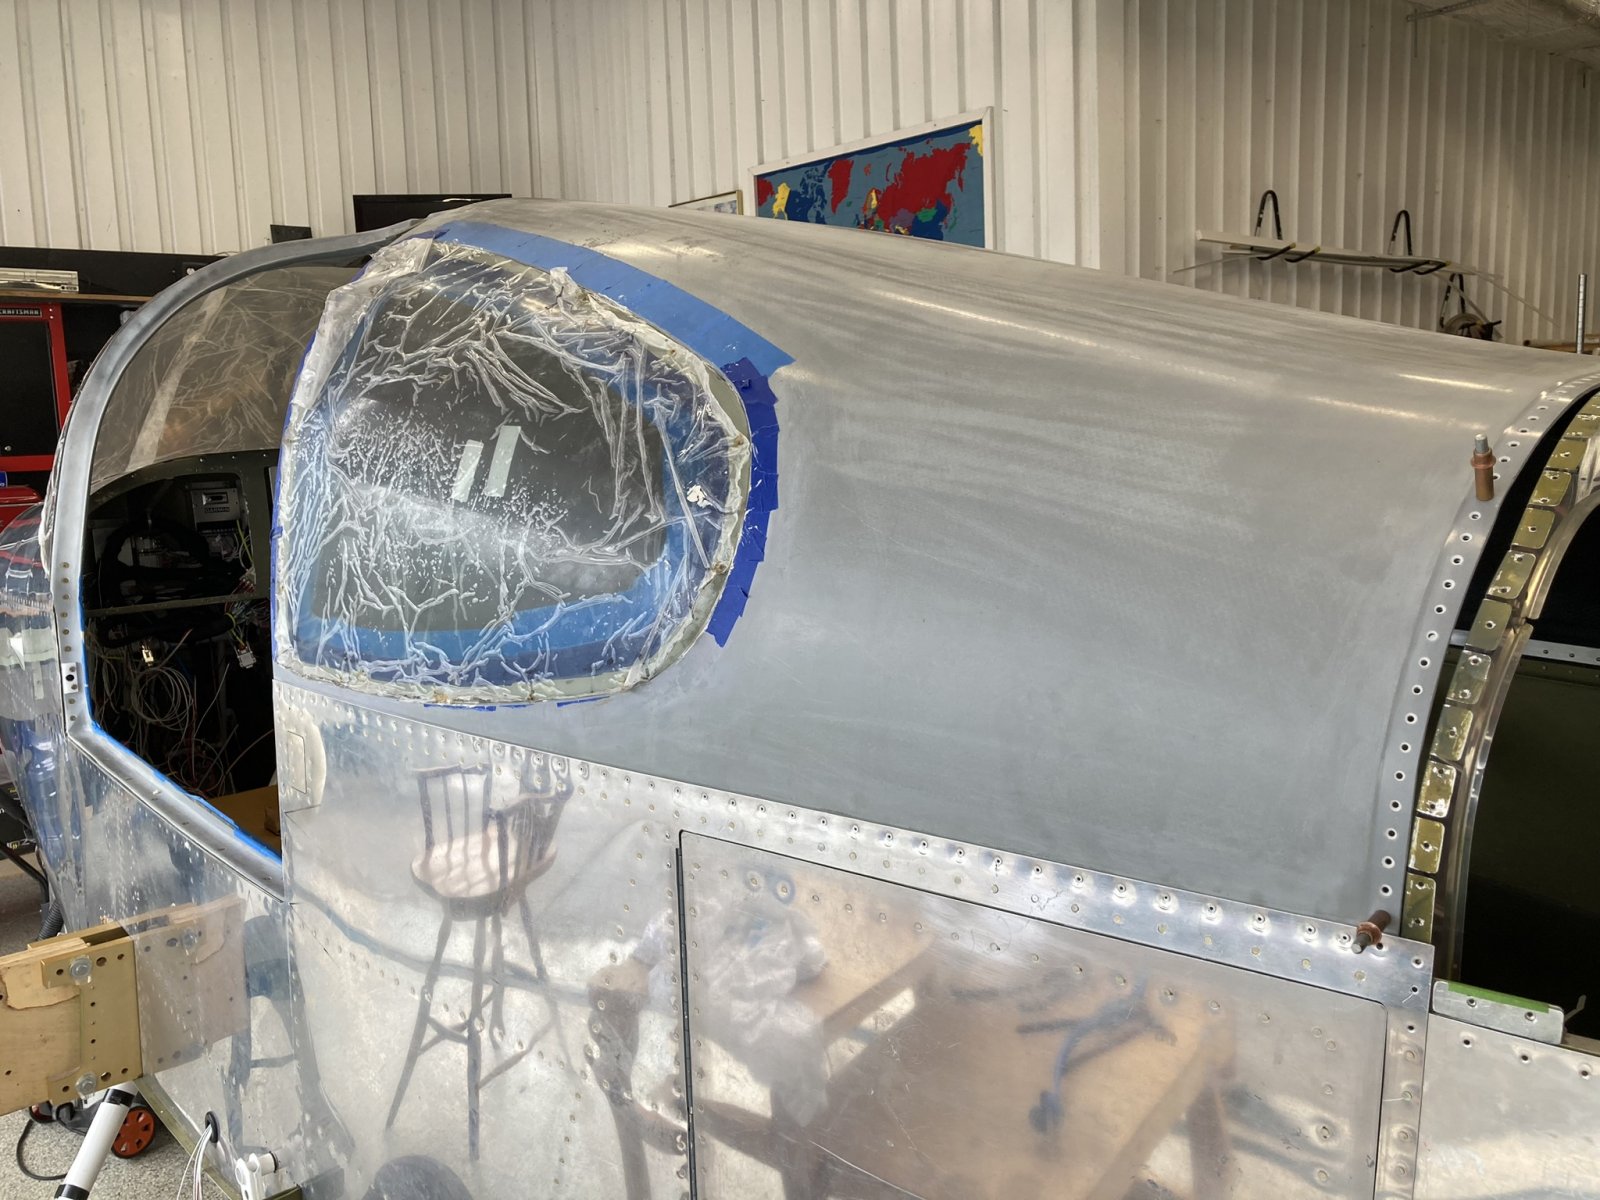
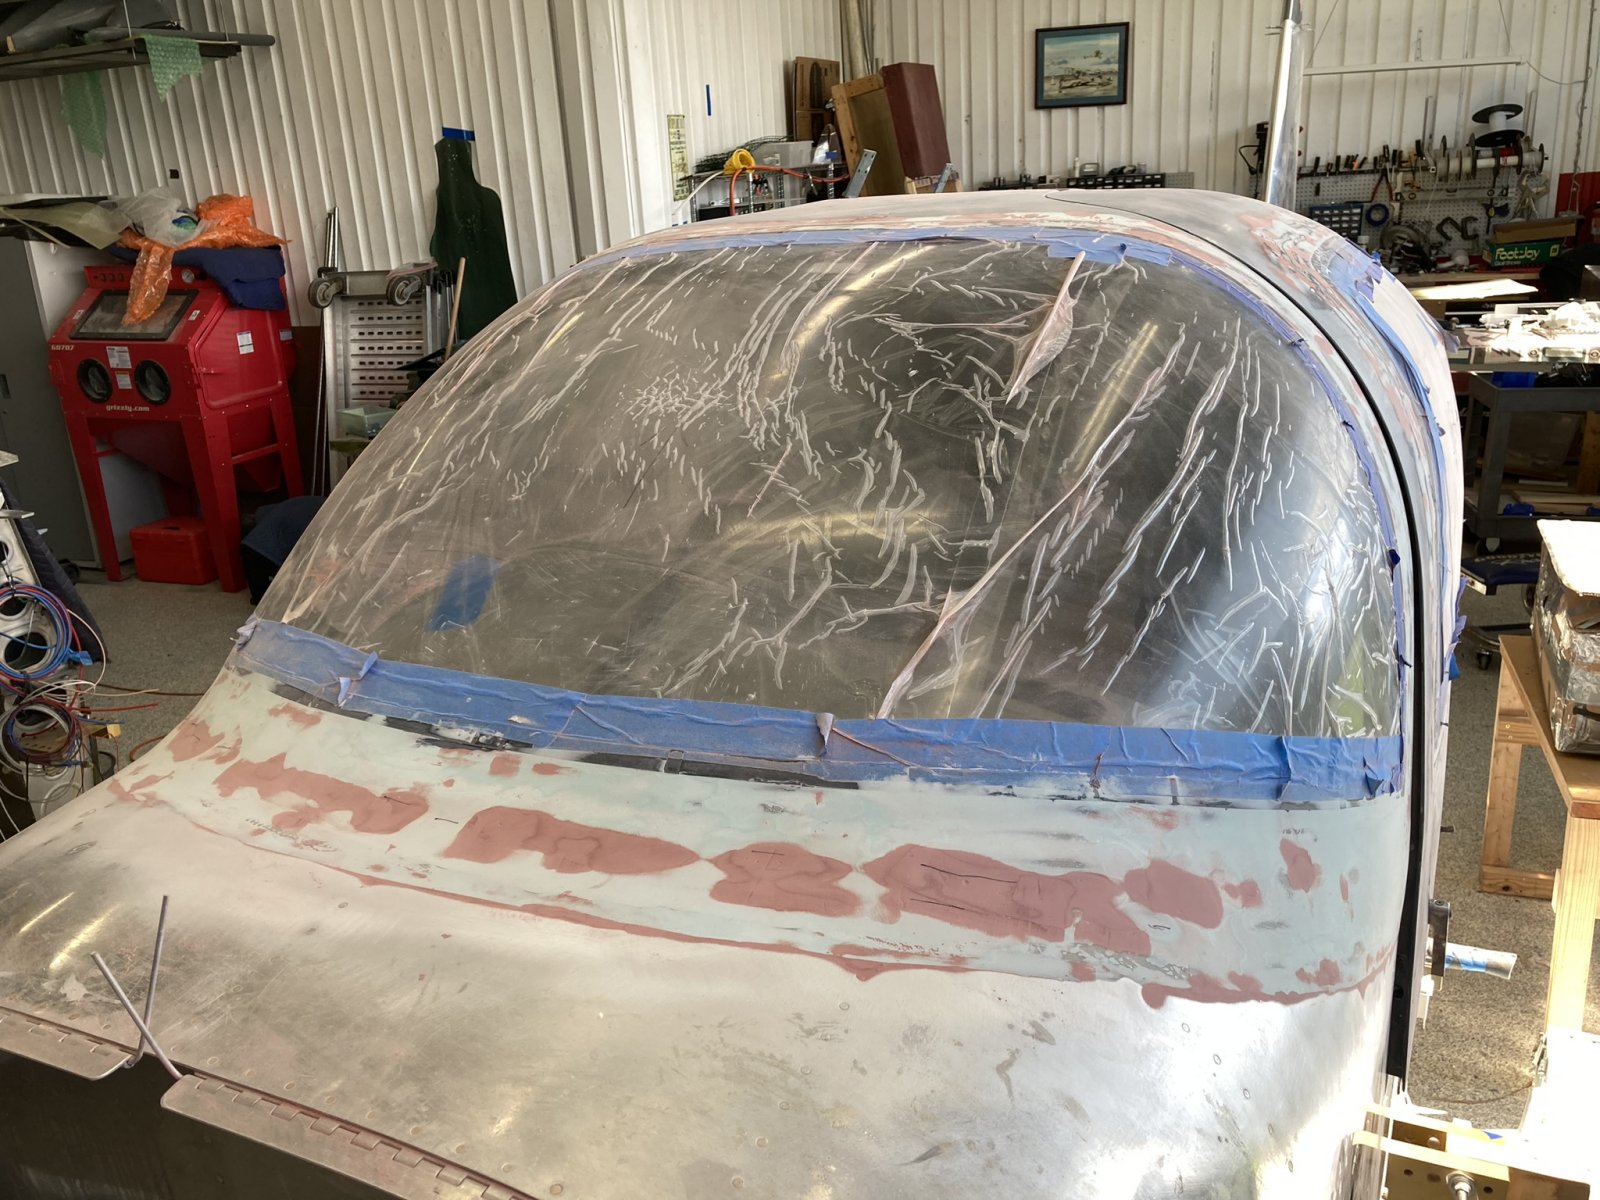
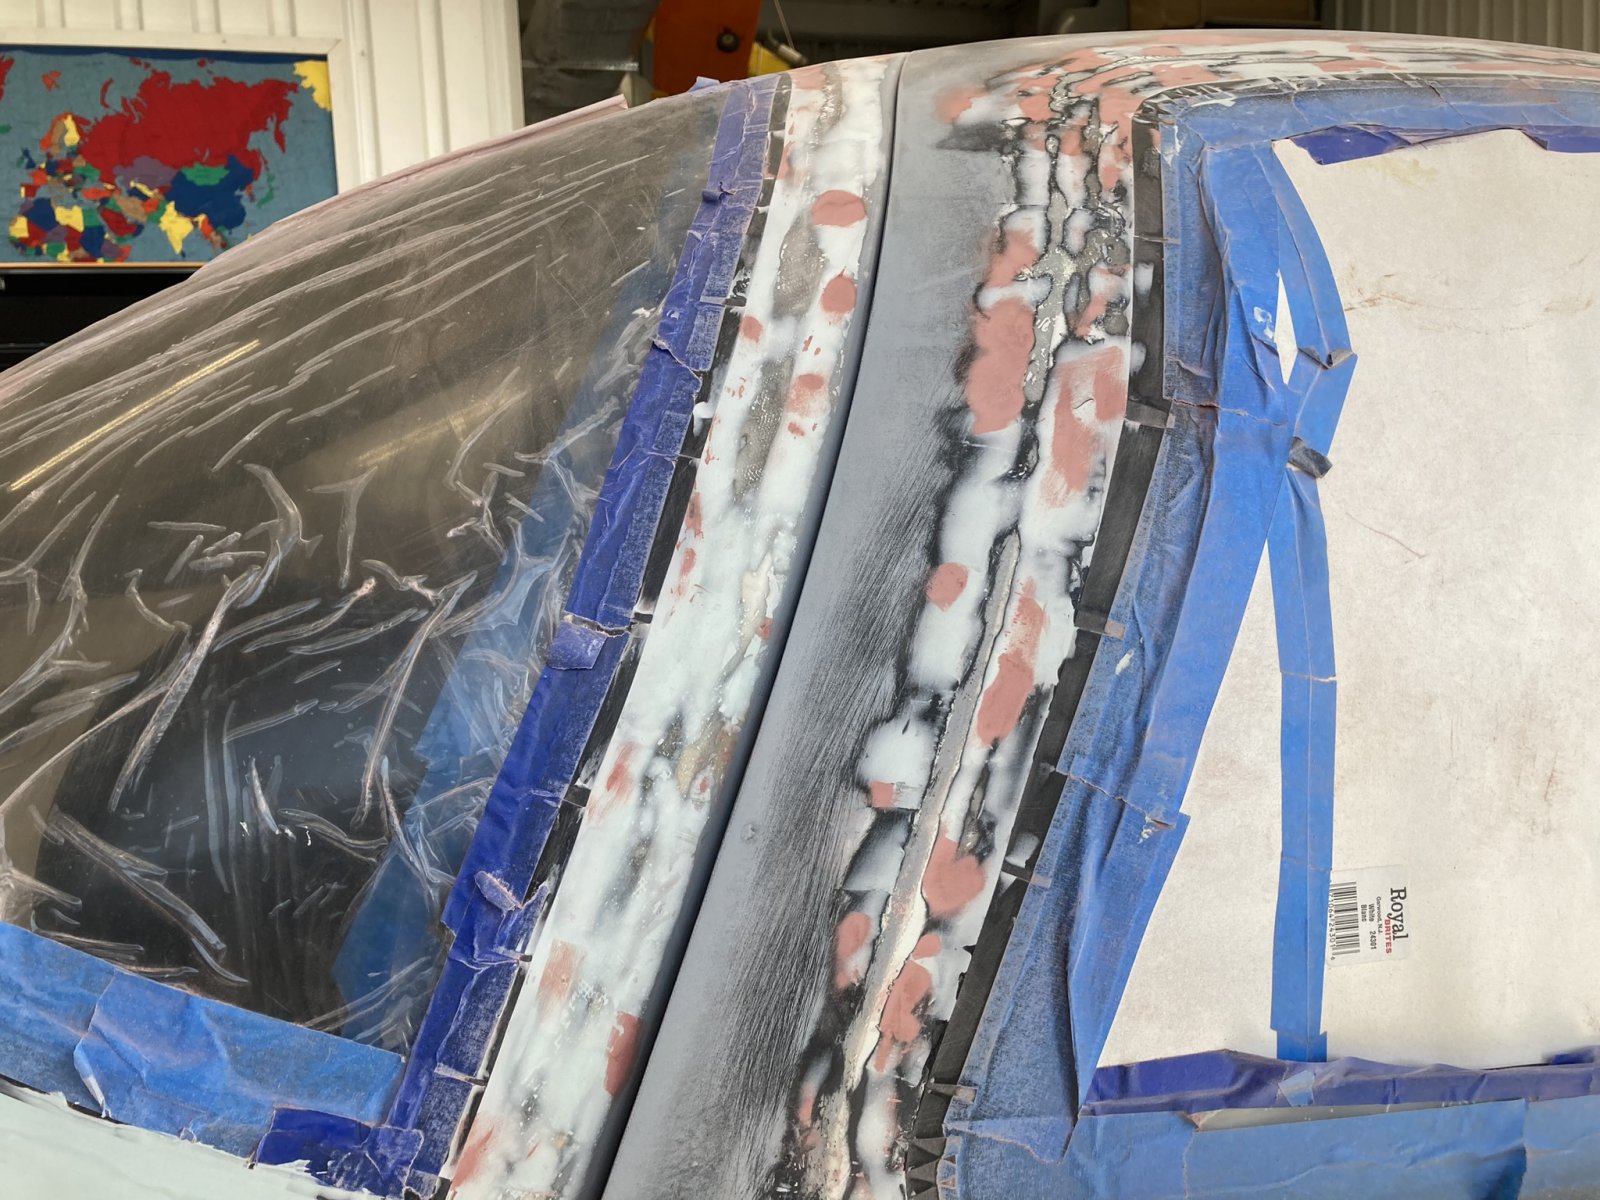
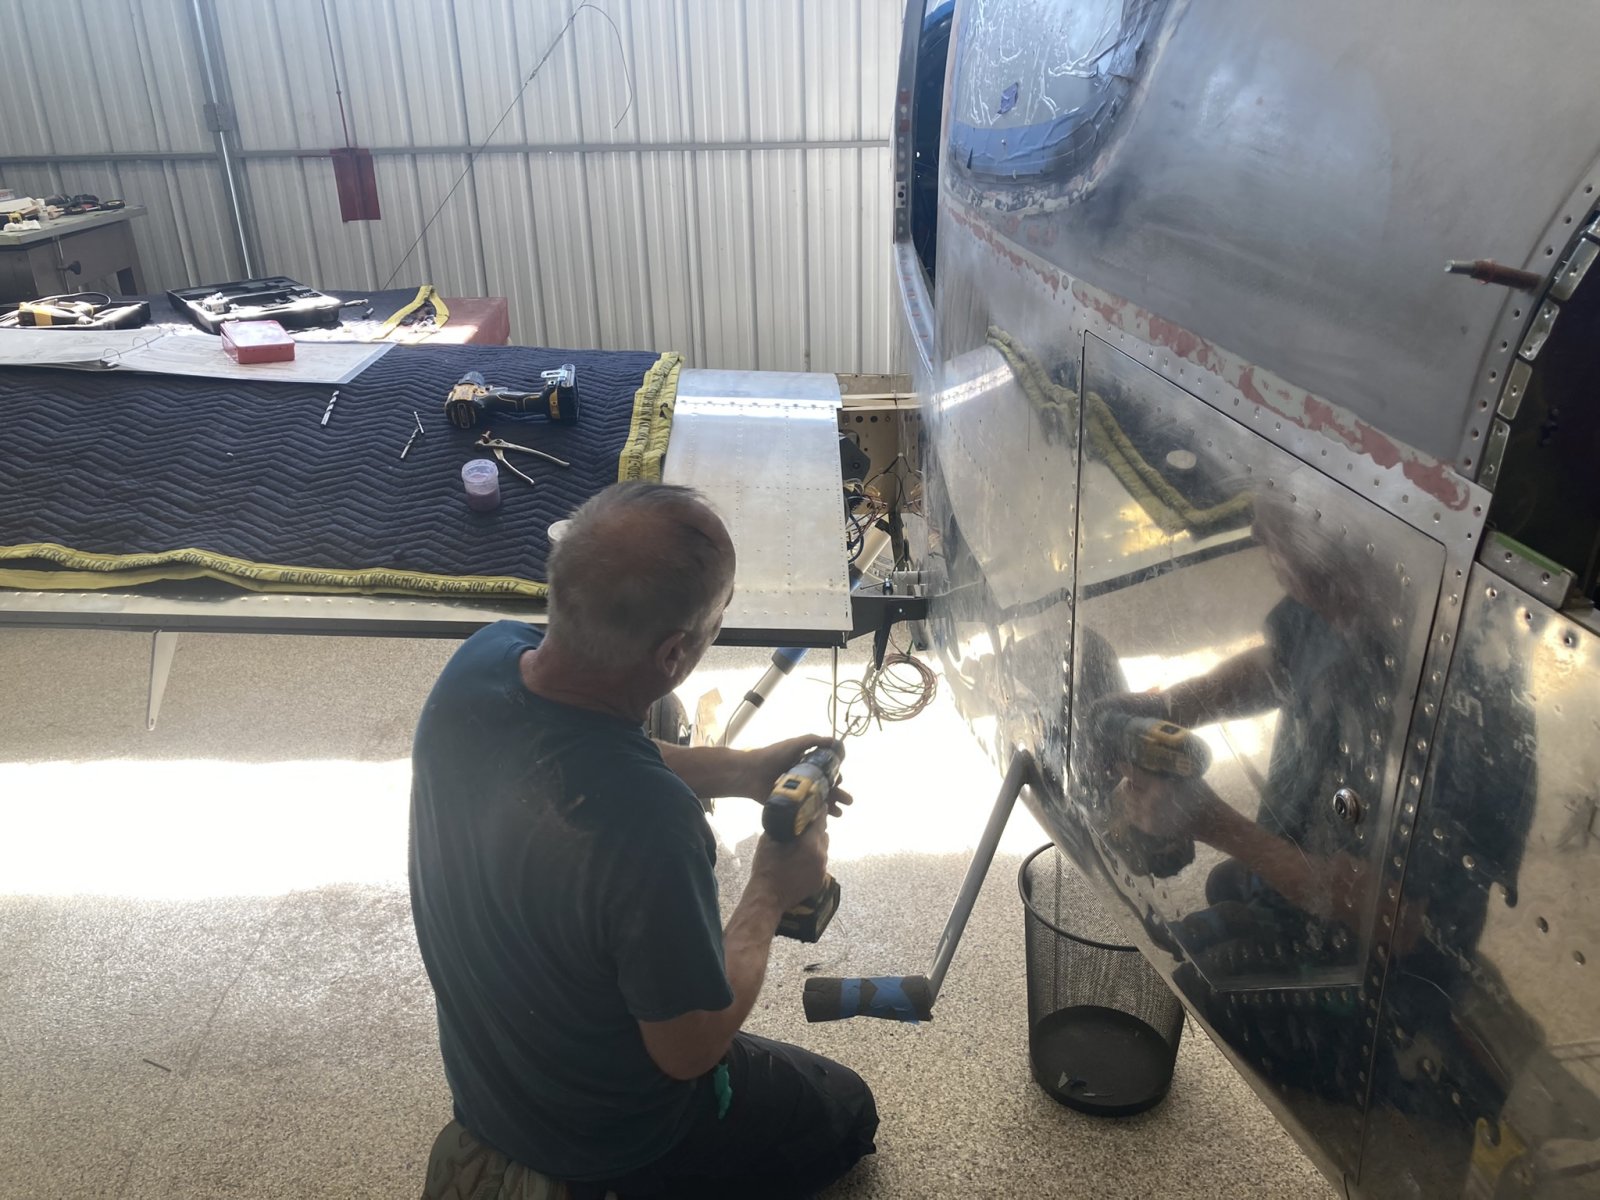
The area around the windshield and windows is just a never ending repetition of "sand and fill", "sand and fill".
|
| |
 |
|
| Gradually, the windshield frontal area gets smoothed into a continuous fairing. |
| |
 |
|
|
|
| |
 |
|
| Sand and fill. |
| |
 |
|
| Empennage fairing in work. |
| |
 |
|
| The left HS tip looking better and better. |
| |
 |
|
|
Sand and fill on the right door window.
|
| |
 |
|
|
The seam between the cabin cover and fuselage must be addressed.
When I built my RV-7, I thought fiberglassing the windshield area was a lot of work. It was NOTHING compared to what has to be done on the RV-10!
|
| |
 |
|
|
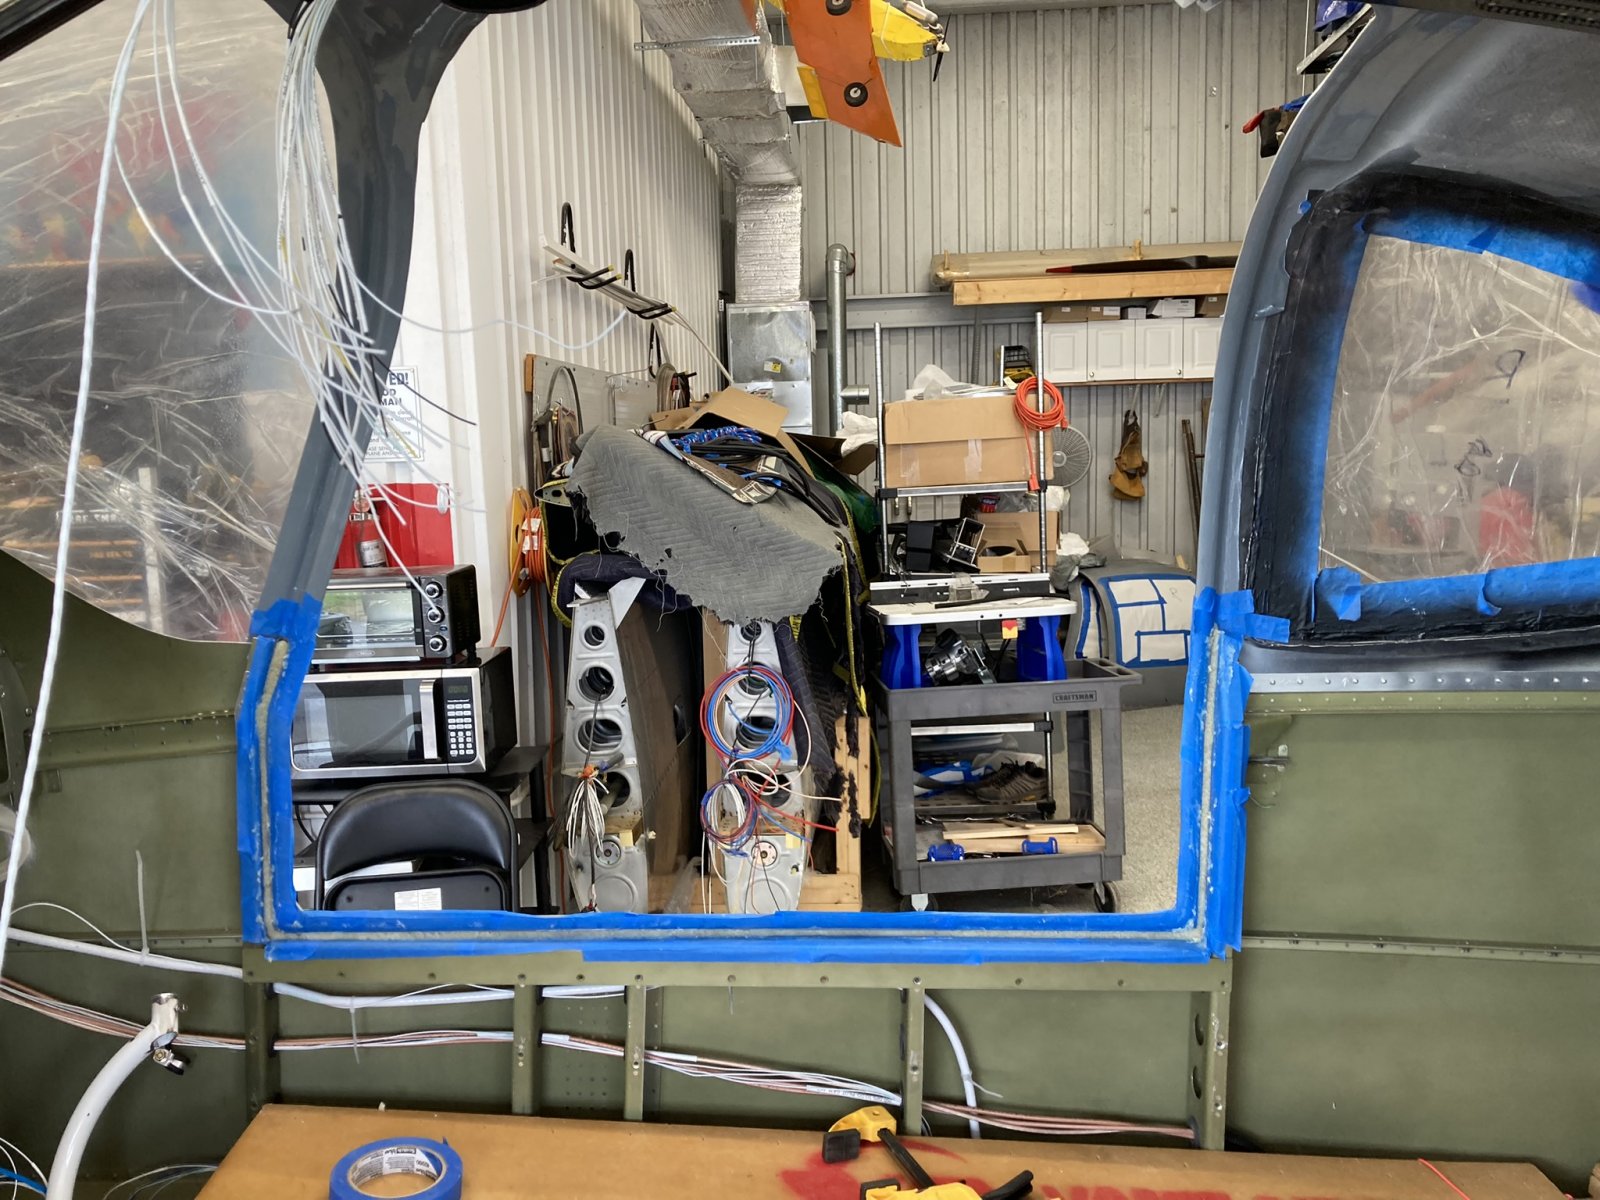
A recent look at the panel area.
|
| |
 |
|
|
Sep 30
Looking back in the tailcone. Also the carbon fiber overhead is glued in place.
|
| |
 |
|
|
Oct 1
Nnu-An focusing intently on building up the VS tip.
|
| |
 |
|
|
Oct 1
The empennage fairing has taken way longer than expected and Rich is not happy about it.
|
| |
 |
|
|
Oct 2
We've had nice weather this fall. T-shirt weather.
|
| |
 |
|
| Even so Rich not happy. |
| |
 |
|
|
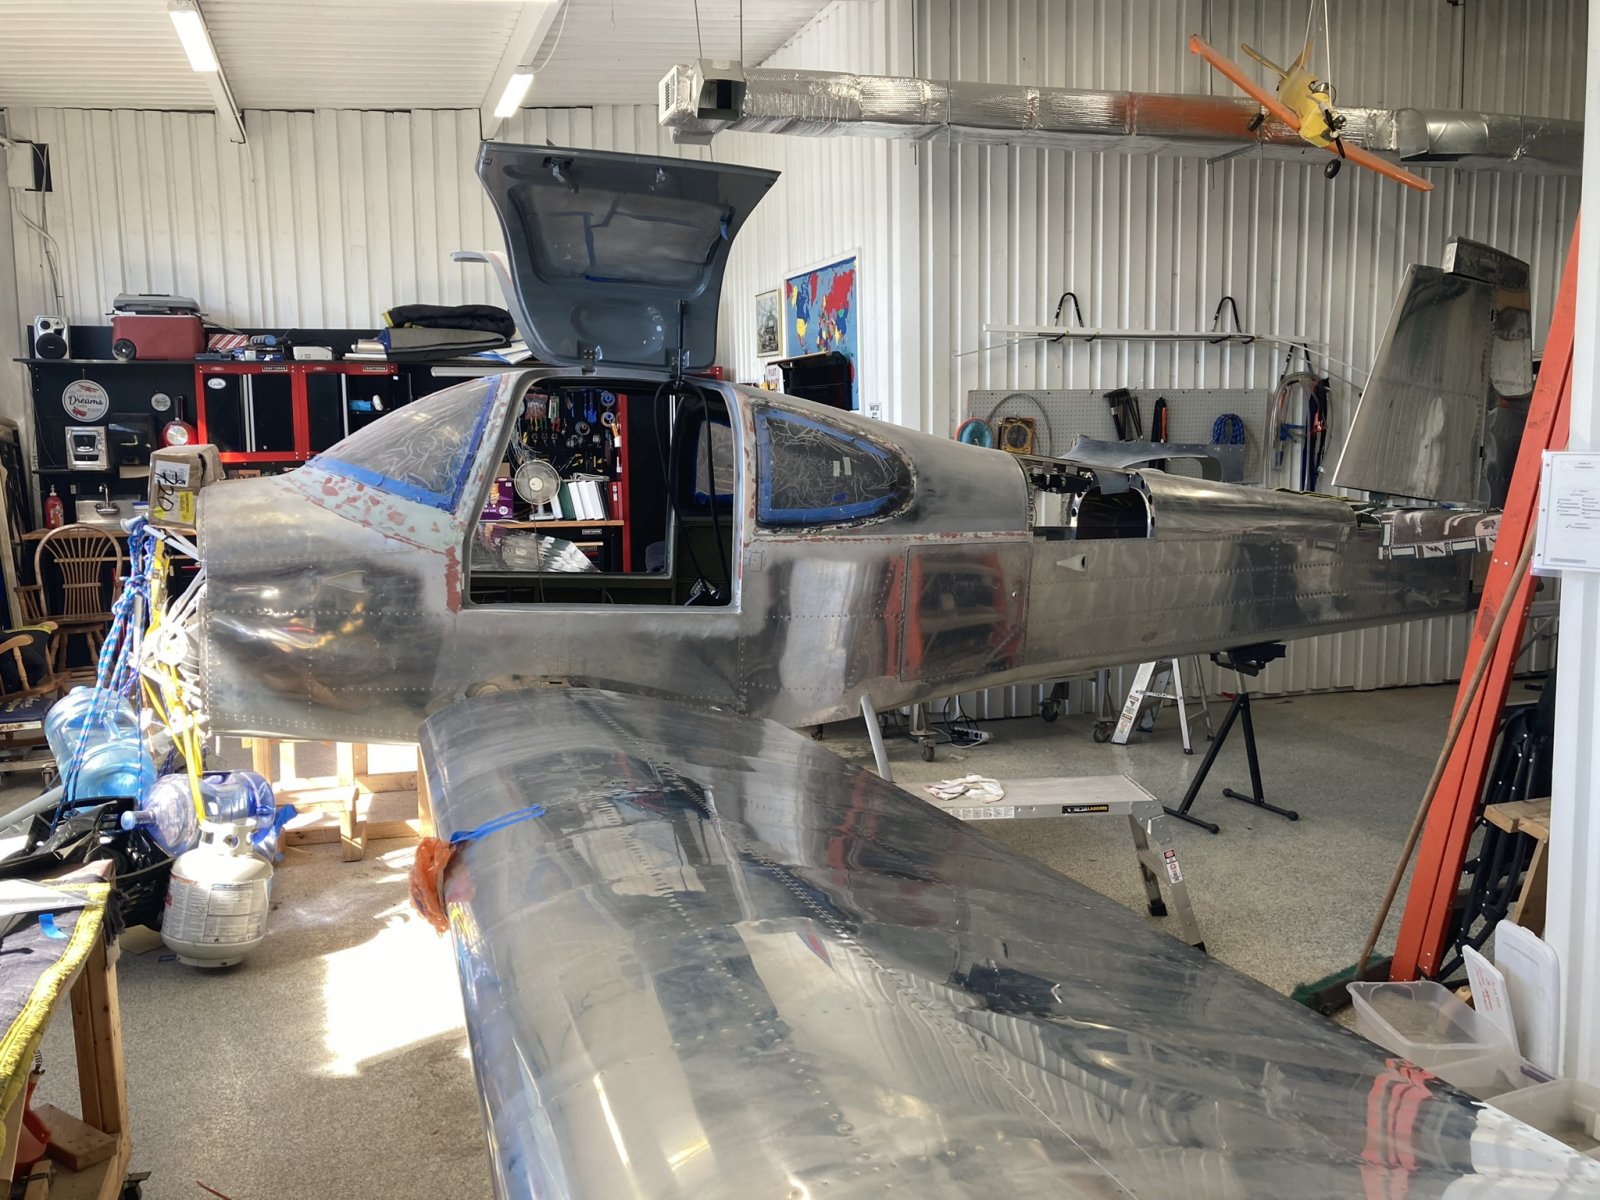
Rich is happy. Today we mounted the wings!
|
| |
 |
|
| Me to. They aren't mounted permanently. There are some things that have to be done with the wings on, then they go back off. |
| |
 |
|
| The wings took maybe 30 minutes to hang. We used drift pins, not the close tolerance bolts used for final assembly, of course. Unlike the RV-7, on the RV-10 the wing spar pins are on the outside of the fuselage which makes things a lot easier. |
| |
 |
|
|
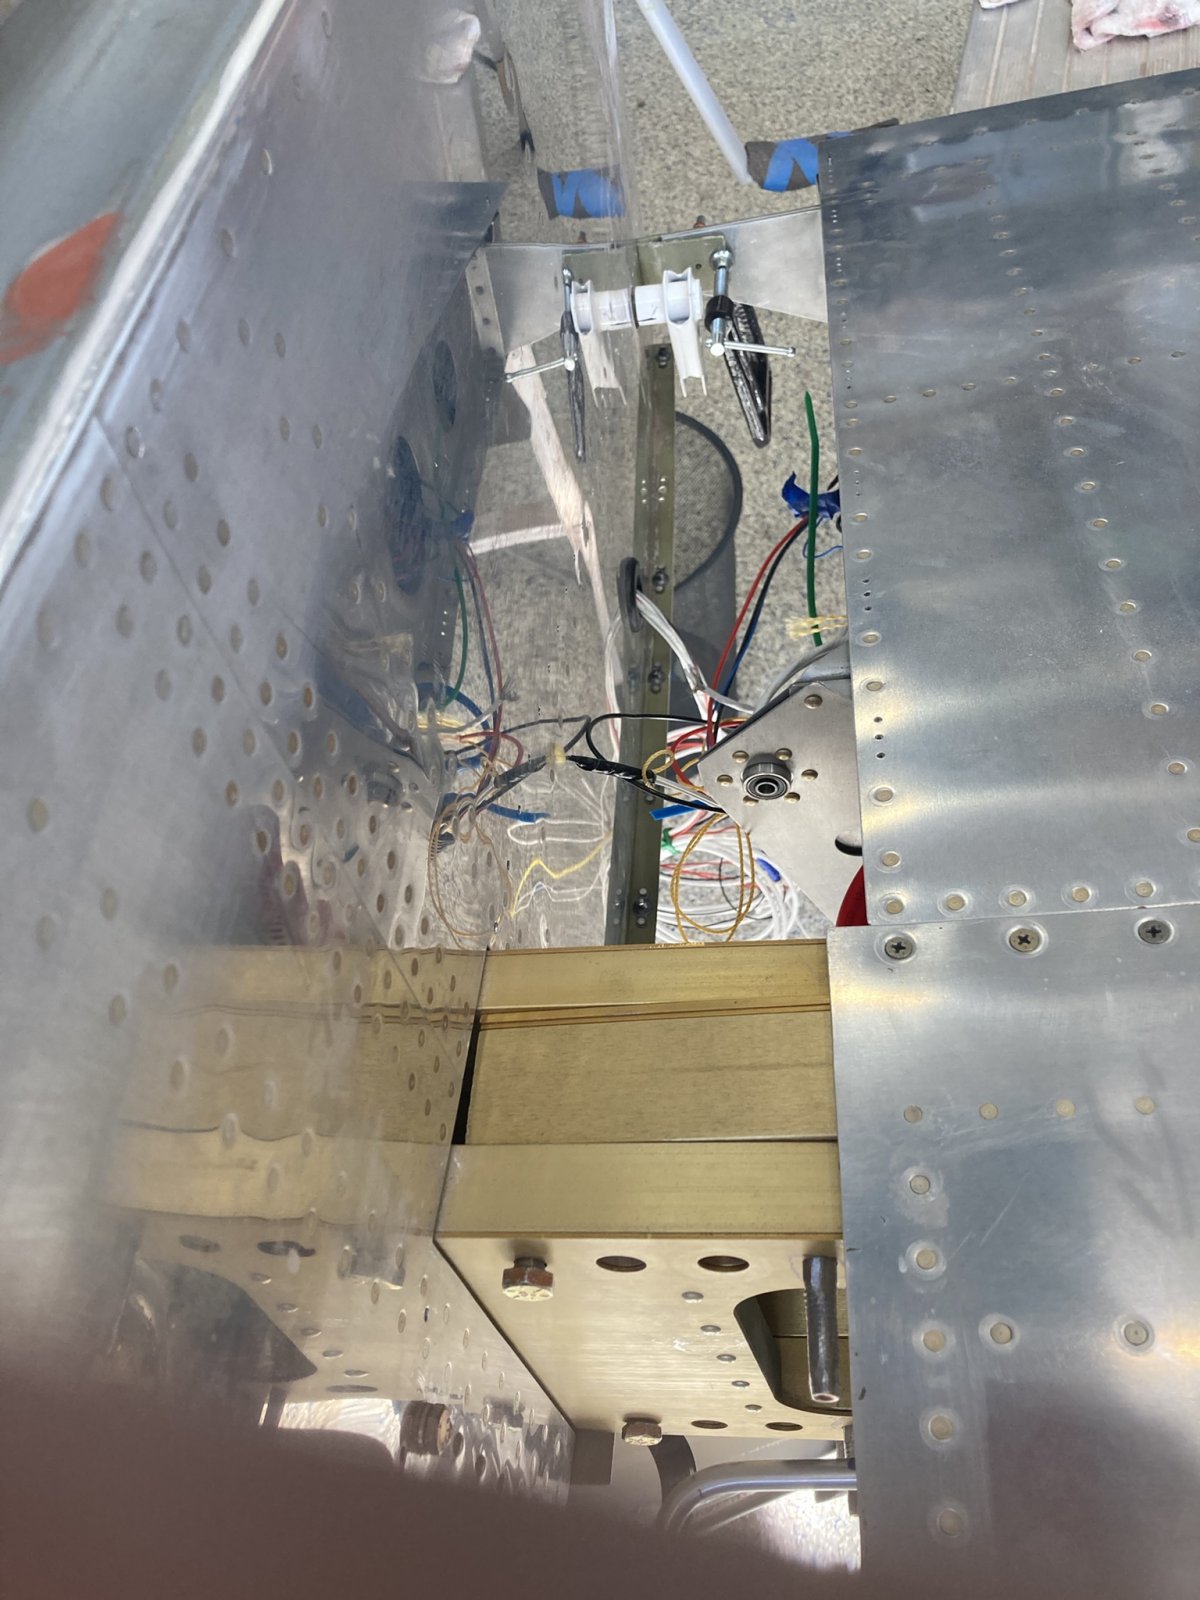
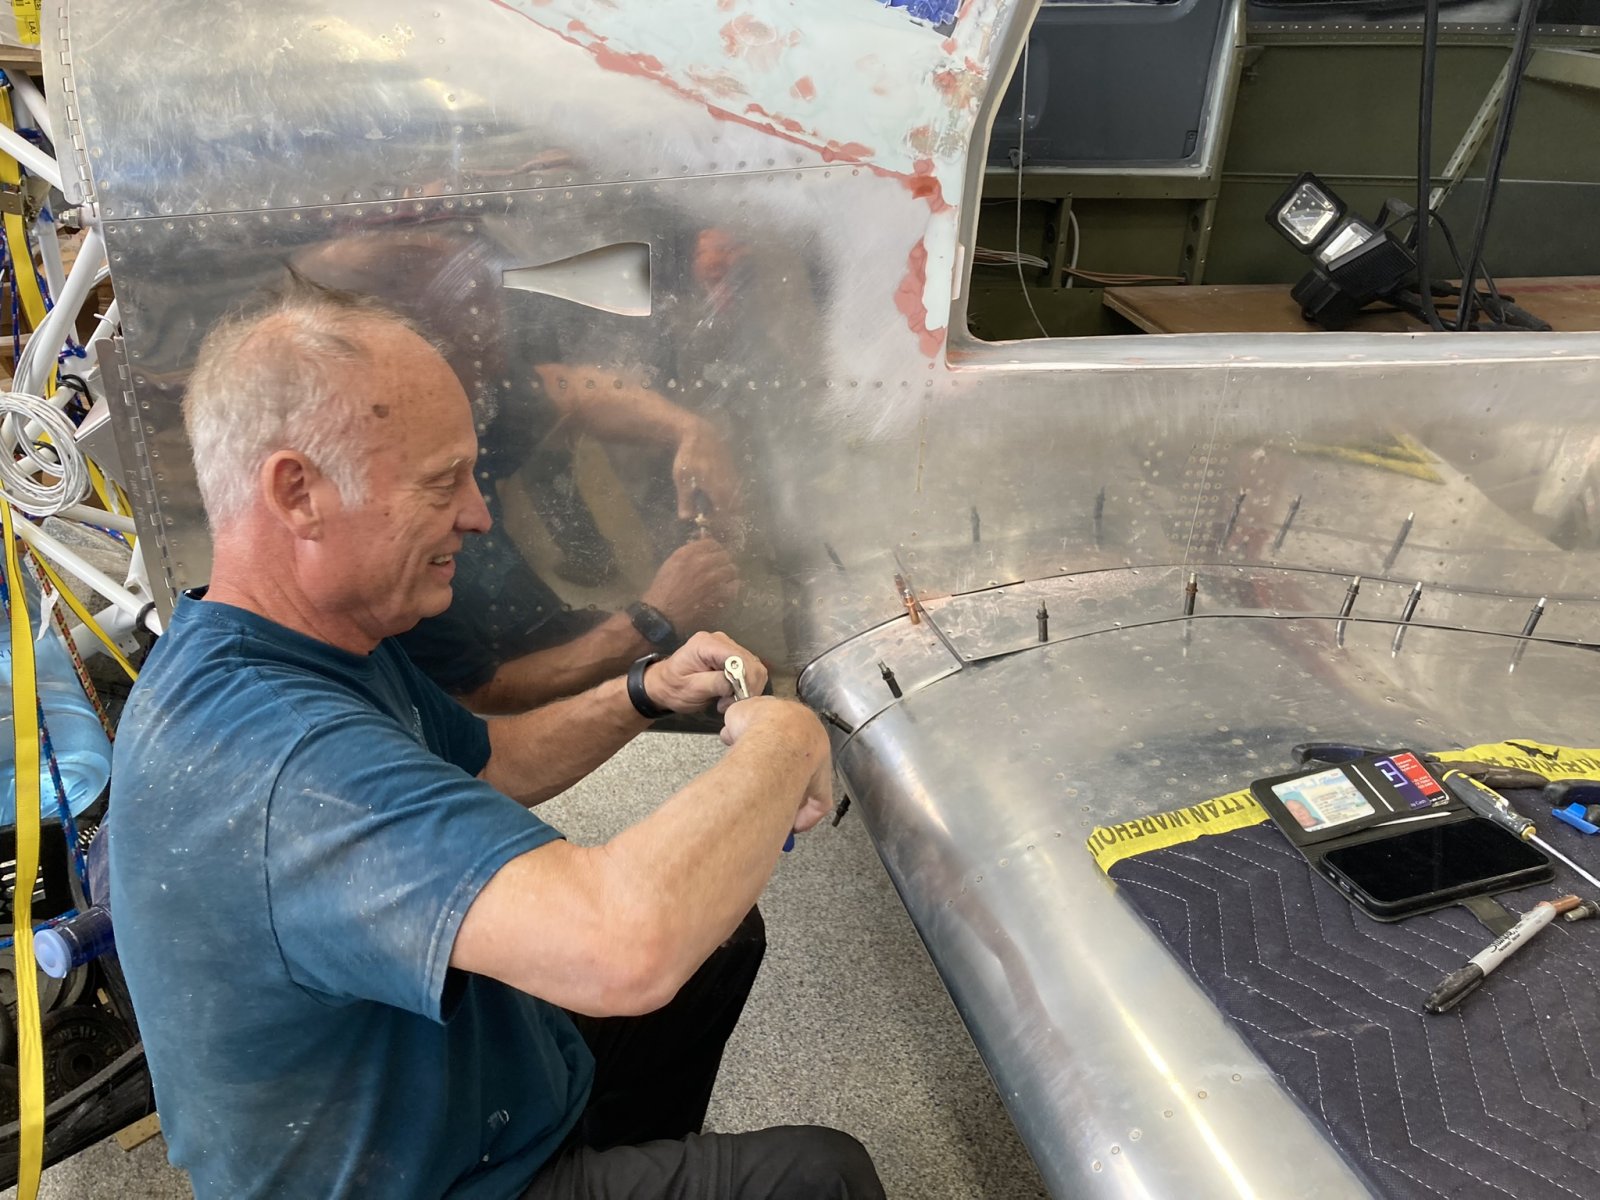
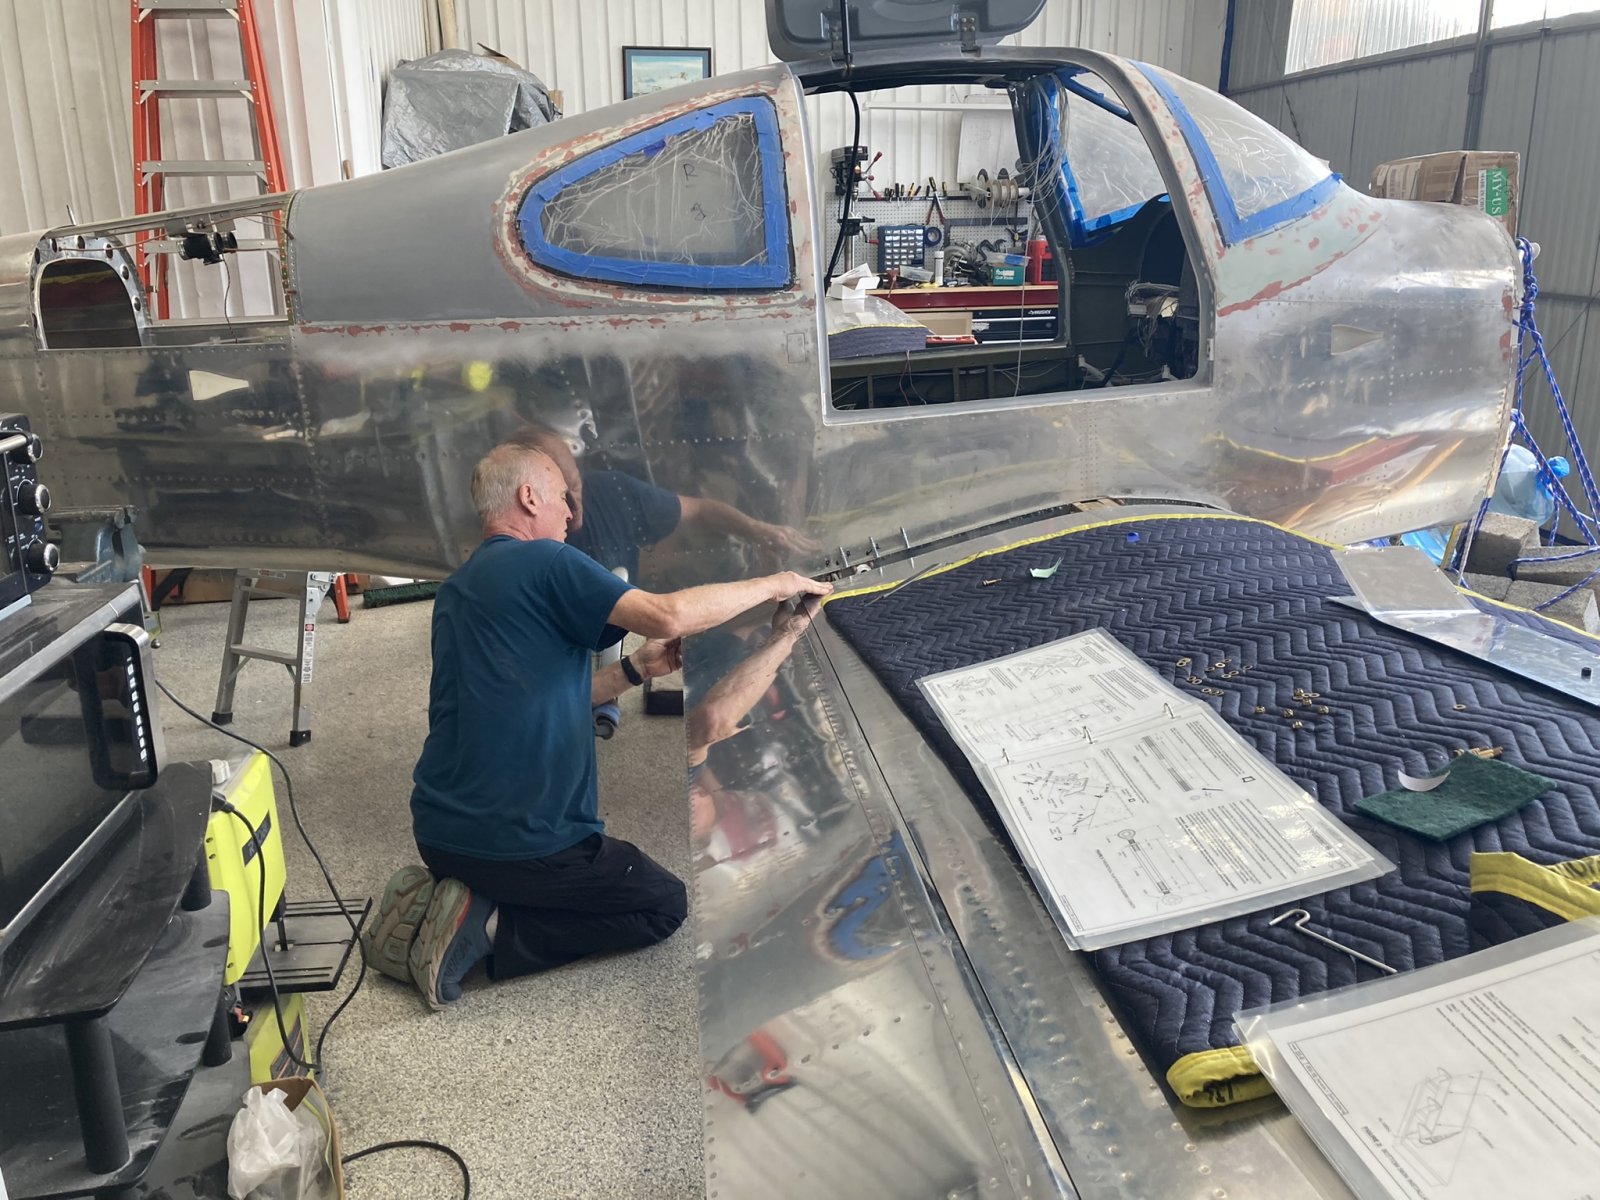
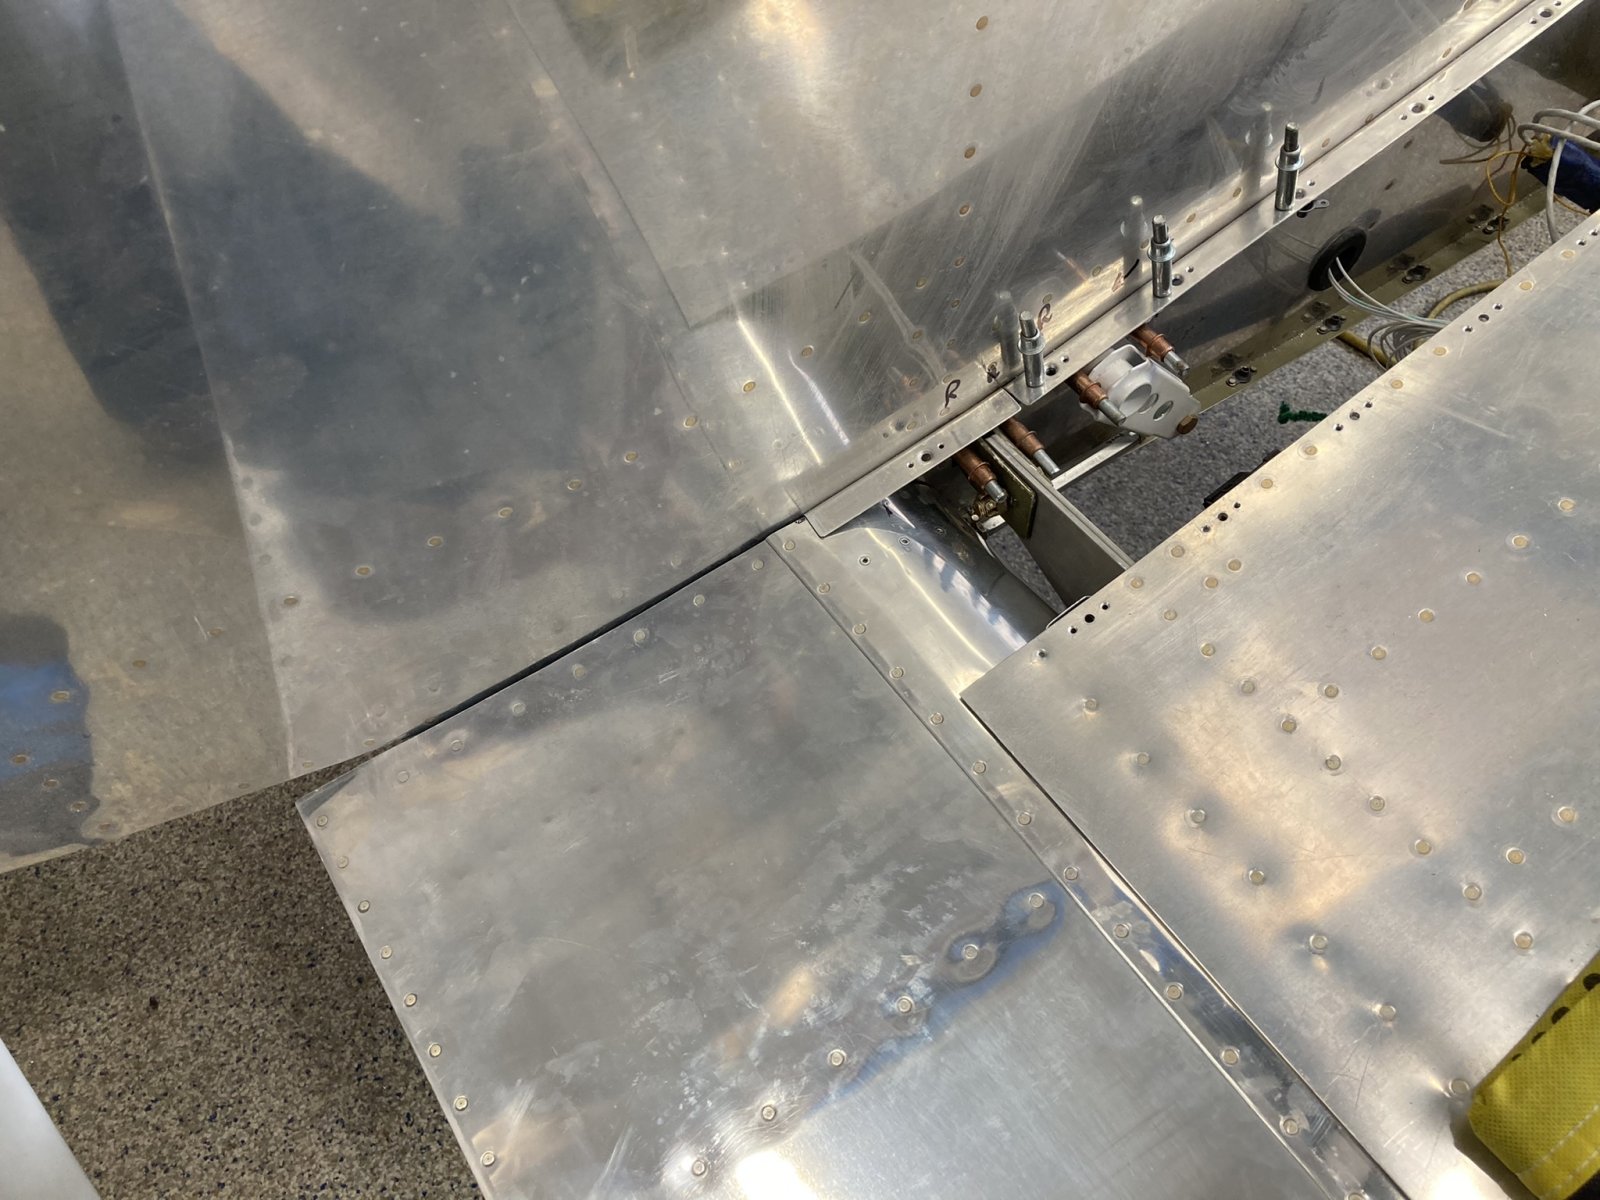
Also unlike the RV-7, with the RV-10 you don't have to use plumb bobs, levels and a tape measure to ensure the wings are right before drilling the all important bolt hole in the rear spar. On the RV-10 there is a starter hole where you drill the rear spar. You put a cleco in, then clamp the fuse and wing rear spars together, remove the cleco, then start drilling. Here Rich is preparing to make the first drill. Easy peasy and the bolt hole on each side came out perfect.
|
| |
 |
|
|
The RV-10 has a spacious area between fuse and wing. On my RV-7 the gap is so narrow you can hardly get in there to do anything. Not a problem with the RV-10.
|
| |
 |
|
|
Looking good!
|
| |
 |
|
|
|
| |
 |
|
|
|
| |
 |
|
|
|
| |
 |
|
|
Oct 16
Because the area between fuse and wing is so great, the RV-10 wing fairings are much more substantial than the RV-7. The wing fairings require supports installed on the fuse. Plus there are two fairings: top and bottom. Rich worked on the wing fairings.
|
| |
 |
|
|
Oct 16
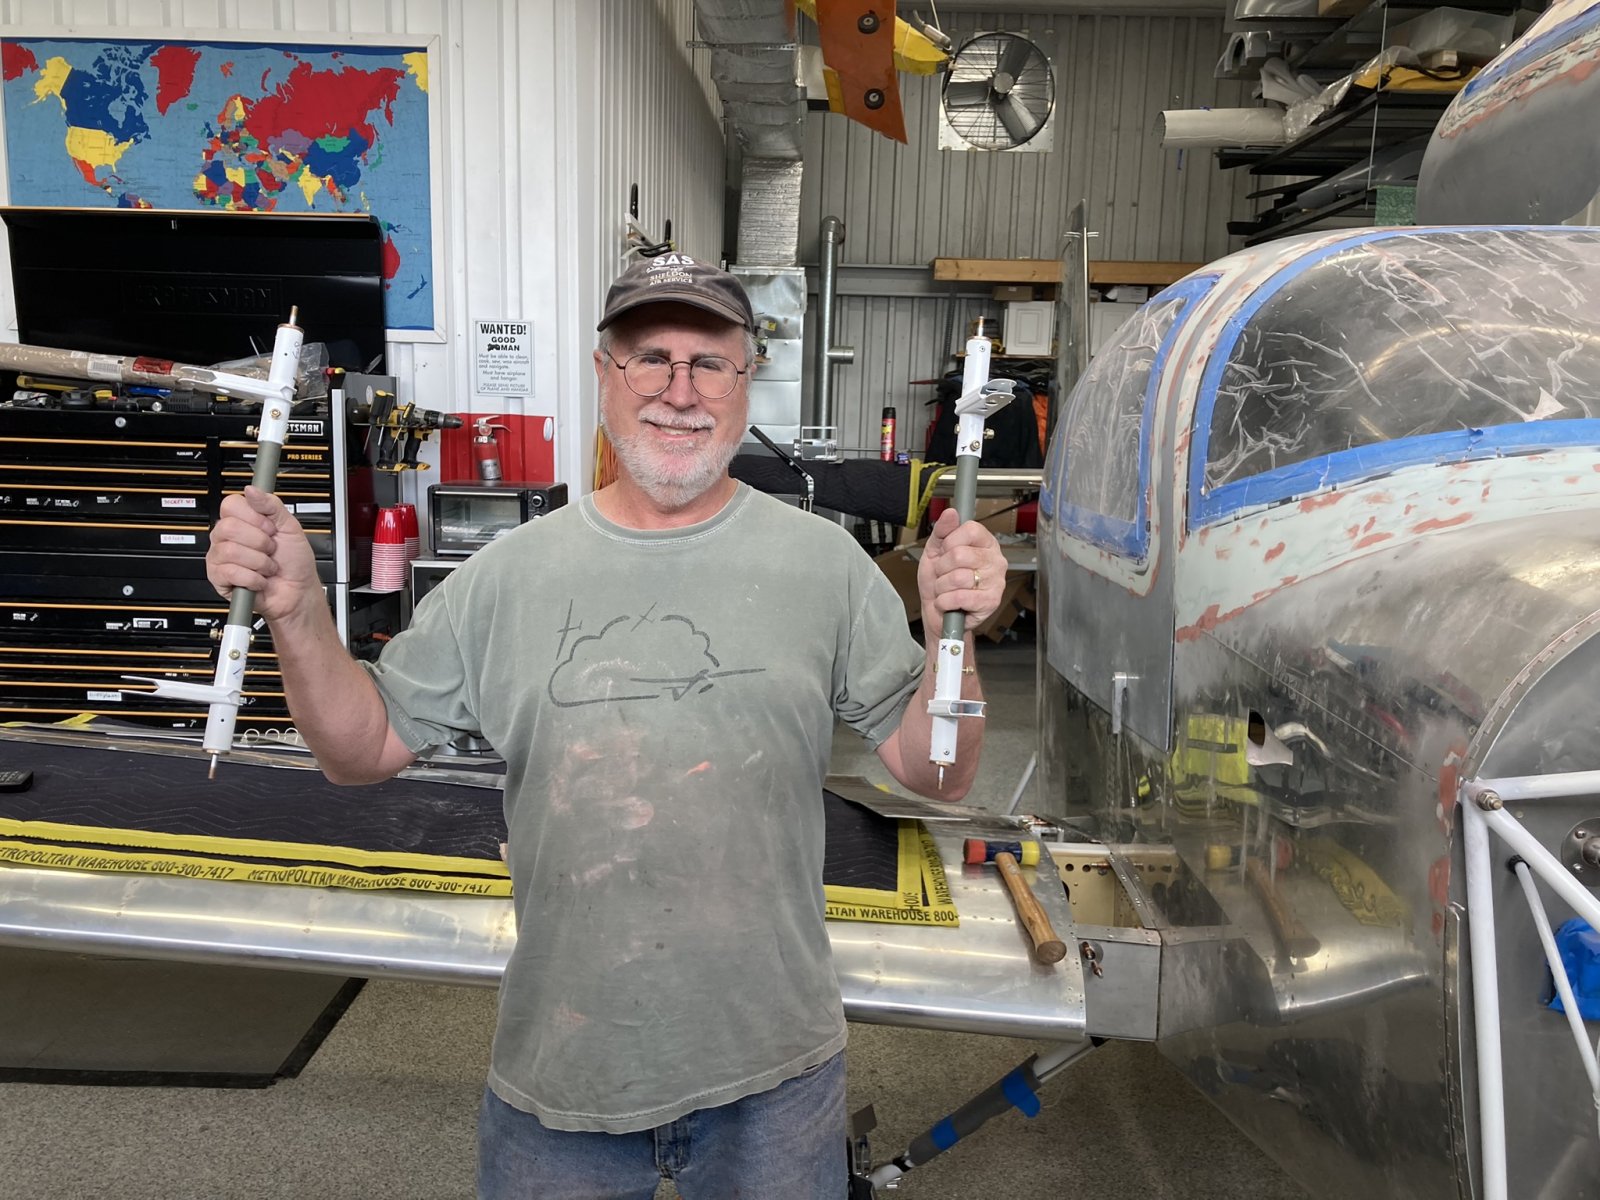
I worked on fabricating the aileron actuators. This should have been done prior to mounting the wings, but it's not a problem. We'll just have to postpone rigging the aileron controls until final assembly.
|
| |
 |
|
|
Oct 27
Rich still working on the wing fairings which like almost every other thing on the airplane took longer than expected.
|
| |
 |
|
|
Oct 27
A good look at the supports for the right top wing fairing.
|
| |
 |
|
|
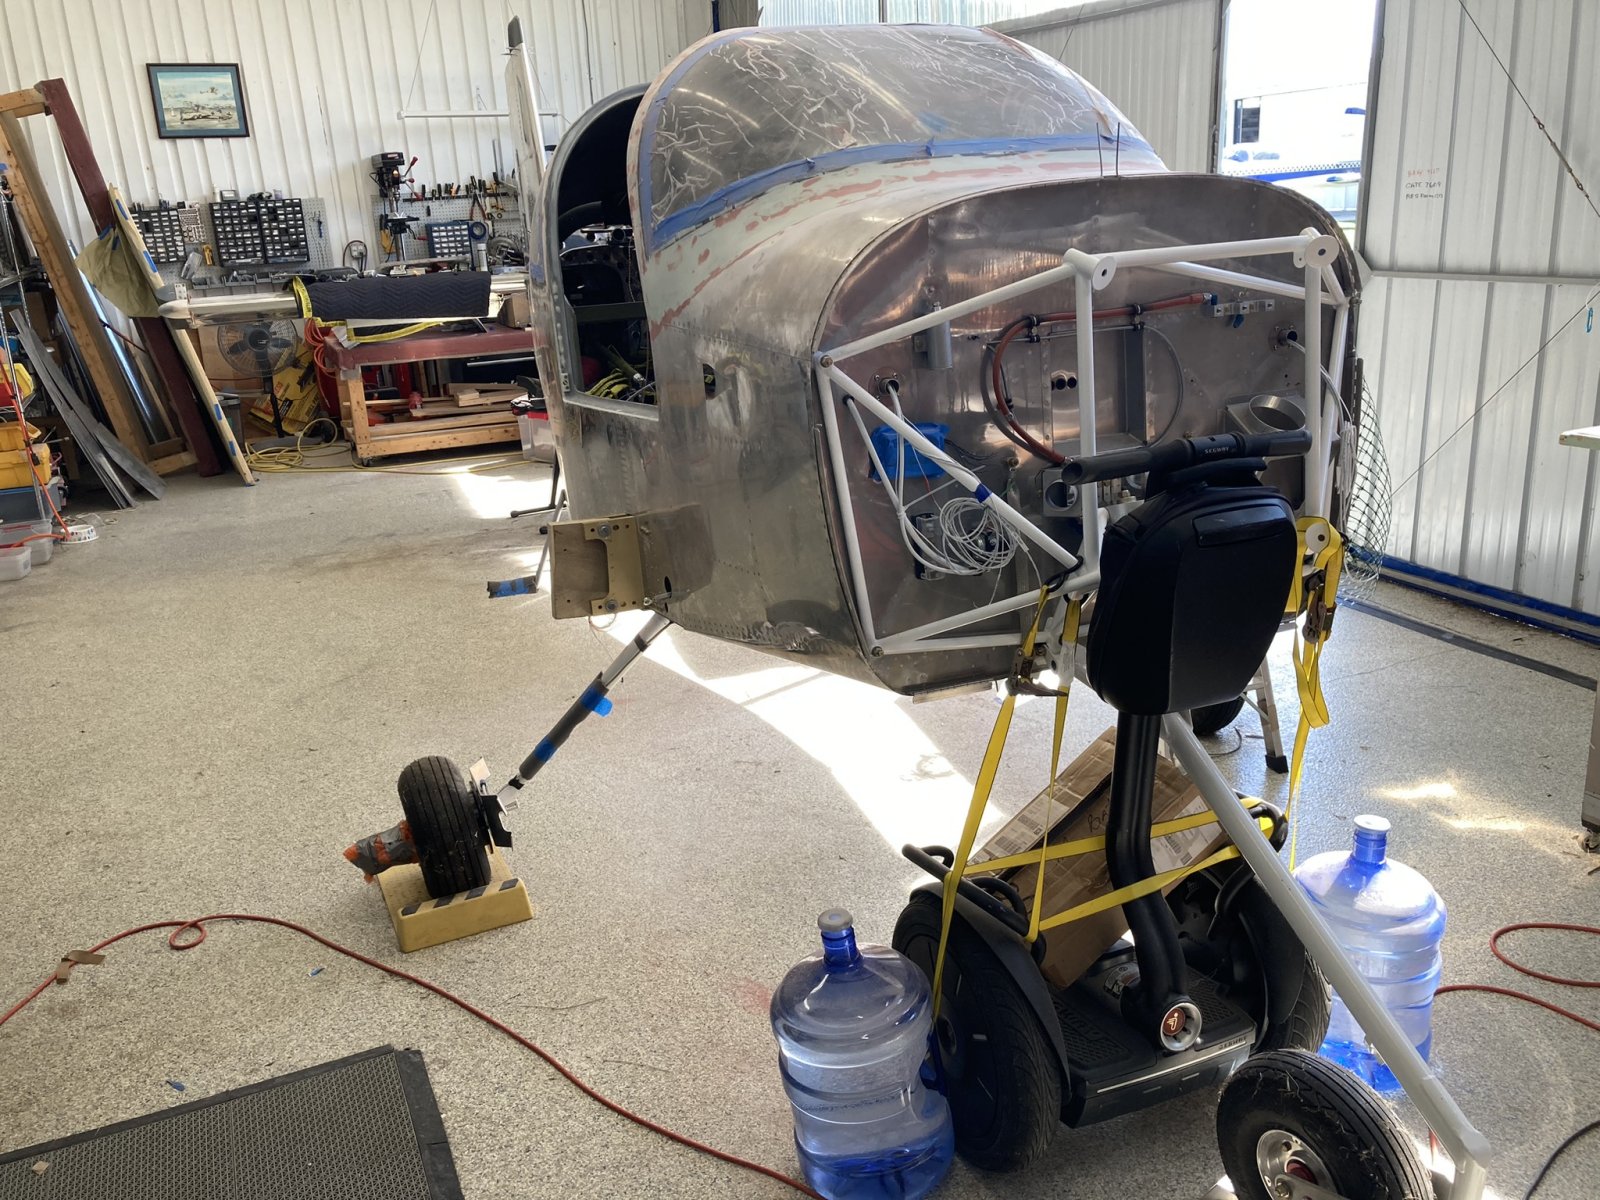
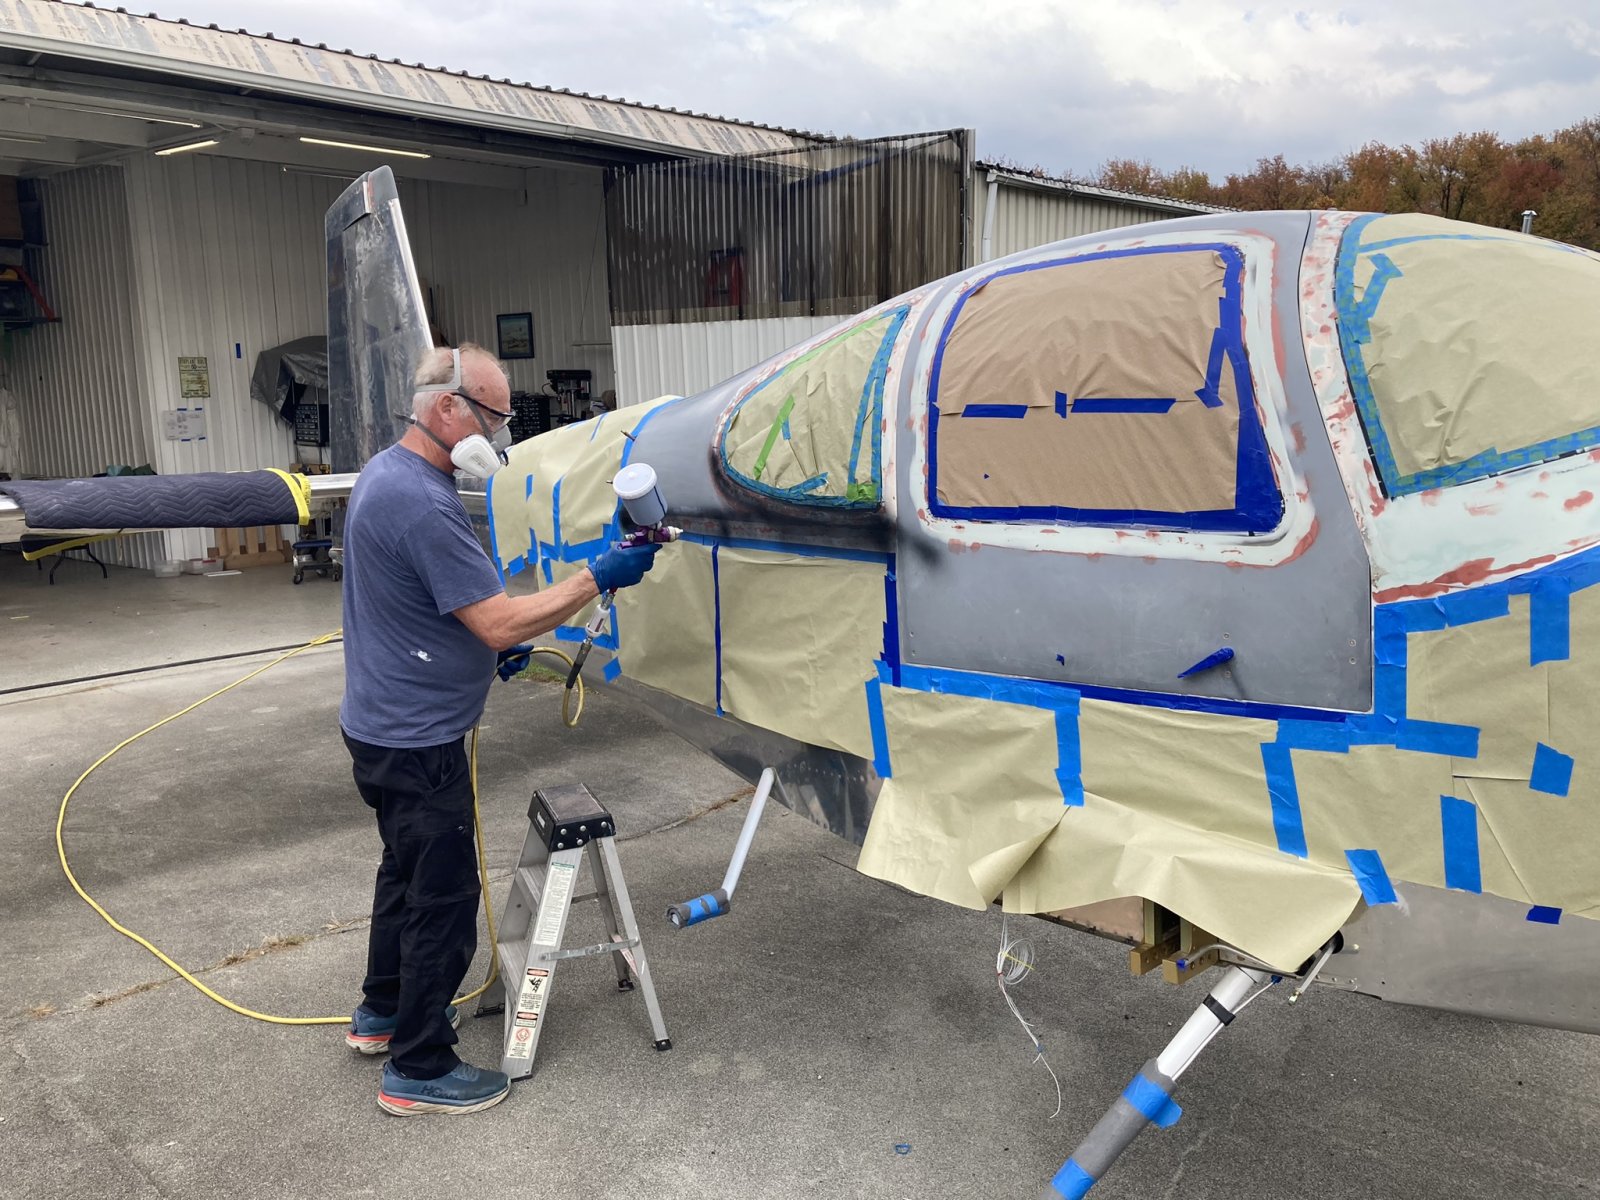
Oct 30
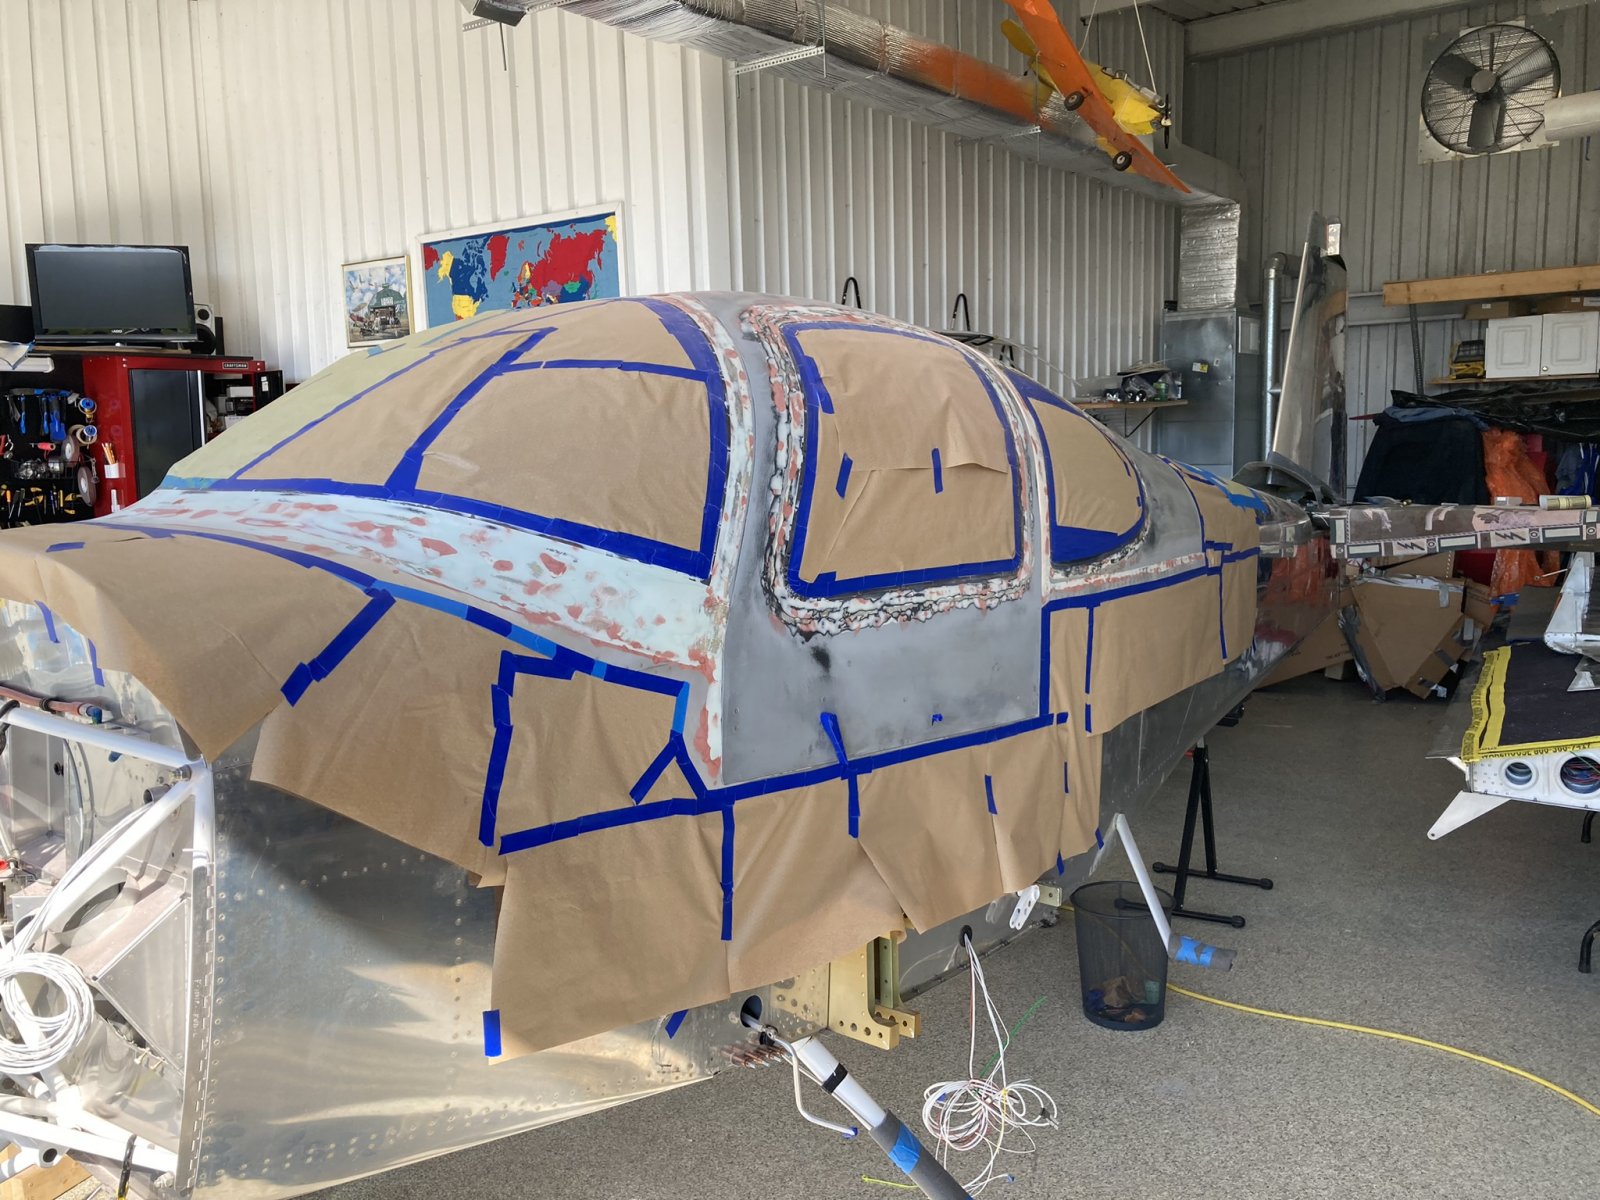
I was finally done with the sanding and filling. Since the weather was so warm, we decided to spray some Loehle primer filler on the cabin cover and filled areas. First we had to do some prep work of course.
|
| |
 |
|
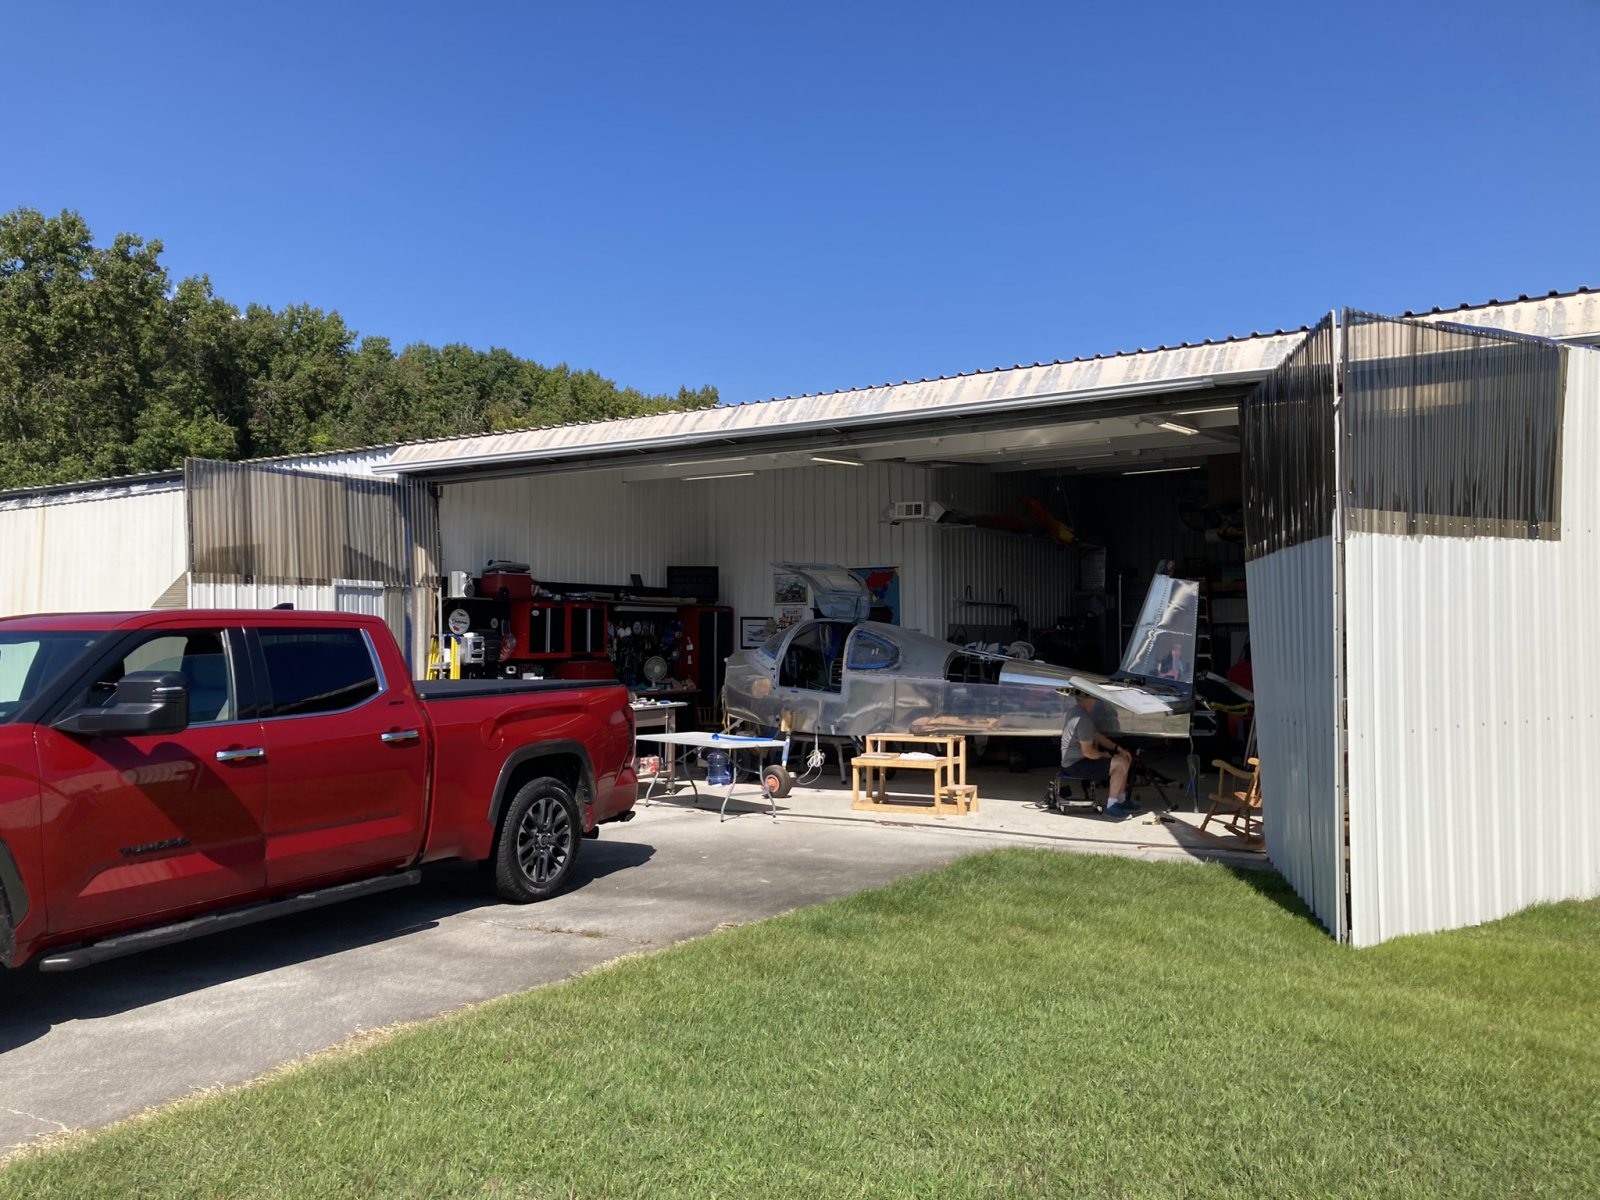
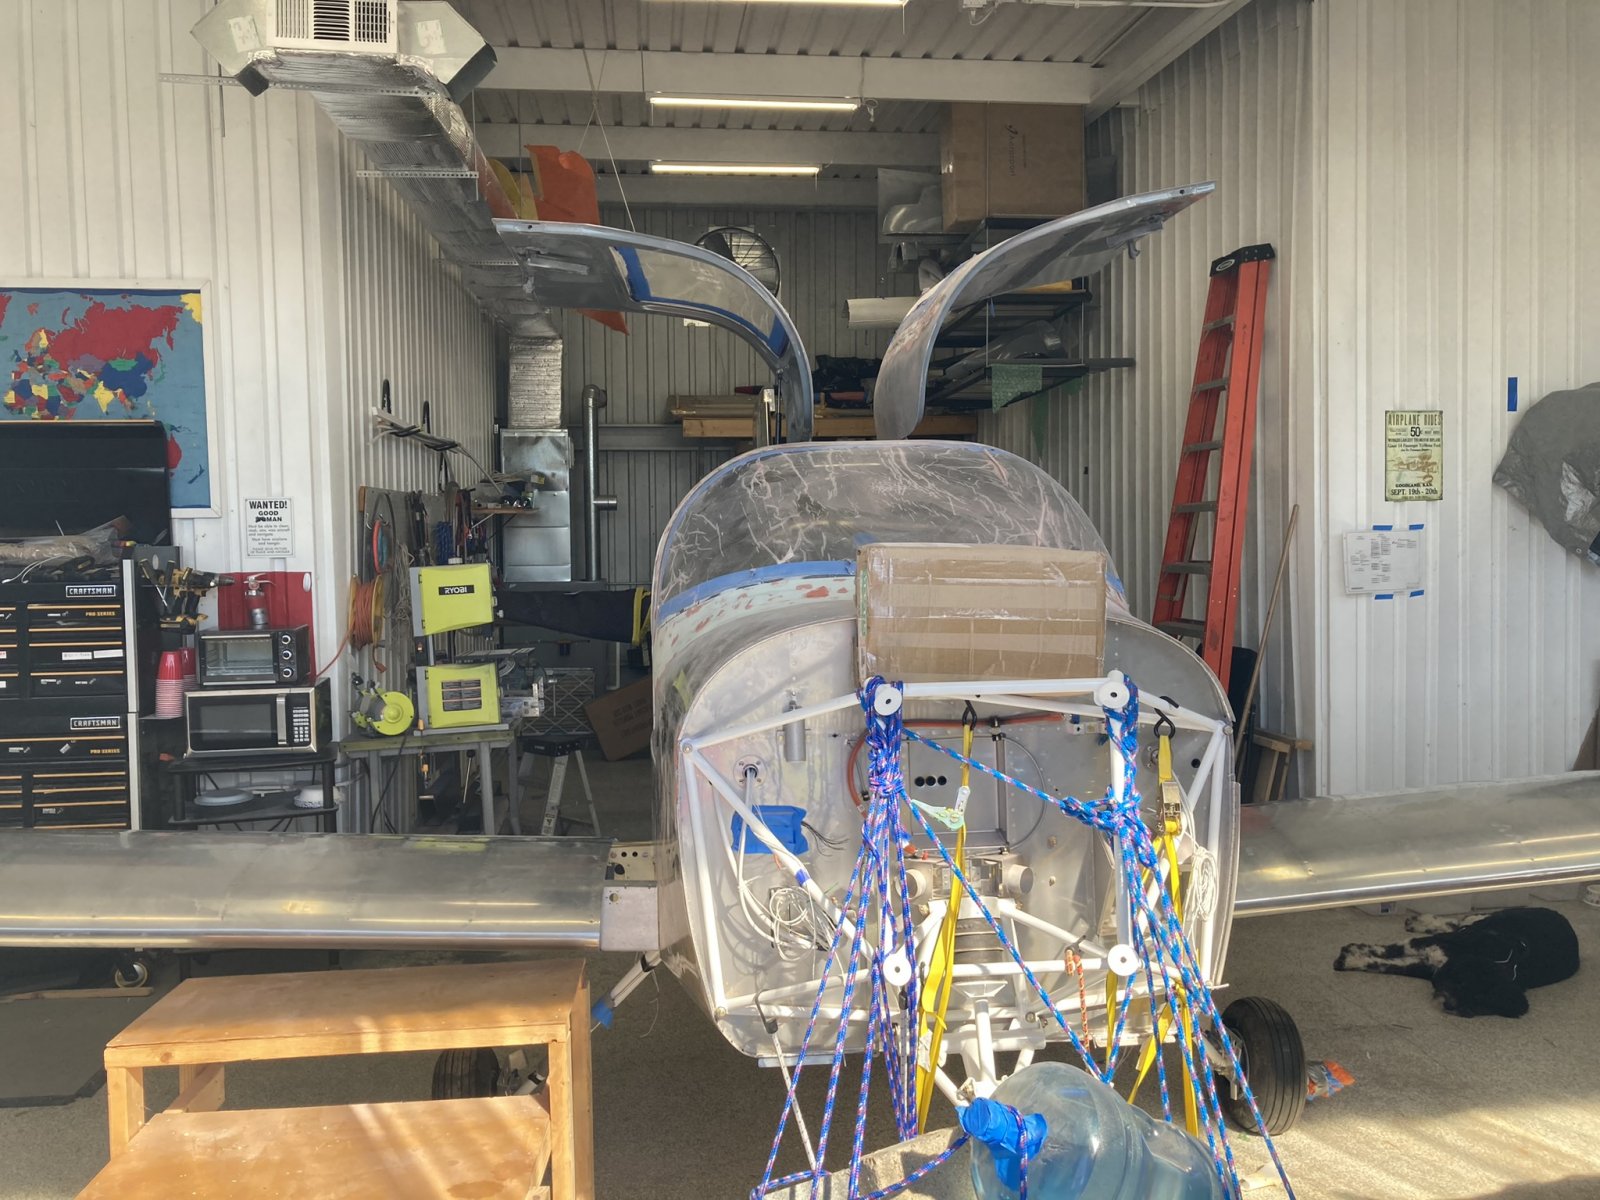
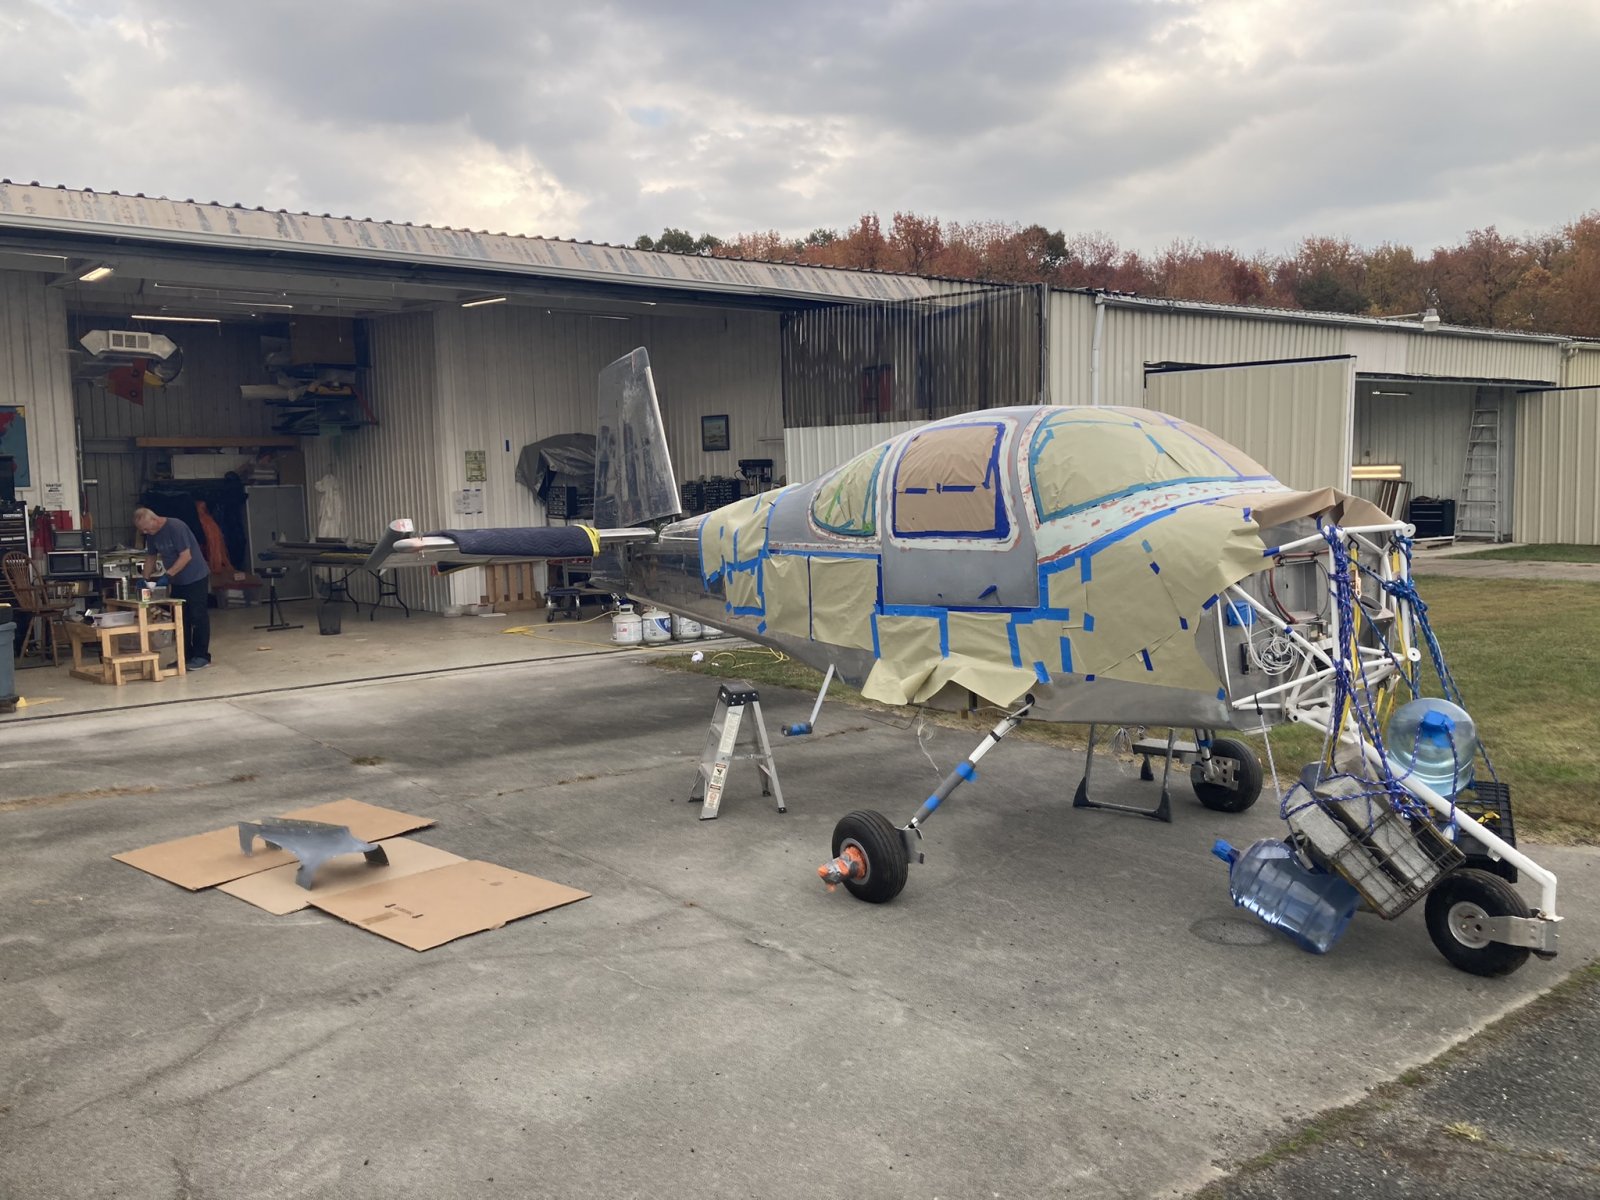
| It was kind of neat pushing the plane outside for the first time ever. |
| |
 |
|
| |
| |
 |
|
|
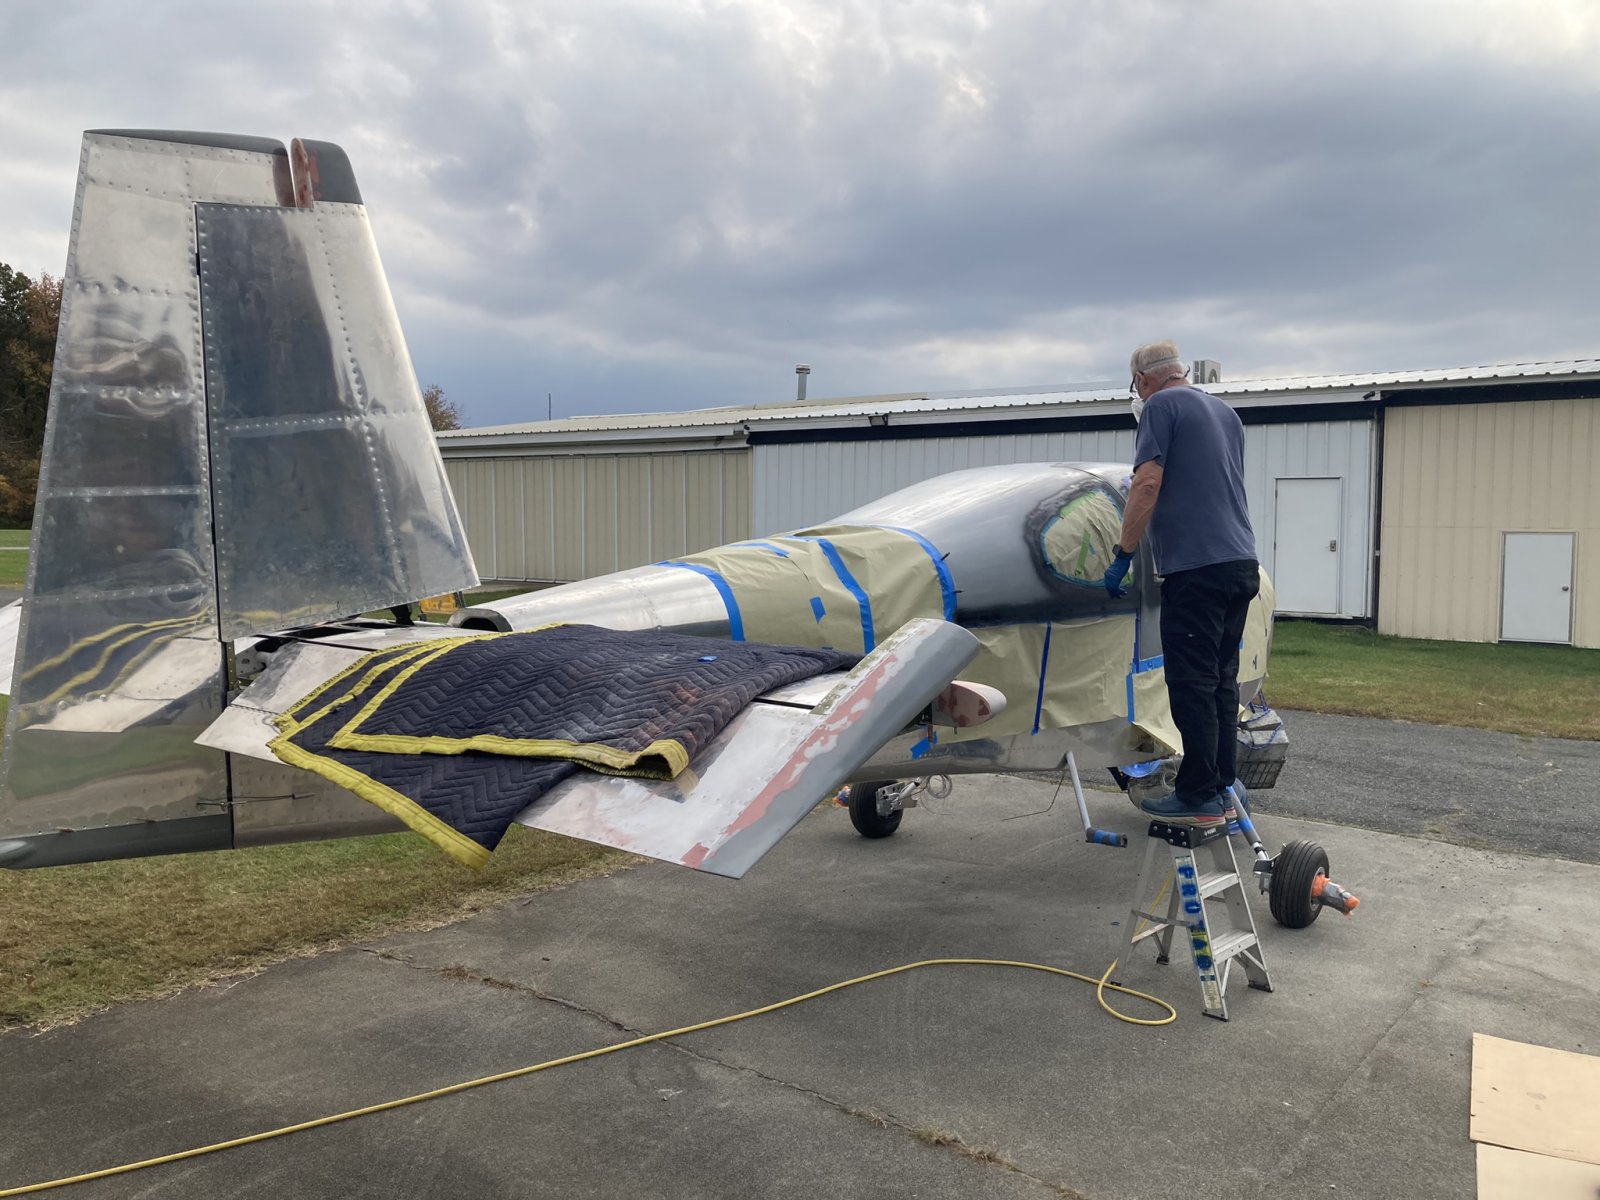
Rich priming the empennage fairing.
|
| |
 |
|
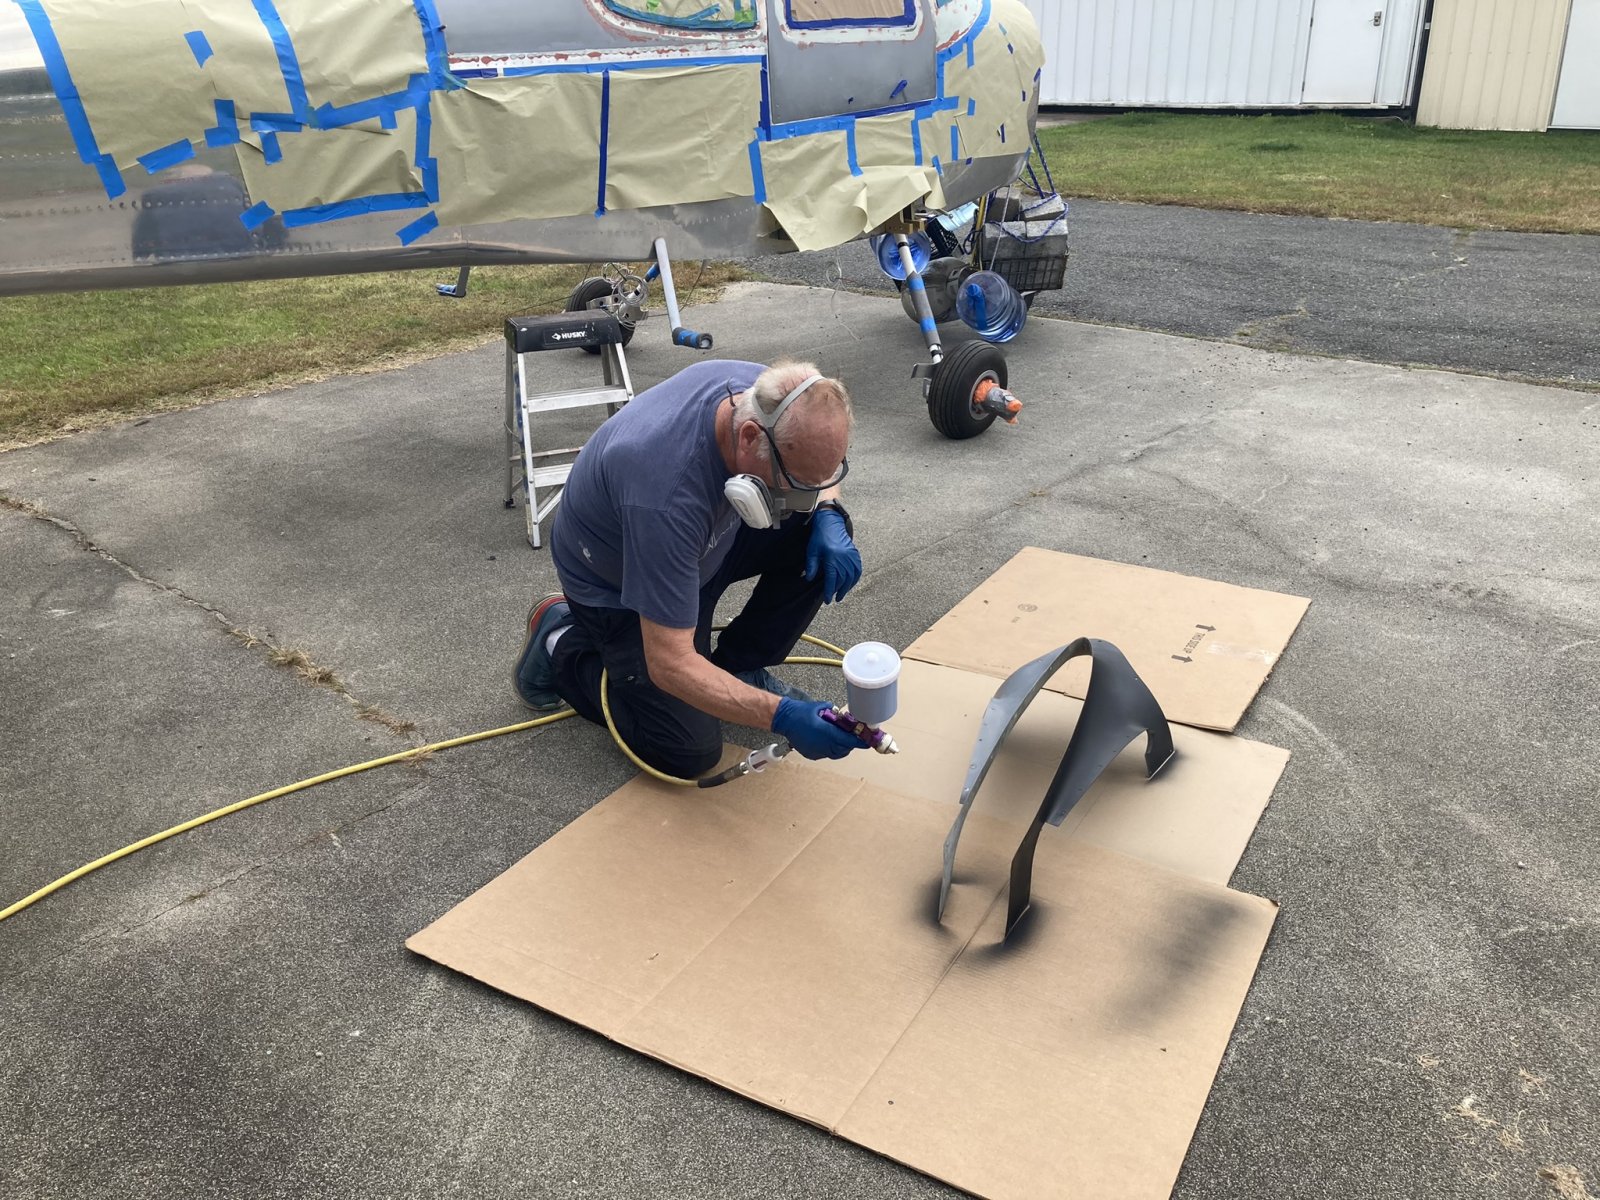
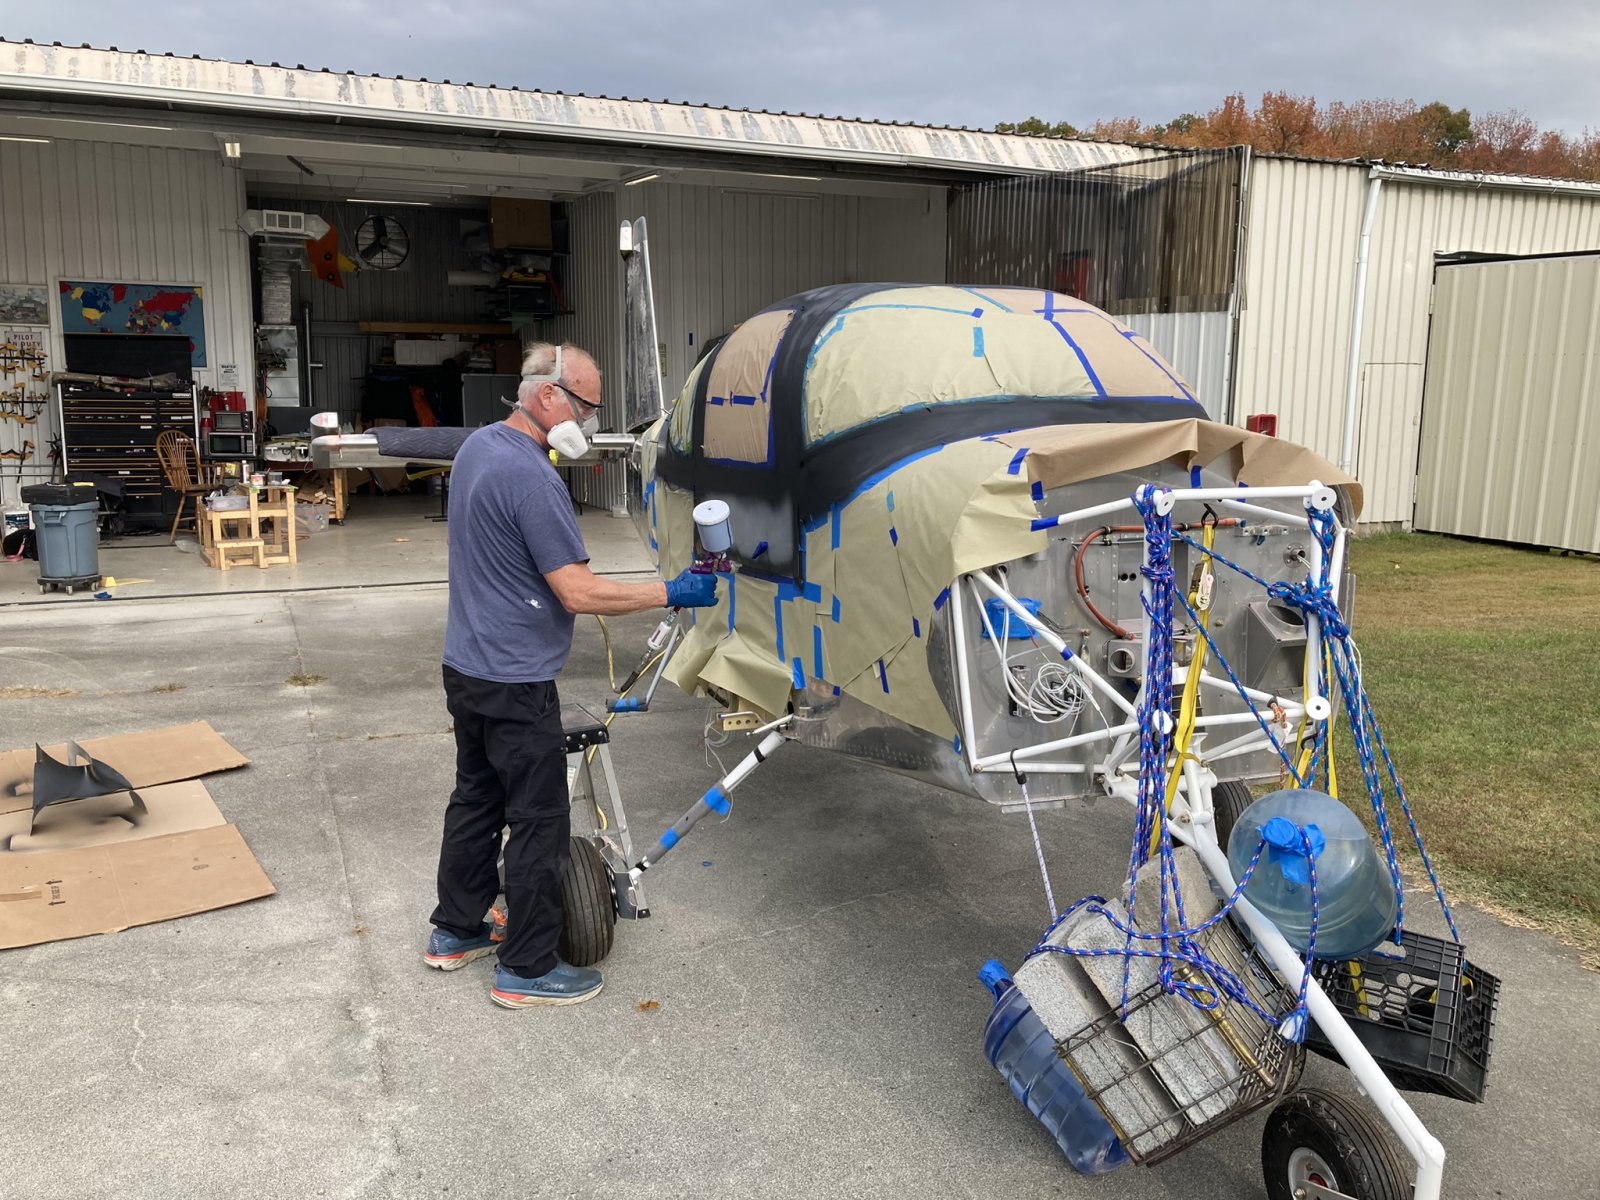
| Laying down some black primer filler. |
| |
 |
|
|
|
| |
 |
|
| Looking good. |
| |
 |
|
| The nice thing about the Loehle primer/filler is that it dries glossy. You sand it, and it turns grey and smooth. The good news is that any imperfections are highly visible because they are still glossy black. The bad news is that you thought you were done, but now you can see imperfections all over the place, so it's back to .... you guessed it ..... sand and fill, sand and fill. |
| |
 |
|
|
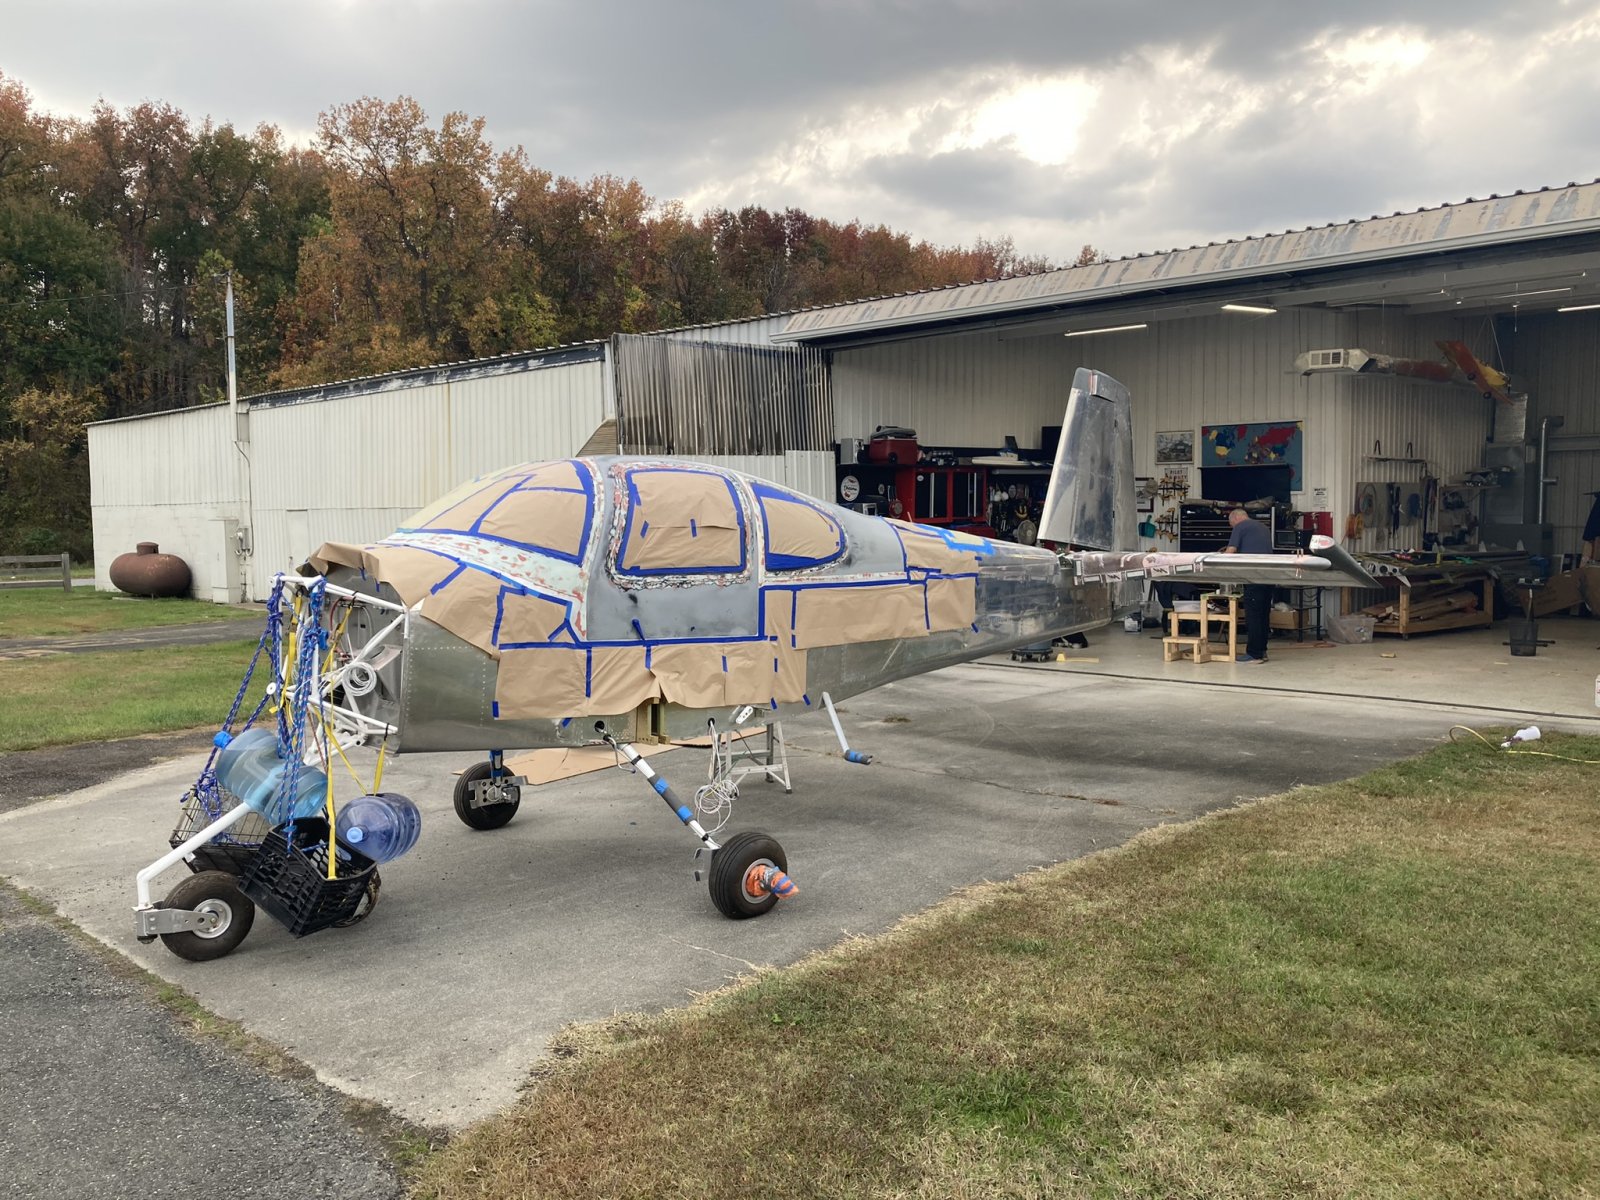
Spraying primer on a nice fall day at the airport.
|
| |
 |
|
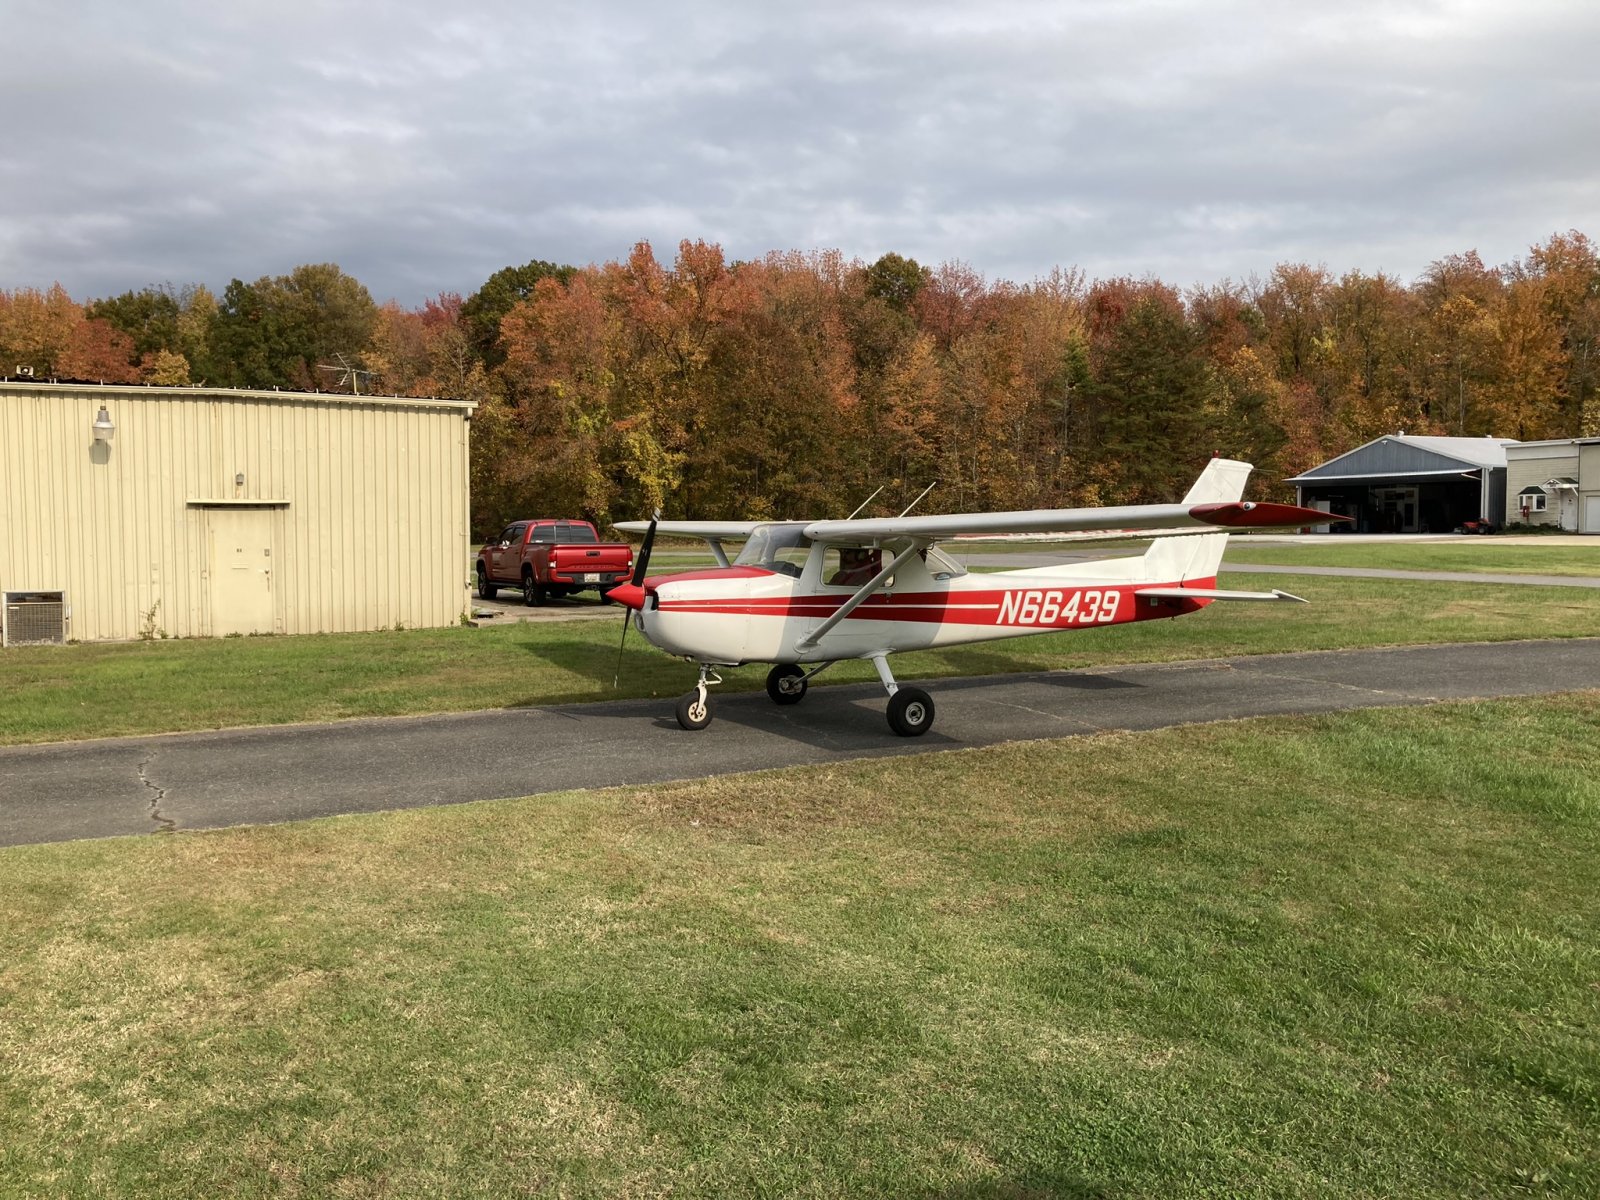
| Joe taxiis up in his Cessna 150 he just successfully test flew after it was down for half a year. |
| |
 |
|
| |
| |
|
|
|
|
|
|